> ## Documentation Index
> Fetch the complete documentation index at: https://docs.cloudify.biz/llms.txt
> Use this file to discover all available pages before exploring further.
# Getting Started with FlowLink Actions
## Creating a FlowLink Action
Log in to your HubSpot account and navigate to **Automation → Workflows**.
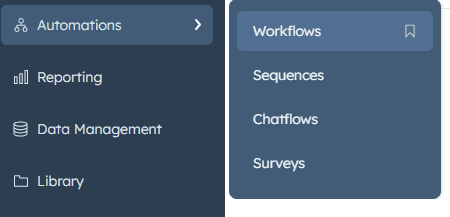
Create a new workflow or edit an existing one.
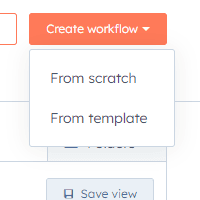
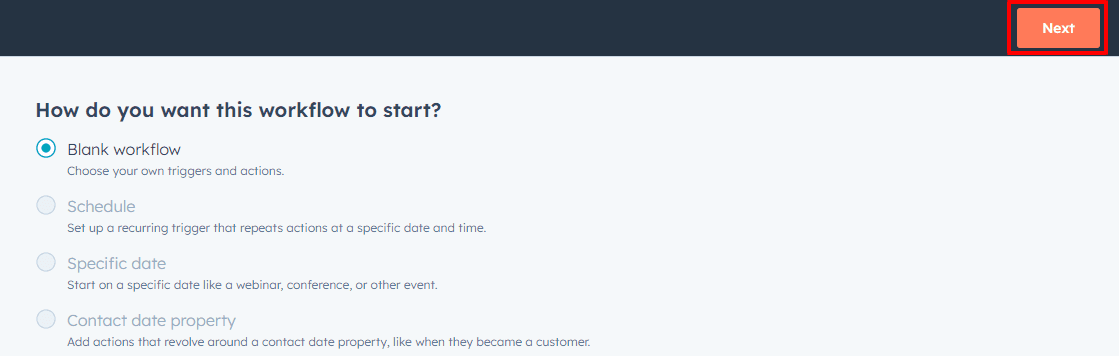
Create a blank workflow.
Set up your trigger.
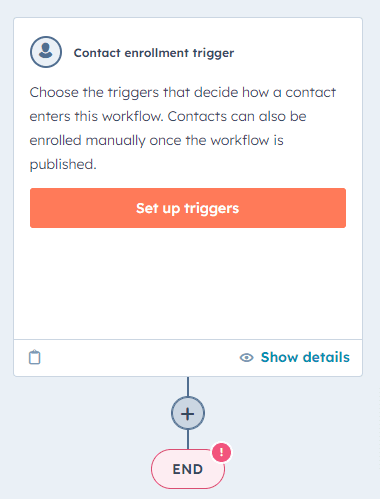
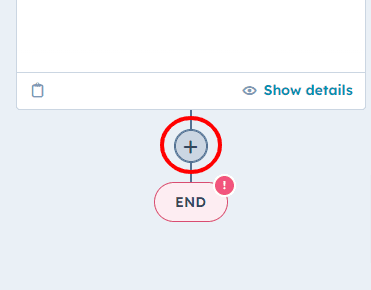
In the workflow editor, click the **"+"** icon to add a new action.
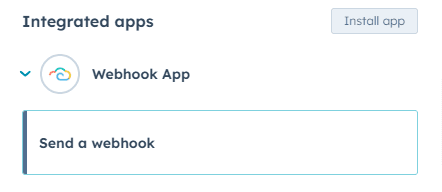
In the actions menu, look for the **"Integrations"** or **"Apps"** section and select **"FlowLink"**.
***
## Basic Configuration
### HTTP Method
Select the HTTP method for your request:
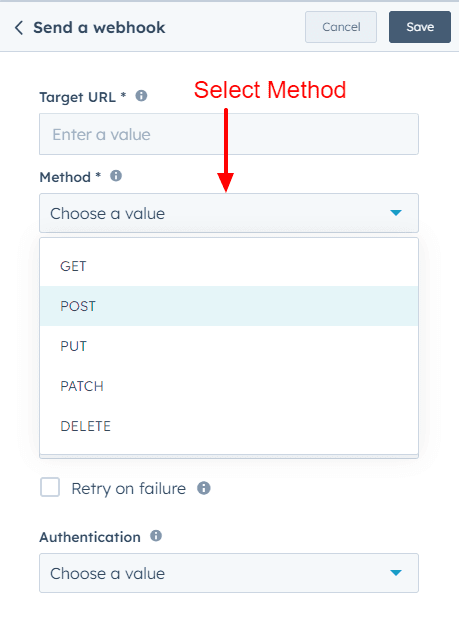
* **GET** — Retrieve data
* **POST** — Create a new resource
* **PUT** — Update an existing resource
* **PATCH** — Partially modify a resource
* **DELETE** — Remove a resource
### Target URL
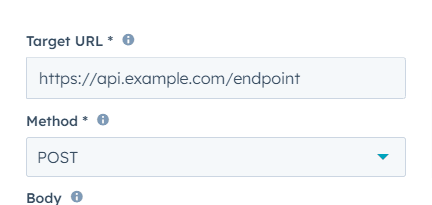
Enter the full URL where you want to send the webhook request.
**Example:** `https://api.example.com/endpoint`
### Authentication
Select from the following options:
* **None** — For public APIs
* **Basic** — Enter username and password
* **Bearer** — Provide a token
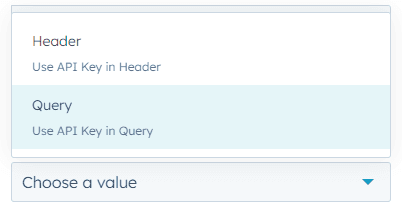
* **API Key** — Can be included in header or query parameters
**Examples:**
* Basic: Username: `myuser`, Password: `mypassword`
* Bearer: Token: `abcdef123456`
* API Key: Key Name: `x-api-key`, Key: `your-api-key-here`
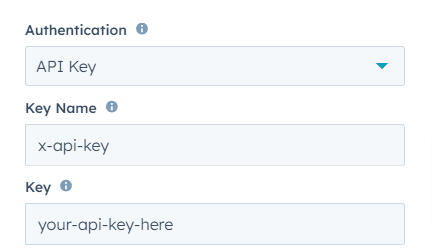
Indicate whether the API Key should be used in the **Header** or **Query**.
***
## Advanced Settings
### Body Configuration (POST, PUT, PATCH only)
Click on the **"Body"** field and insert HubSpot properties using `{{property.name}}` syntax. Structure your data in JSON format.
**Example:**
```json theme={null}
{
"customerName": "{{contact.firstname}} {{contact.lastname}}",
"email": "{{contact.email}}",
"lastPurchaseAmount": "{{deal.amount}}",
"lastPurchaseDate": "{{deal.closedate}}"
}
```
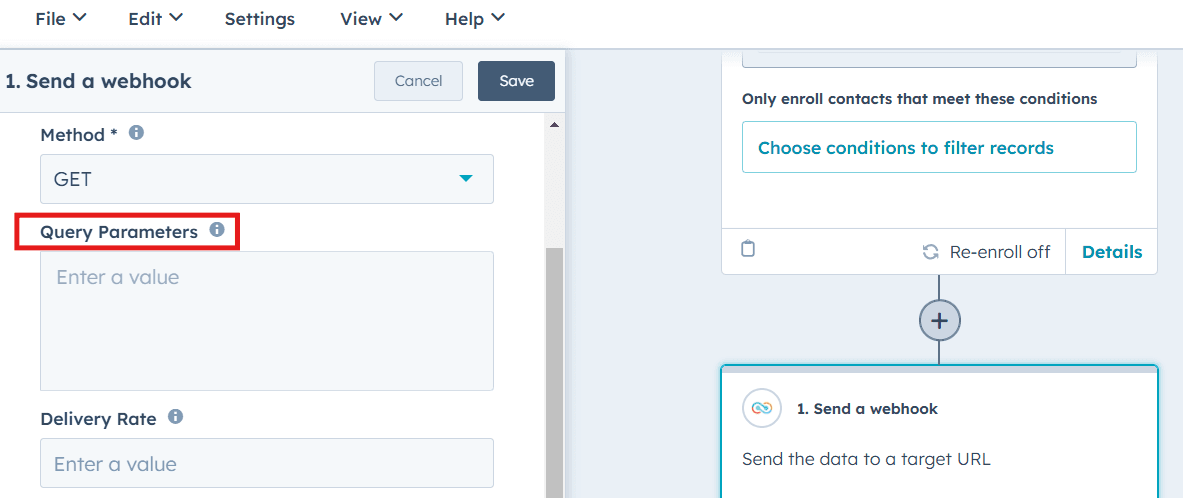
### Query Parameters (GET, DELETE, POST, PUT, PATCH)
Add key-value pairs using HubSpot properties or static values, separated by `&`.
**Example:**
`customerId={{contact.id}}&orderDate={{deal.closedate}}`
Resulting URL: `https://api.example.com/orders?customerId=1234567&orderDate=2023-09-03`
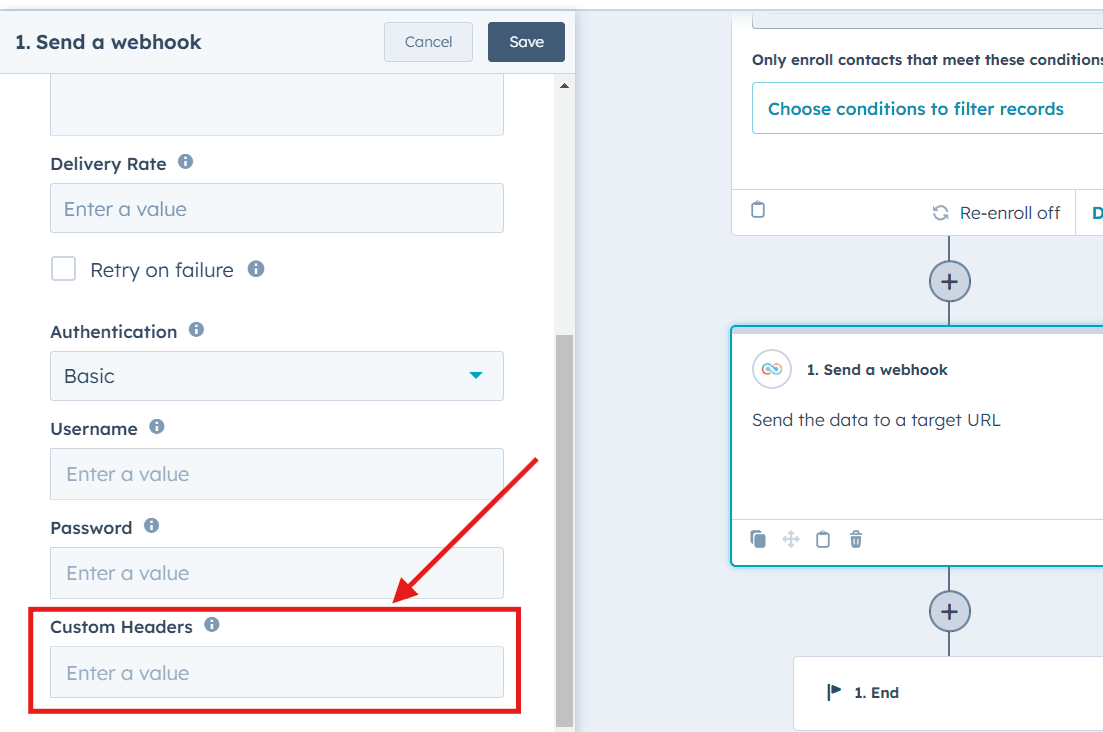
### Custom Headers
Add any required custom headers, useful for API versioning or additional authentication. Use comma-separated key-value pairs.
**Example:** `X-API-Version=v2, x-custom-header=value`
### Escape Values to Valid JSON
To escape a value, use the `escape` function:
```json theme={null}
{
"name": "escape({{ enrolled_object.dealname }})"
}
```
### Save Your Configuration
Once finished configuring the webhook, click **"Save"**.
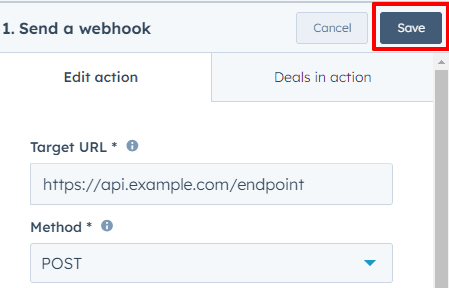
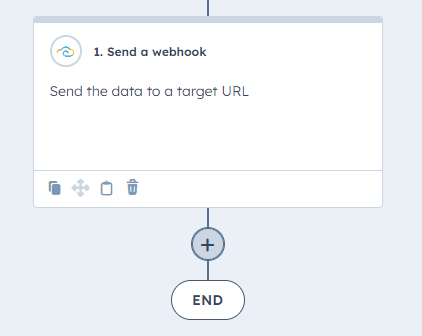
Your webhook is now ready to run whenever triggered.
**Got unique integration needs?**\
Our custom team can build tailored integrations, specialized data mappings, and workflow automations to perfectly match your specific business processes.
[Advanced integration settings](https://custom.cloudify.biz/)