> ## Documentation Index
> Fetch the complete documentation index at: https://docs.cloudify.biz/llms.txt
> Use this file to discover all available pages before exploring further.
# Connect Xero Account
> How to Install the App from the HubSpot Marketplace:
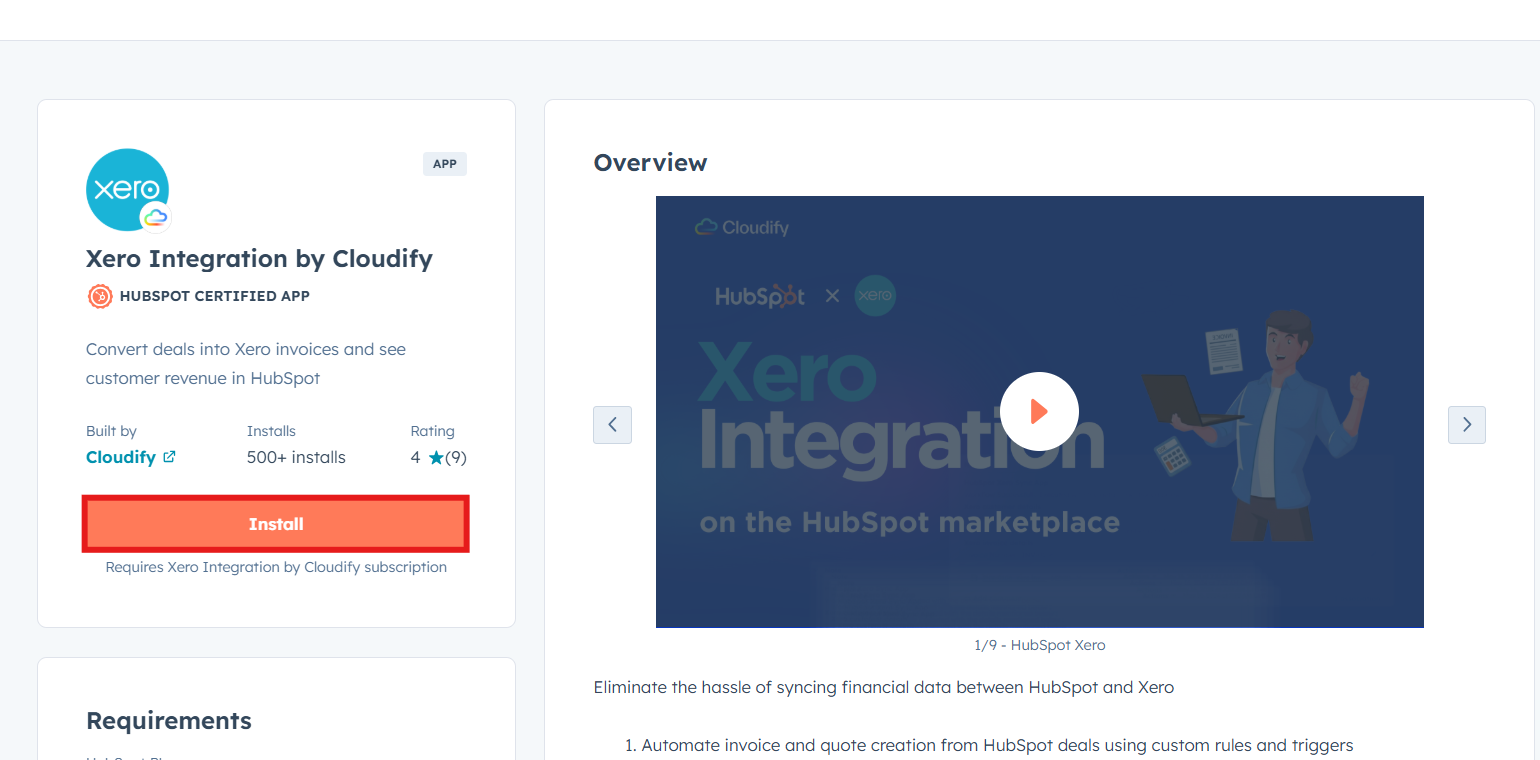
Log in to your HubSpot account and search for the ‘**Xero Integration by Cloudify**’ app in HubSpot Marketplace.
Click "**Install**":
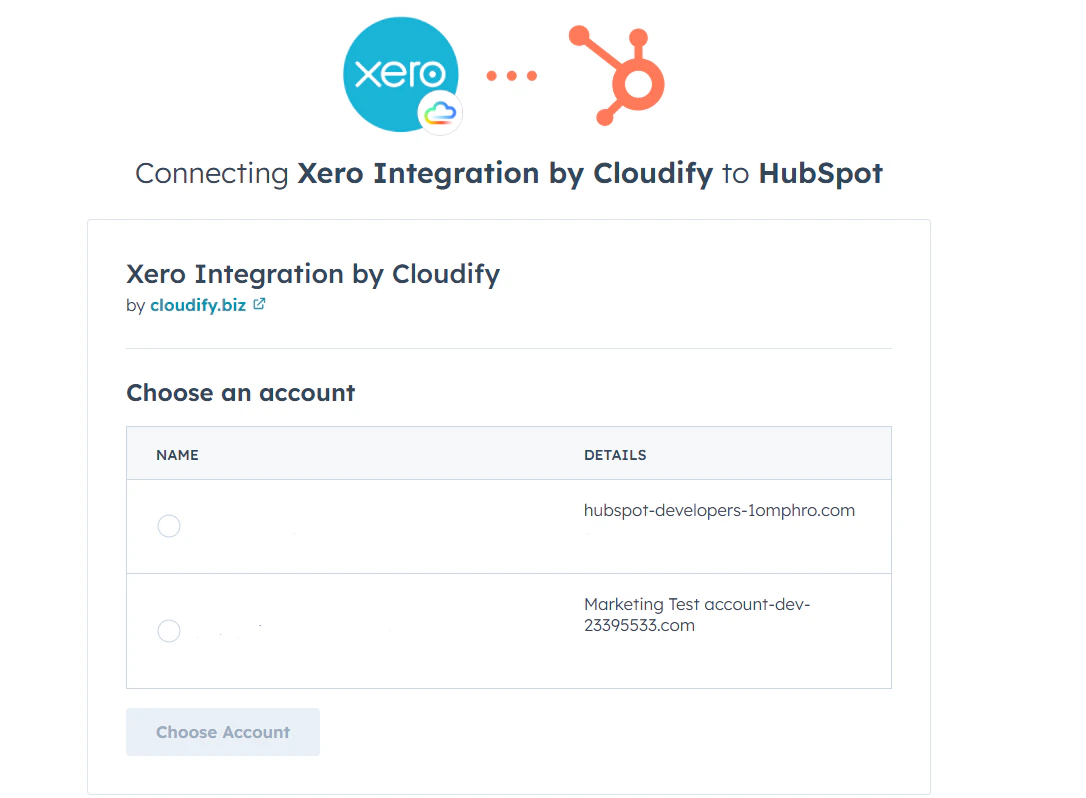
 Select the account you want to use to install the Xero app and click **"Choose Account"**.
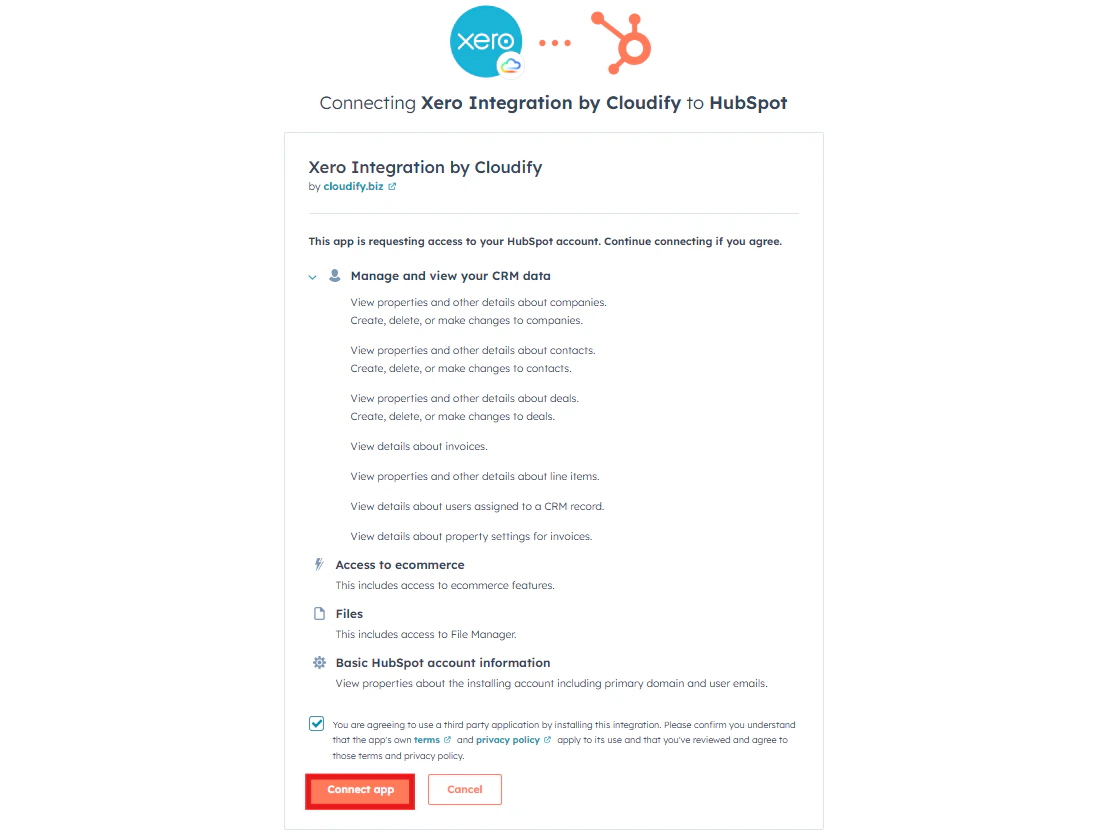
 Select the checkbox and click on **"Connect app".**
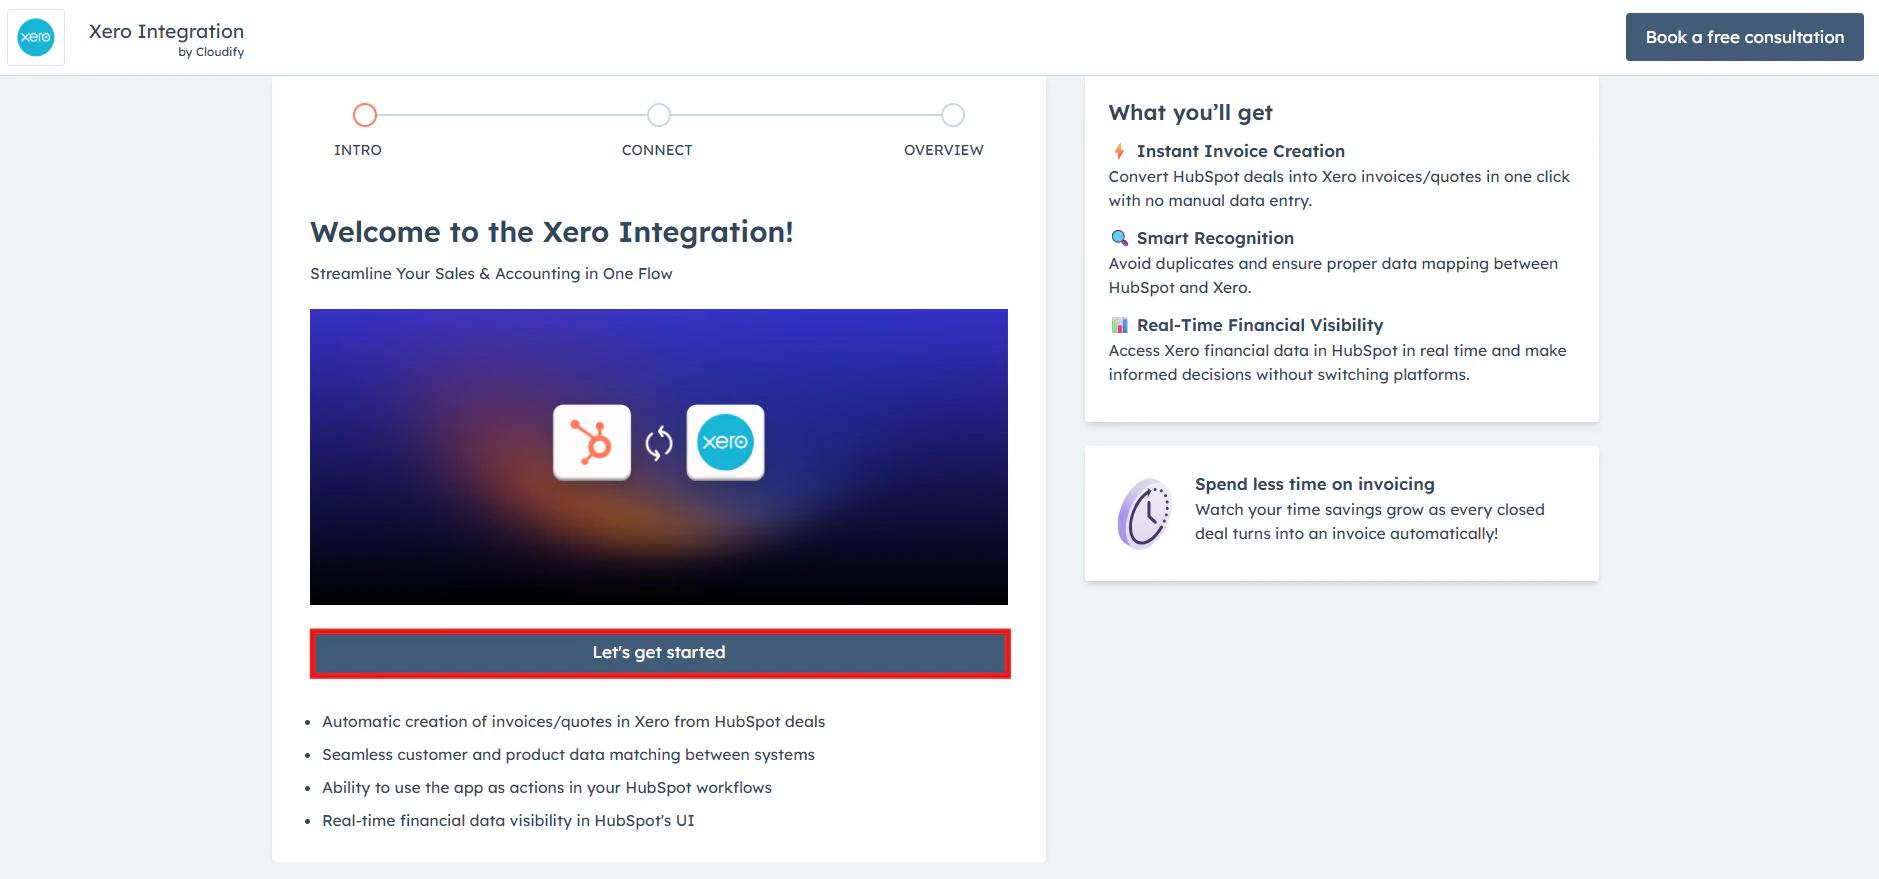
 Click on "**Let's get started"**.
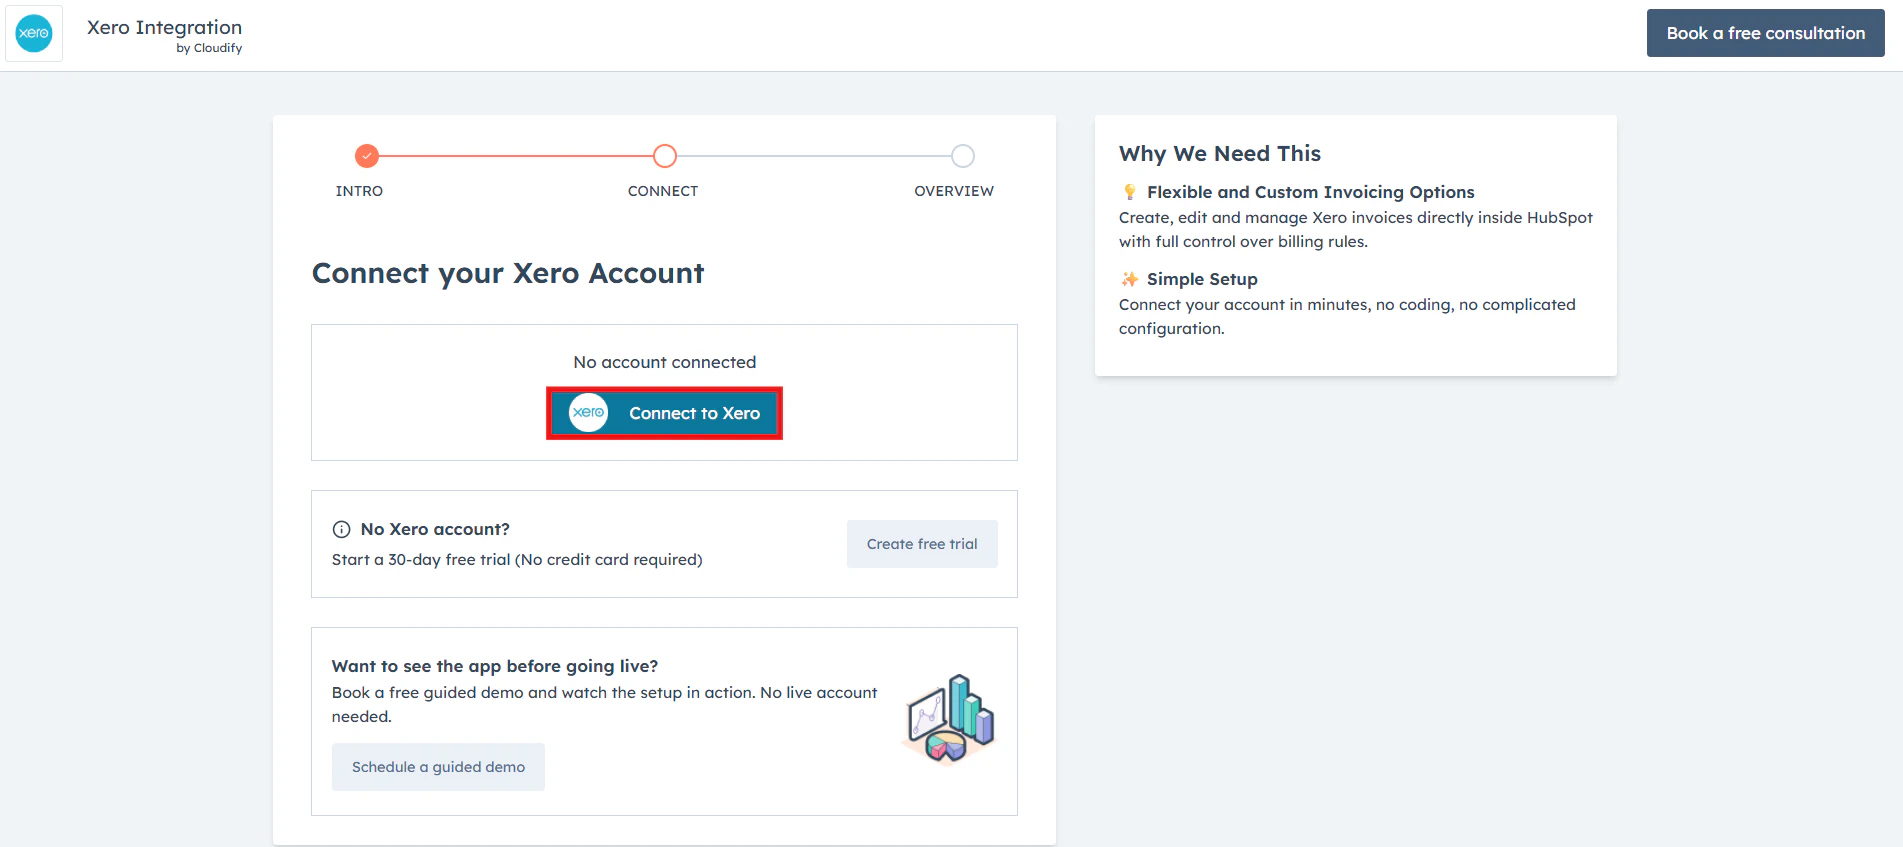
 **Connecting Xero account**
Click on “**Connect to Xero**” to connect your Xero account.
**Connecting Xero account**
Click on “**Connect to Xero**” to connect your Xero account.
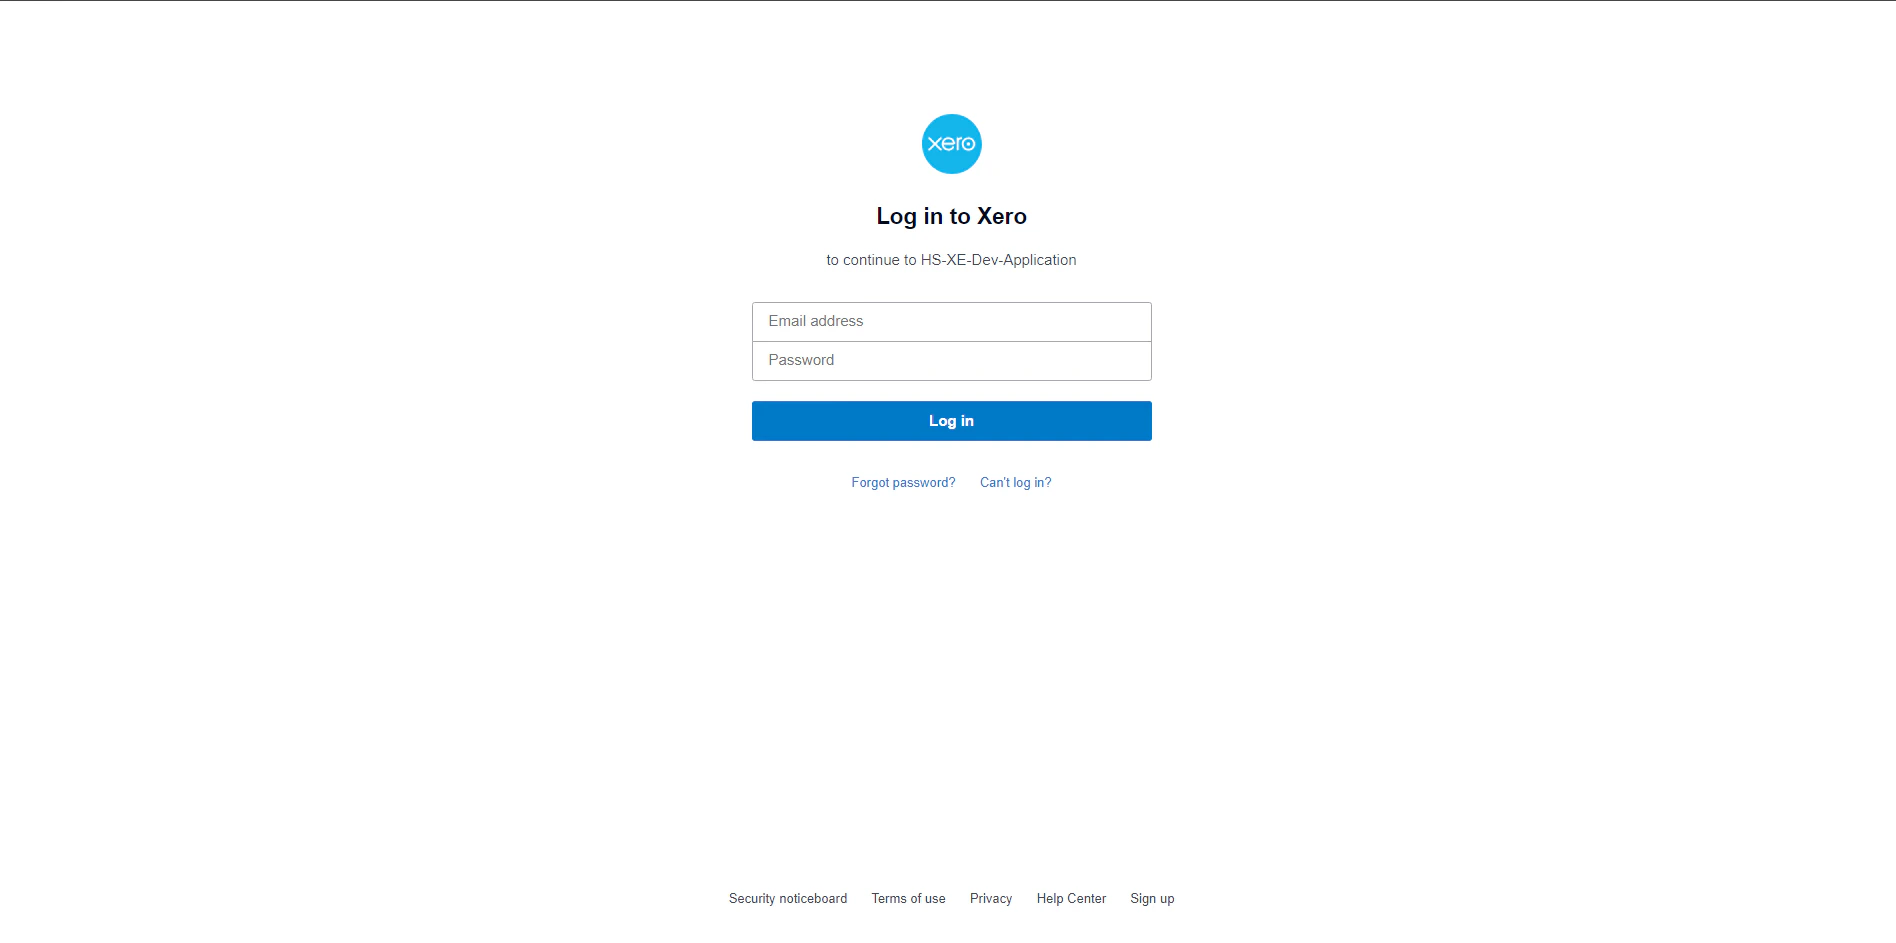
 Input your Xero registered email address and password, and click on "**Log In"**:
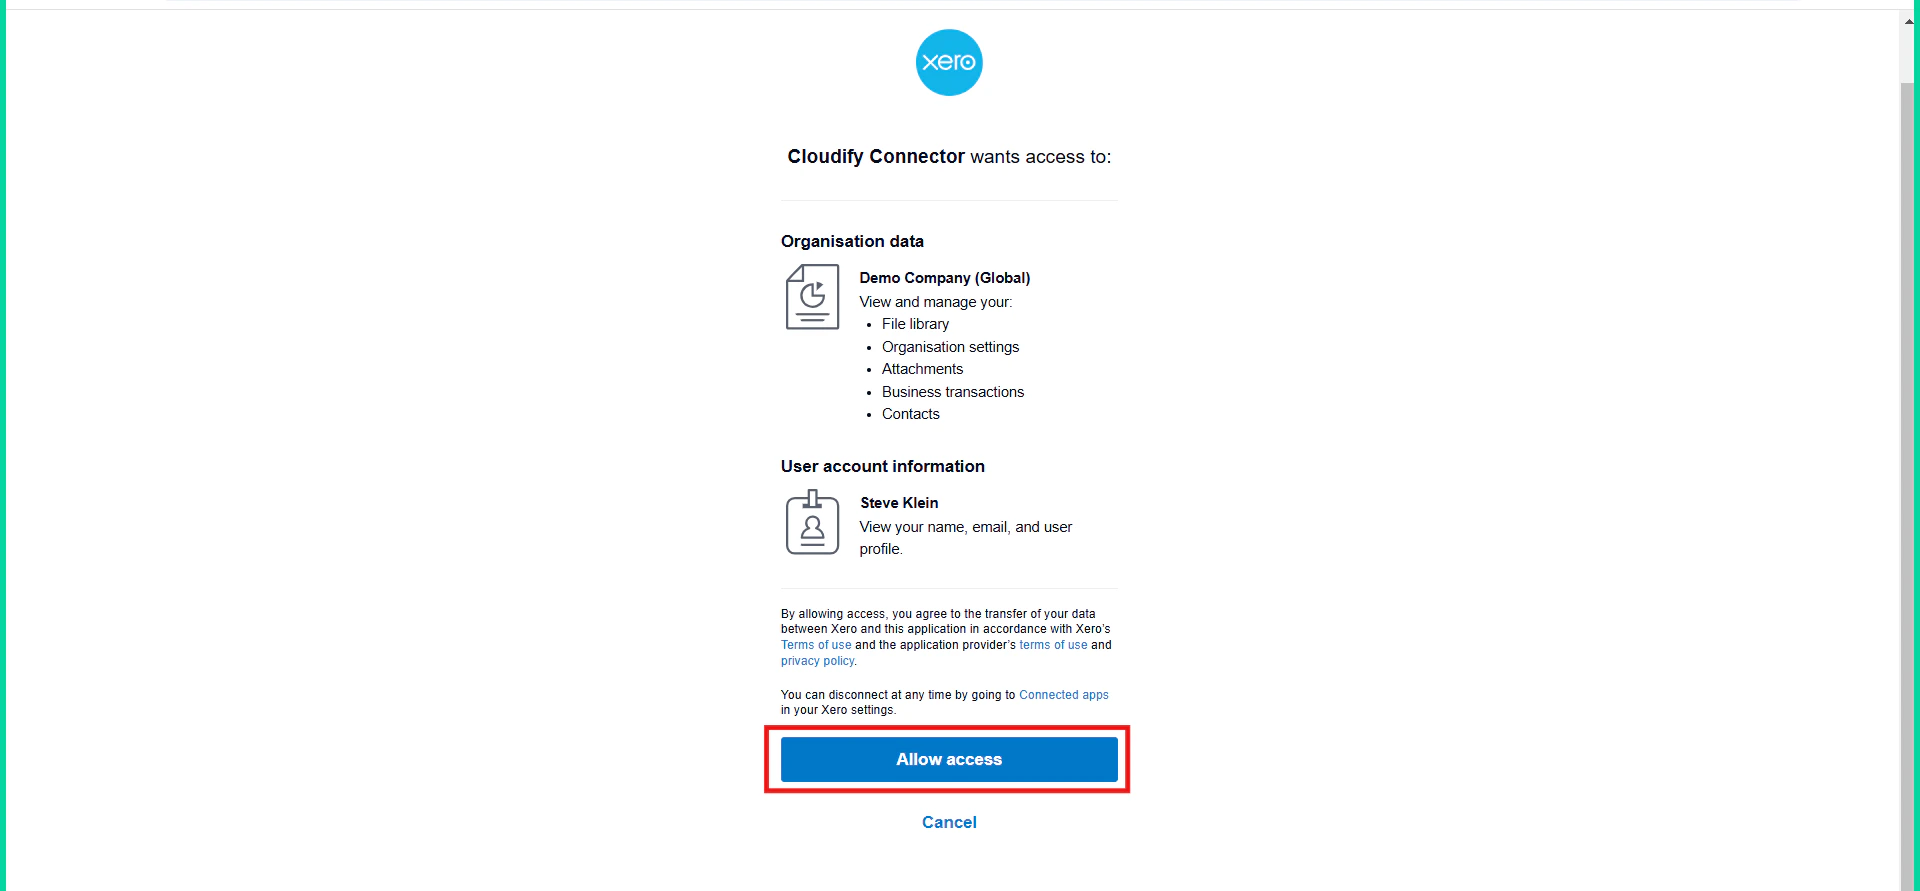
 Select the Organisation if prompted and click on **"Allow access**"
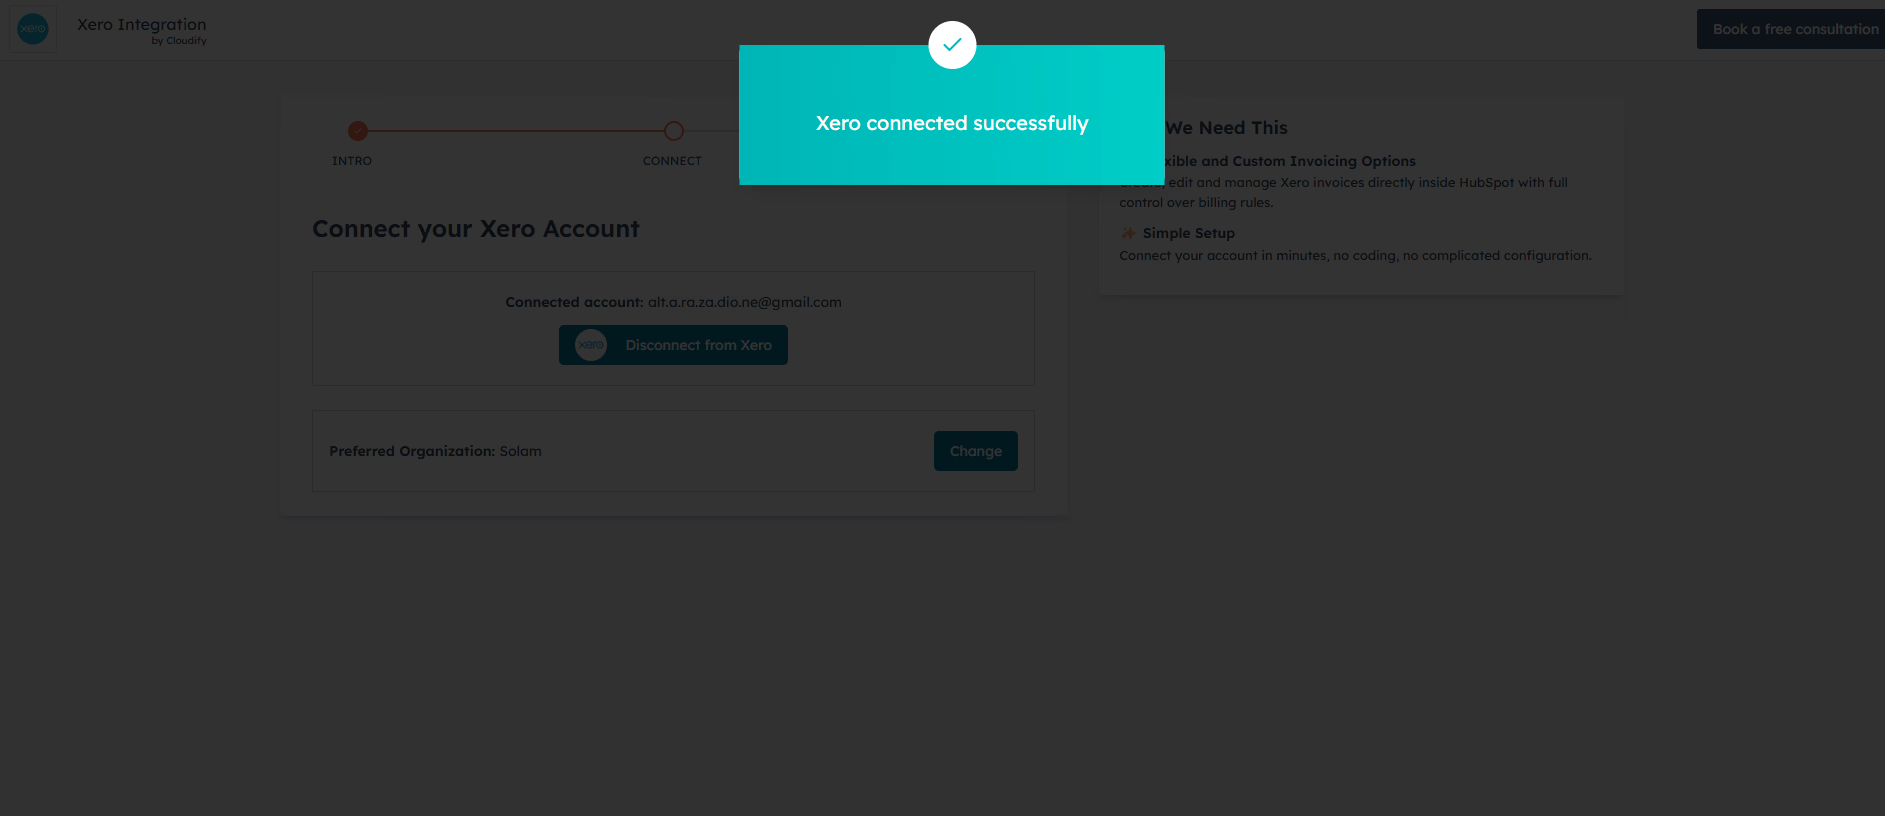
 You will receive a successful message. Click anywhere on the screen to move to the next step.
 Click on “**Yes, setup automation**” or **“I’ll do it manually**” to proceed. Choose the option that best fits your workflow.
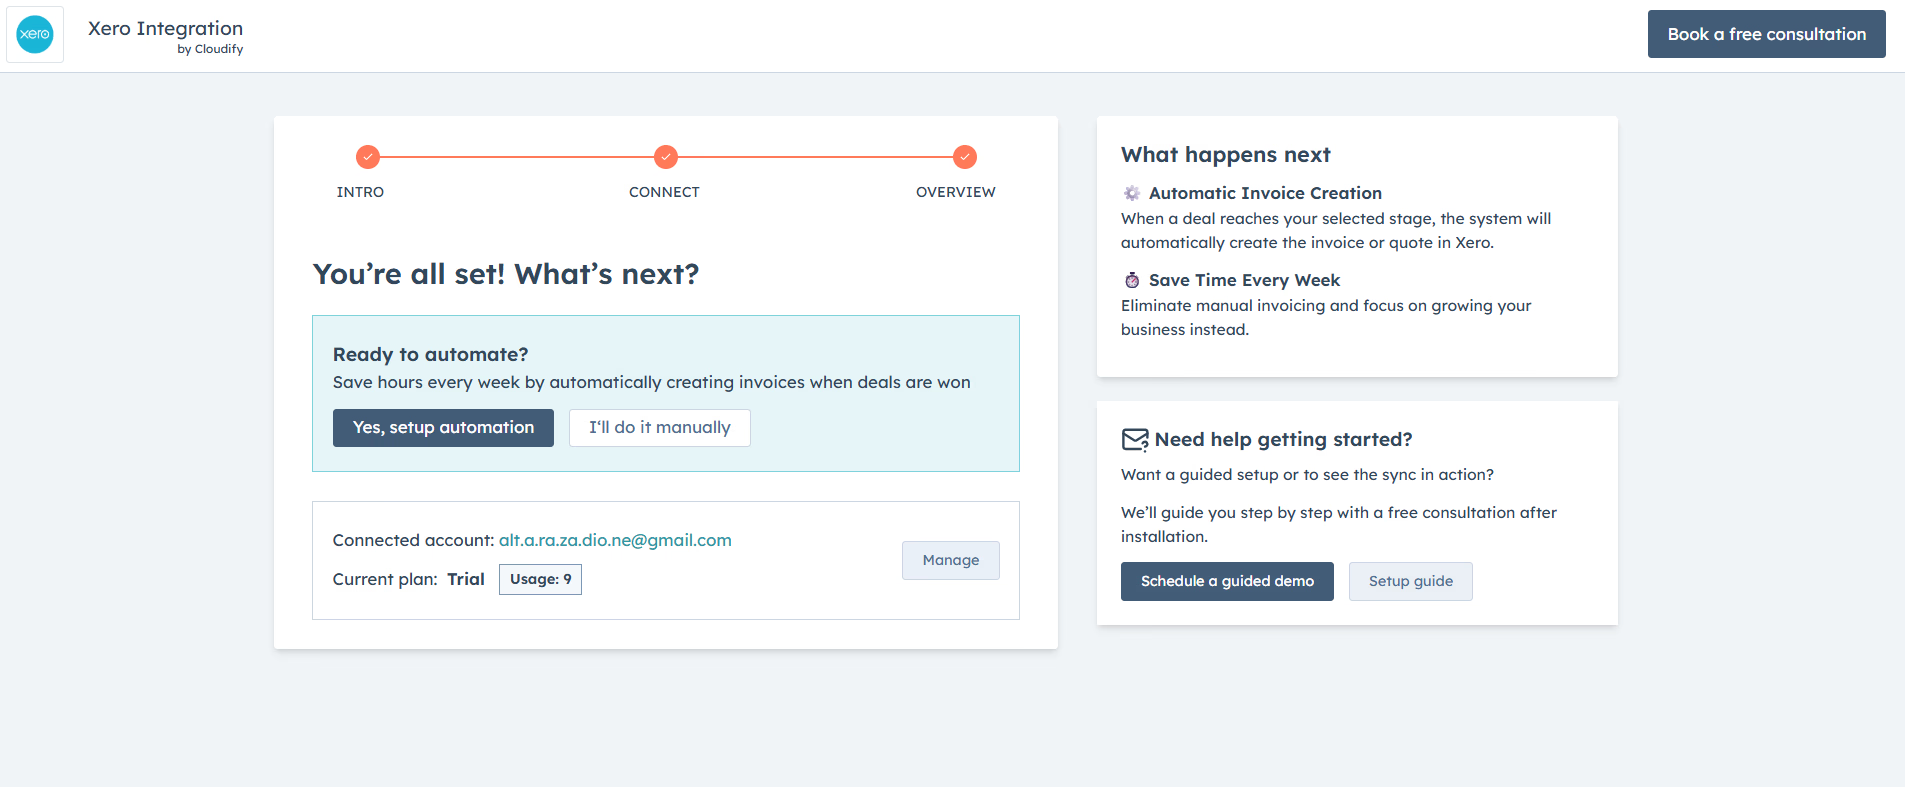 **"Yes, setup automation (Recommended)"**- Select this to setup up the rules to automatically create invoices in Xero,along with customers and products based on HubSpot deal changes
**“I’ll do it manually** - Select this if you want to manually create invoices in Xero with one click, without any deal based automatic triggers.
**Got unique integration needs?**\
Our custom team can build tailored integrations, specialized data mappings, and workflow automations to perfectly match your specific business processes.
[Advanced integration settings](https://custom.cloudify.biz/)
**"Yes, setup automation (Recommended)"**- Select this to setup up the rules to automatically create invoices in Xero,along with customers and products based on HubSpot deal changes
**“I’ll do it manually** - Select this if you want to manually create invoices in Xero with one click, without any deal based automatic triggers.
**Got unique integration needs?**\
Our custom team can build tailored integrations, specialized data mappings, and workflow automations to perfectly match your specific business processes.
[Advanced integration settings](https://custom.cloudify.biz/)