> ## Documentation Index
> Fetch the complete documentation index at: https://docs.cloudify.biz/llms.txt
> Use this file to discover all available pages before exploring further.

# Installation Steps

> How to install and connect the Shopify e-conomic integration, step by step

This guide walks you through installing the app and connecting your Shopify store to your e-conomic accounting system. **Setup takes just a few minutes.**. When you are done, your Shopify orders will automatically become invoices in e-conomic. You do not need any technical knowledge.

<Steps>
  <Step title="Find the app in the Shopify App Store">
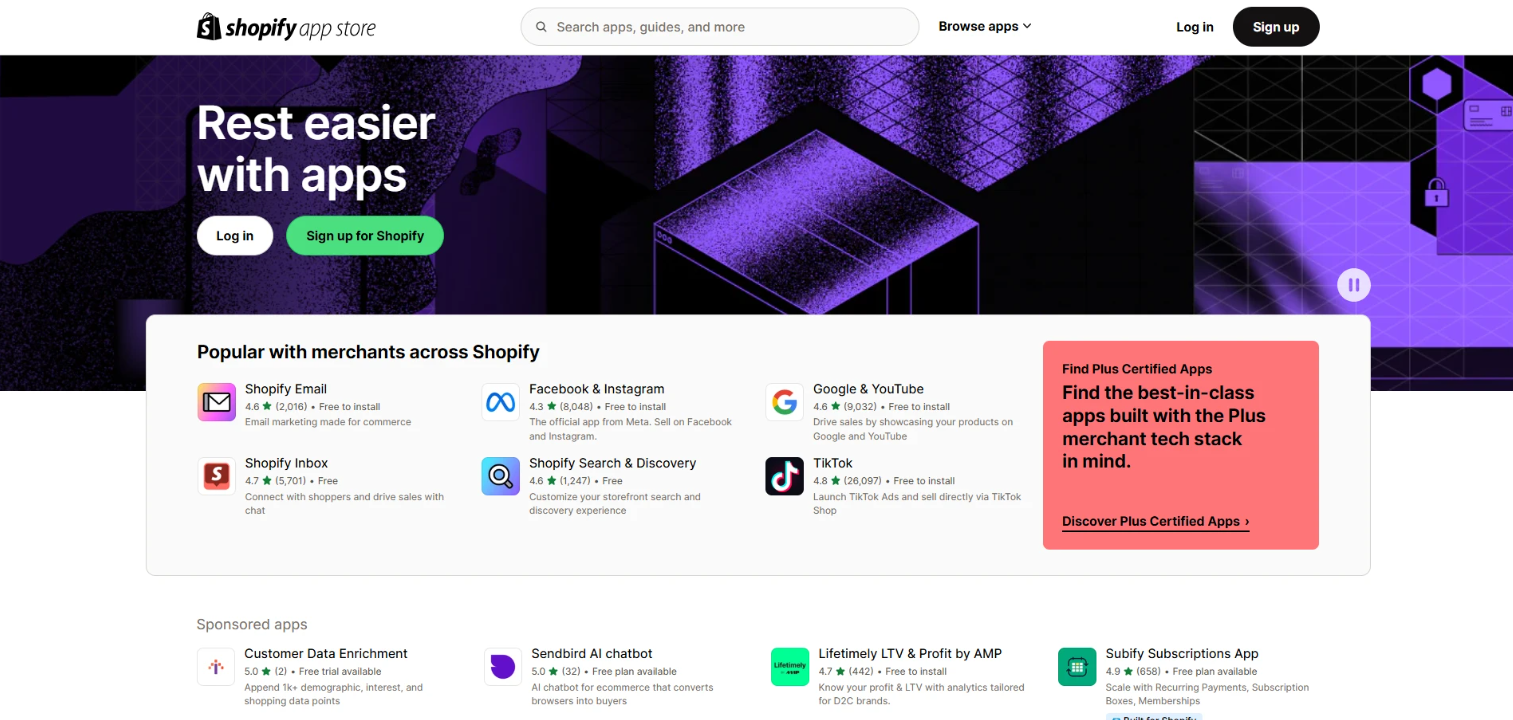
    Log in to your Shopify admin (the page where you manage your store).

    In the left menu, click **Apps**. A search field appears at the top. Type **Visma e-conomic Integration** and press Enter.

    <Frame>
      <img src="https://mintcdn.com/cloudify-c7720744/KEVcLt-o-TB1YG0w/images/Screenshot-2026-07-17-034711.jpeg?fit=max&auto=format&n=KEVcLt-o-TB1YG0w&q=85&s=af3ffb843441a9048e4250e5d42570ed" alt="Screenshot 2026 07 17 034711" title="Screenshot 2026 07 17 034711" style={{ width:"70%" }} width="498" height="447" data-path="images/Screenshot-2026-07-17-034711.jpeg" />
    </Frame>

    The app appears in the search results. Click on it to open the app page.
  </Step>

  <Step title="Install the app">
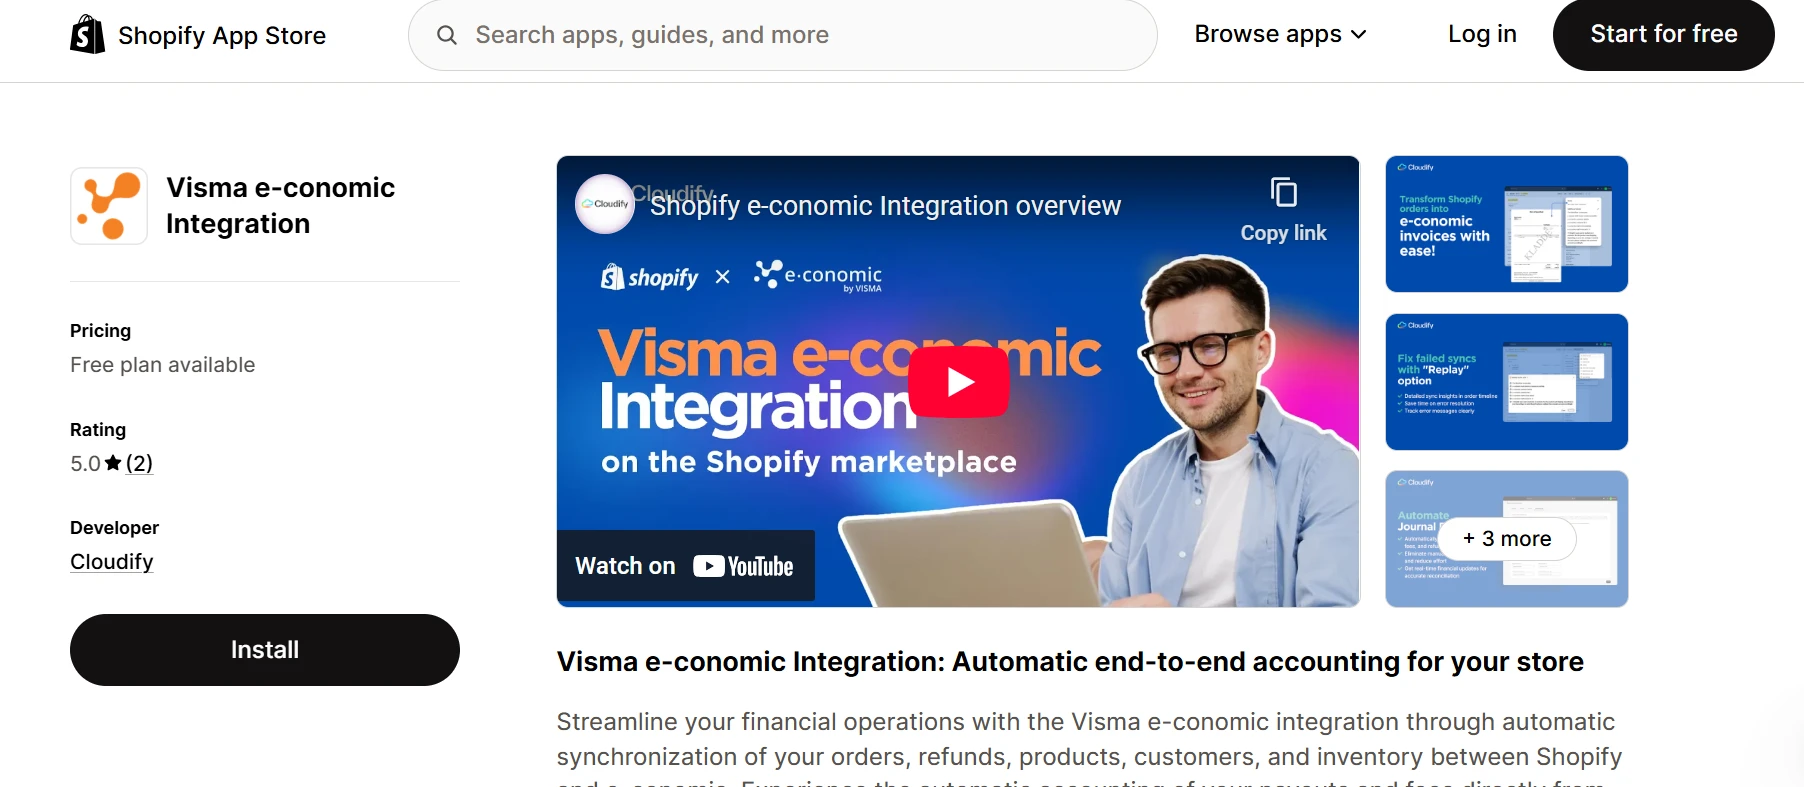
    On the app page, click the **Install** button.

    Shopify will show you a list of permissions the app needs. This is standard for all Shopify apps. The app needs permission to read your orders, customers, and products, because this is the data it sends to e-conomic.

    Click **Install** again to confirm. The app is now added to your store.
  </Step>

  <Step title="Start the setup">
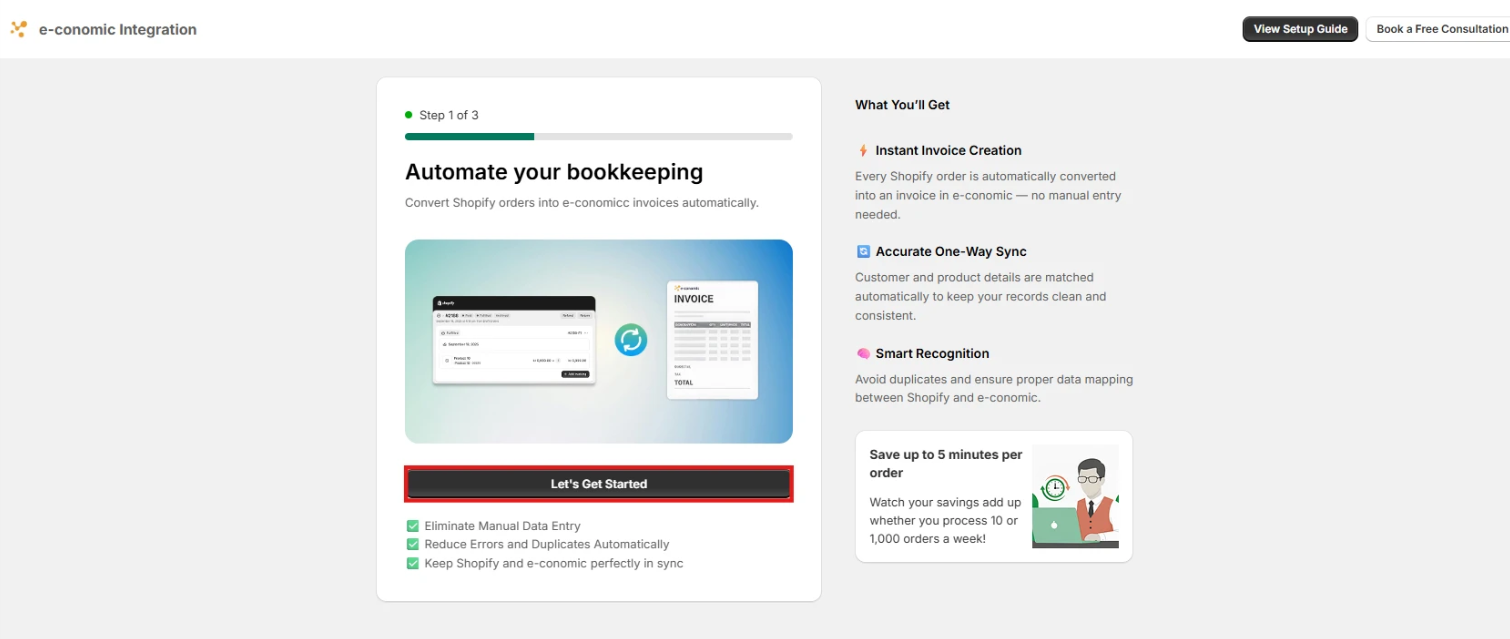
    After installation, the app opens with a welcome screen.

    Click the green **Get started** button to begin the setup.

    <img src="https://mintcdn.com/cloudify-c7720744/KEVcLt-o-TB1YG0w/images/Screenshot-2026-07-17-015643.jpeg?fit=max&auto=format&n=KEVcLt-o-TB1YG0w&q=85&s=6dd61ed601b7a075ce960c9b76ea4088" alt="Screenshot 2026 07 17 015643" title="Screenshot 2026 07 17 015643" style={{ width:"75%" }} width="826" height="460" data-path="images/Screenshot-2026-07-17-015643.jpeg" />
  </Step>

  <Step title="Connect your e-conomic account">
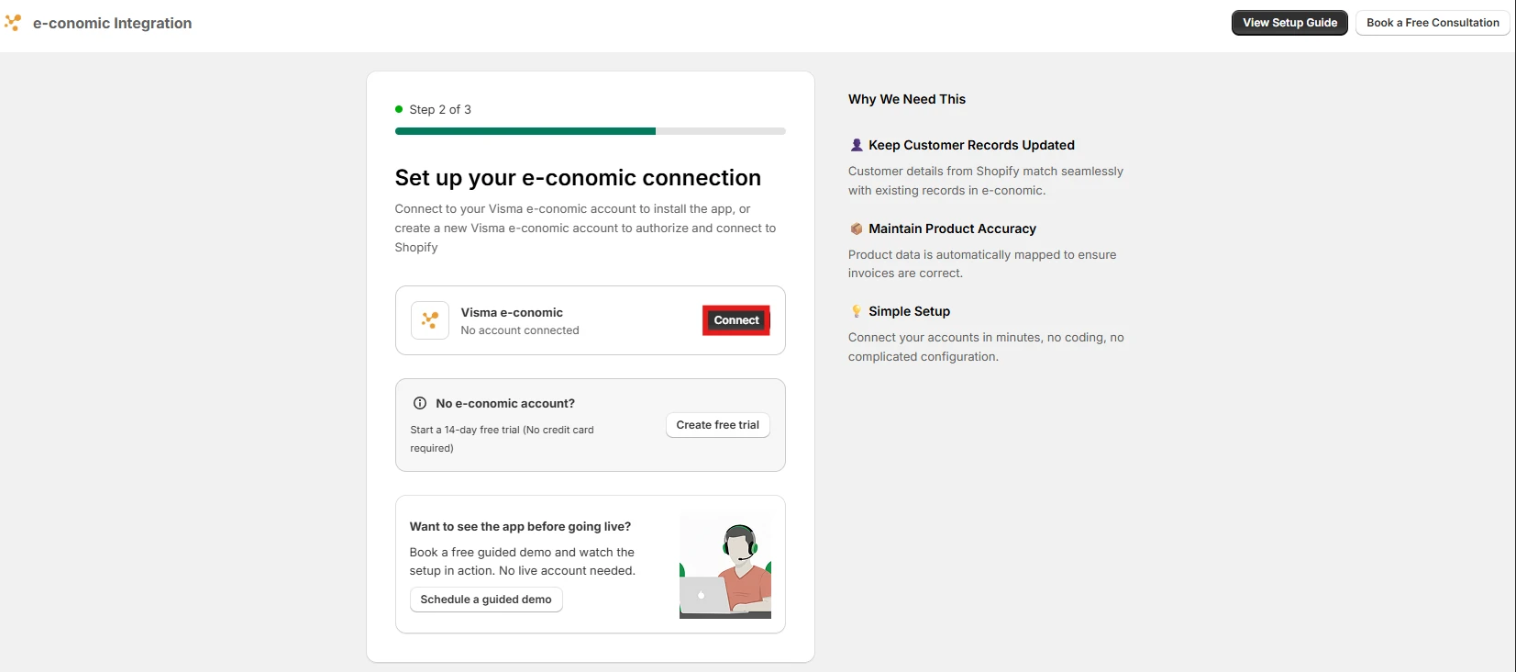
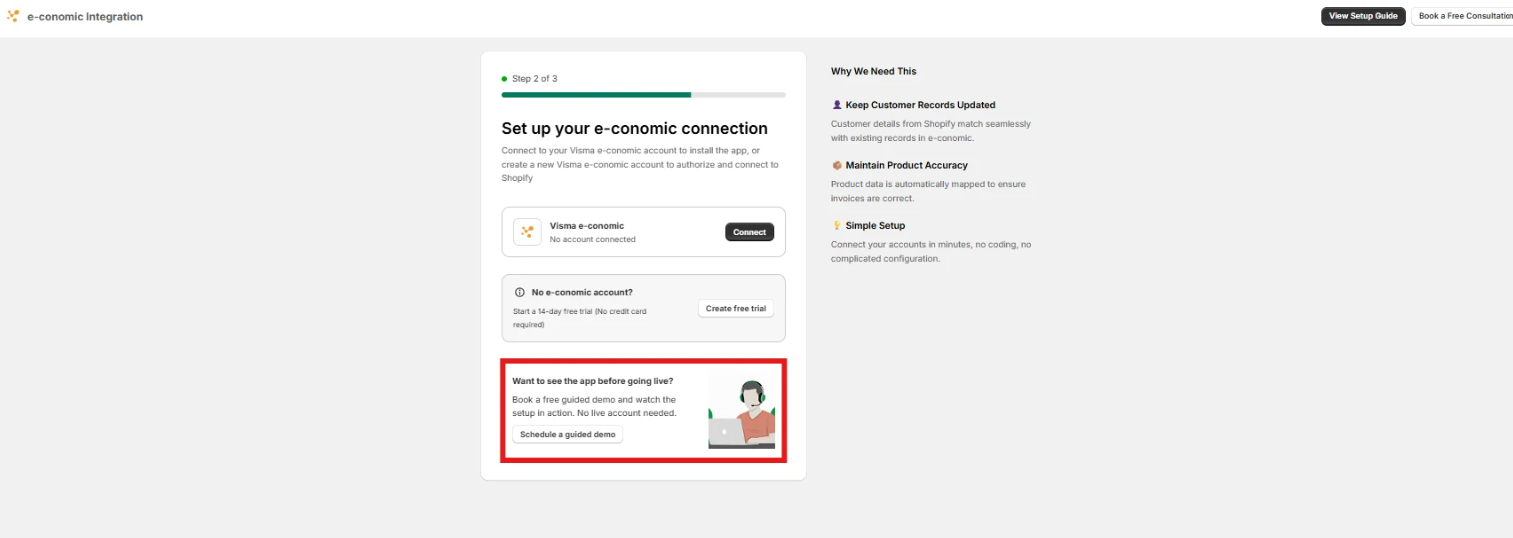
    This step links your Shopify store to your e-conomic account, so the two systems can share data.

    <Frame>
      <img src="https://mintcdn.com/cloudify-c7720744/KEVcLt-o-TB1YG0w/images/Screenshot-2026-07-17-015715-1.jpeg?fit=max&auto=format&n=KEVcLt-o-TB1YG0w&q=85&s=b3f11f3e0f20060e432dbca8a3c6a40d" alt="Screenshot 2026 07 17 015715 1" title="Screenshot 2026 07 17 015715 1" style={{ width:"92%" }} width="730" height="366" data-path="images/Screenshot-2026-07-17-015715-1.jpeg" />
    </Frame>

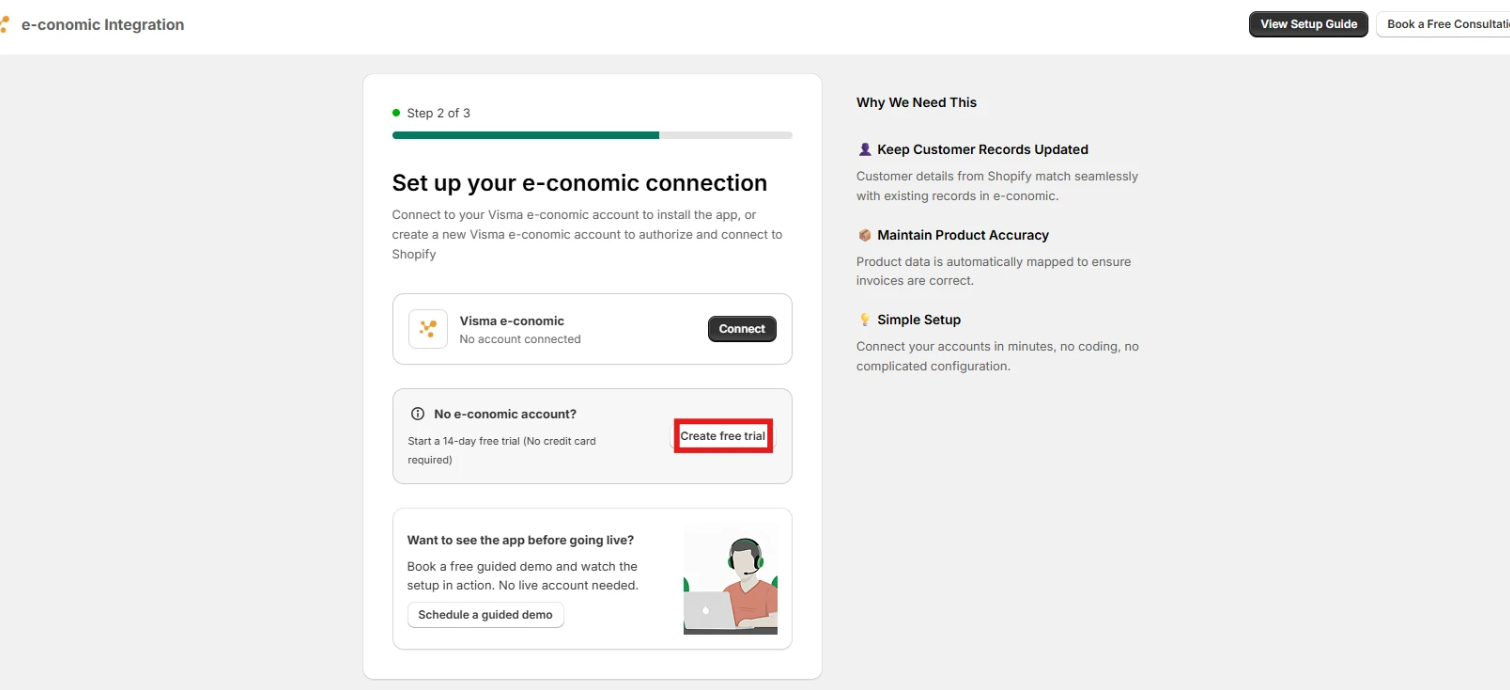
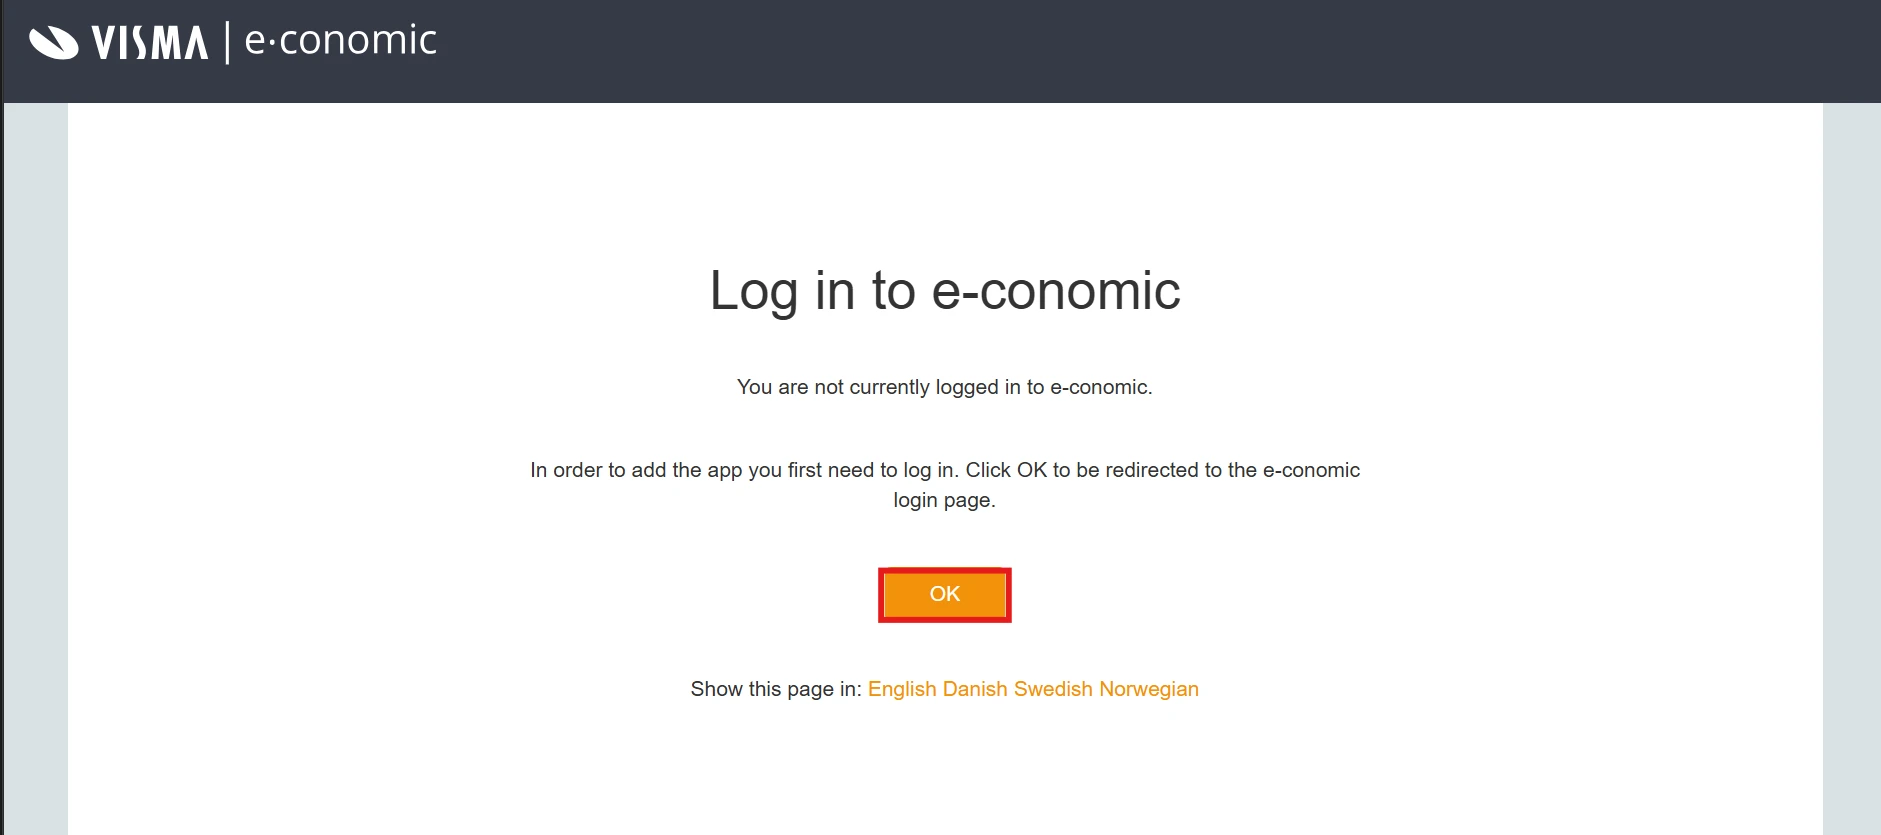
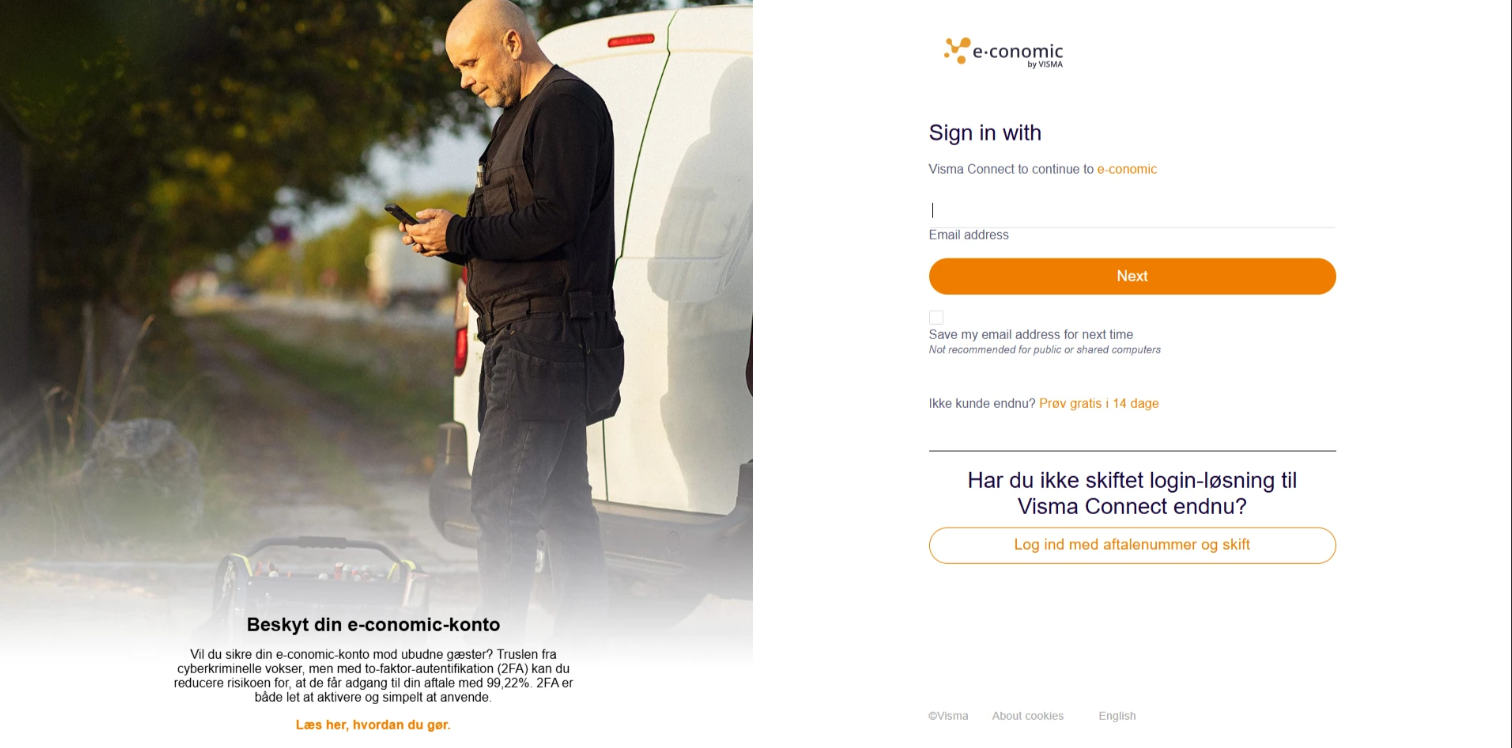
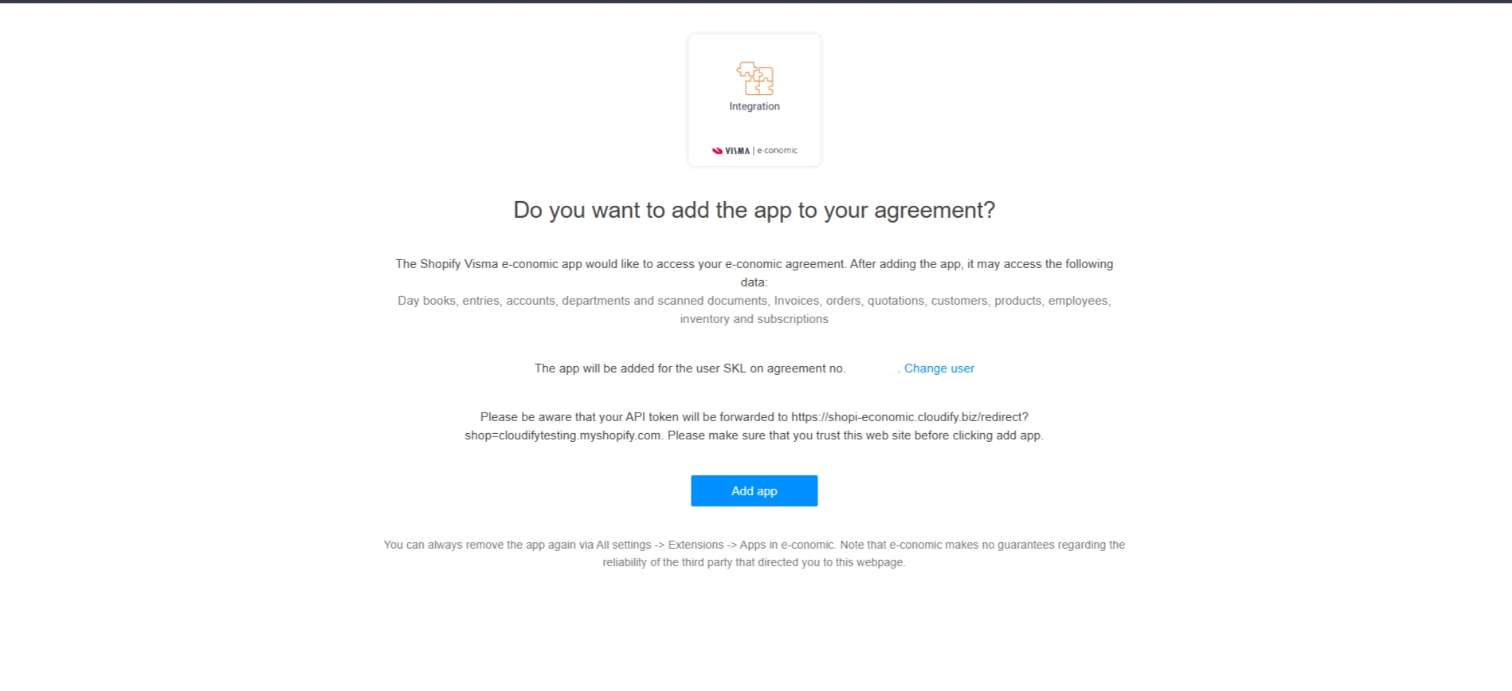
    Click the black **Connect to e-conomic** button. A Visma e-conomic login window opens.

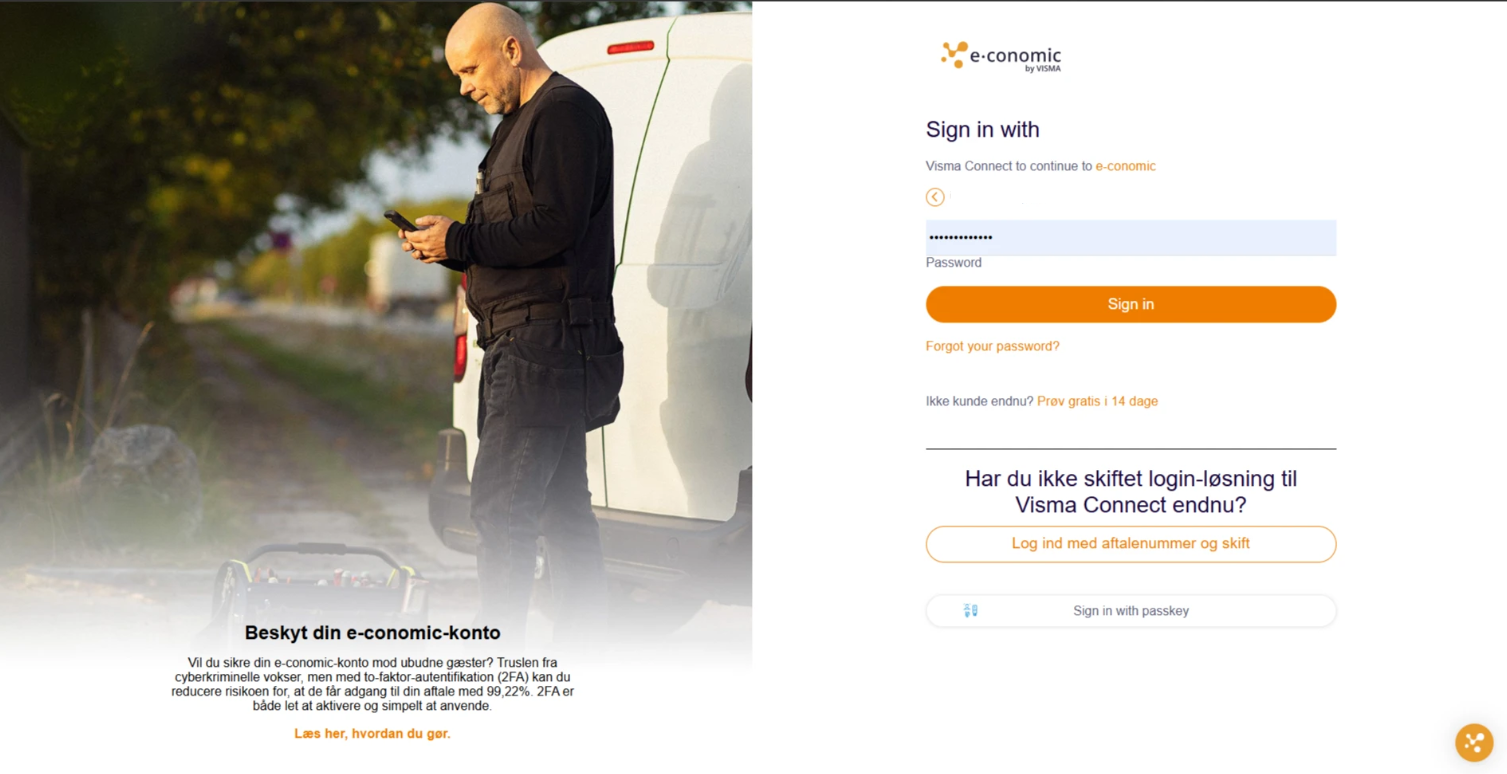
    * **If you already have an e-conomic account:** log in with your usual e-conomic username and password, and approve the connection.
    * **If you do not have an e-conomic account yet:** you can create one in the same window before connecting.

    The login happens on Visma's own secure page. The app never sees or stores your e-conomic password.

    Once you have logged in and approved, you are sent back to the app, and the connection is complete.

    <Info>
      If you want to see how the app works before connecting your real account, click **Schedule demo** instead. A team member will walk you through the setup live, free of charge.
    </Info>
  </Step>

  <Step title="Review your settings">
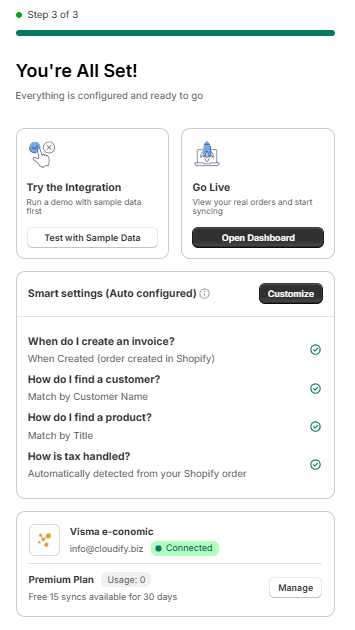
    After connecting, you land on the **You're All Set** page. The app has already chosen sensible settings for you. You can use these as they are, or change them at any time.

    <Frame>
      <img src="https://mintcdn.com/cloudify-c7720744/KEVcLt-o-TB1YG0w/images/Screenshot-2026-07-17-014935.jpeg?fit=max&auto=format&n=KEVcLt-o-TB1YG0w&q=85&s=9309286503f928eb189a6e96d477e432" alt="Screenshot 2026 07 17 014935" width="772" height="724" data-path="images/Screenshot-2026-07-17-014935.jpeg" />
    </Frame>

    **What the automatic settings mean:**

    | Setting                                 | What the app does                                                                                                                               | Why it matters                                     |
    | --------------------------------------- | ----------------------------------------------------------------------------------------------------------------------------------------------- | -------------------------------------------------- |
    | Invoice creation: When Created          | An invoice is made in e-conomic the moment an order is placed in Shopify                                                                        | You never have to create invoices manually         |
    | Customer lookup: Based on Customer Name | The app checks if the customer already exists in e-conomic by matching their name. If yes, it reuses that customer. If no, it creates a new one | Prevents duplicate customers in your accounting    |
    | Product lookup: Based on Title          | The app matches Shopify products to e-conomic products by product name                                                                          | Keeps your product list consistent in both systems |
    | Tax handling: Automated                 | The app reads the tax (VAT) on each Shopify order and applies the correct tax code in e-conomic                                                 | Your VAT is booked correctly without manual work   |

    To change any of these, click **Customize** in the top right of the settings box.

    <Info>
      By default, every order is sent to e-conomic as its own invoice. If you would rather book your sales as one daily summary instead of individual invoices (common for shops with many small orders), click **Switch in Settings** and choose Sales Summary Sync.
    </Info>
  </Step>

  <Step title="Set up journal entries (optional, for Booked Invoices)">
    This section only applies if your invoices are booked (finalized) in e-conomic. It tells the app which accounts in your chart of accounts to use when recording payments.

    When you turn on the **Journal Entry Preferences** toggle, a confirmation popup appears: **Enable bookkeeping?**

    This popup explains that once you confirm, the app will start creating journal entries in the e-conomic accounts you select below.

    <Warning>
      Start in **Manual mode**. In Manual mode, the app prepares the journal entries but does not book them automatically, so you can review and test them first. Switch to Auto mode only once you have checked that the entries are correct.
    </Warning>

    Click **Confirm** to enable bookkeeping, or **Cancel** if you are not ready yet.

    <img src="https://mintcdn.com/cloudify-c7720744/KEVcLt-o-TB1YG0w/images/Screenshot-2026-07-17-020223.jpeg?fit=max&auto=format&n=KEVcLt-o-TB1YG0w&q=85&s=e2ded41a921d315eaa5268eedc0feaf0" alt="Screenshot 2026 07 17 020223" title="Screenshot 2026 07 17 020223" style={{ width:"46%" }} width="355" height="244" data-path="images/Screenshot-2026-07-17-020223.jpeg" />

    If you are unsure what to choose here, click **Send to accountant**. This sends the settings to your accountant so they can pick the right accounts for you. You do not need to guess.

    The four fields:

    * **Clearing account for payment** – a temporary "waiting" account where the payment is recorded until the money actually arrives in your bank. This keeps your bookkeeping tidy while payments are on their way.
    * **Account for payment processor fee** – the account where fees from your payment provider (for example Shopify Payments or PayPal) are recorded as a cost.
    * **Account for payment to bank** – the account that represents your bank account, where the money is recorded once it is paid out to you.
    * **Select Journal** – the journal in e-conomic where these entries are placed. A journal is simply a folder where bookkeeping entries wait for approval.

    Choose an account in each dropdown and click **Save**.

    <img src="https://mintcdn.com/cloudify-c7720744/KEVcLt-o-TB1YG0w/images/Screenshot-2026-07-17-020344.jpeg?fit=max&auto=format&n=KEVcLt-o-TB1YG0w&q=85&s=1145fda09ec23925fc4ec242e216eaed" alt="Screenshot 2026 07 17 020344" title="Screenshot 2026 07 17 020344" style={{ width:"76%" }} width="513" height="408" data-path="images/Screenshot-2026-07-17-020344.jpeg" />
  </Step>

  <Step title="Test that everything works">
    Verify your integration before using it with live data.

    <Frame>
      <img src="https://mintcdn.com/cloudify-c7720744/KEVcLt-o-TB1YG0w/images/Screenshot-2026-07-17-034518.jpeg?fit=max&auto=format&n=KEVcLt-o-TB1YG0w&q=85&s=55c66626fe6136e23161a3b76fa1c2ef" alt="Screenshot 2026 07 17 034518" width="778" height="337" data-path="images/Screenshot-2026-07-17-034518.jpeg" />
    </Frame>

    1. In the **Quick actions** box on the right, click **Test with Sample Data**. The app creates a test invoice in e-conomic using sample information.
    2. Open e-conomic and confirm the test invoice appeared.
    3. Back in the app, click **Open Dashboard**. The dashboard shows every order that has been synced, so you can always see what was sent to e-conomic and when.

    Setup is now complete. From this point on, new Shopify orders are sent to e-conomic automatically.
  </Step>
</Steps>