> ## Documentation Index
> Fetch the complete documentation index at: https://docs.cloudify.biz/llms.txt
> Use this file to discover all available pages before exploring further.
# Installing the plugin
> How to install and connect the WooCommerce–Xero plugin.
## Step 1: Install the Plugin
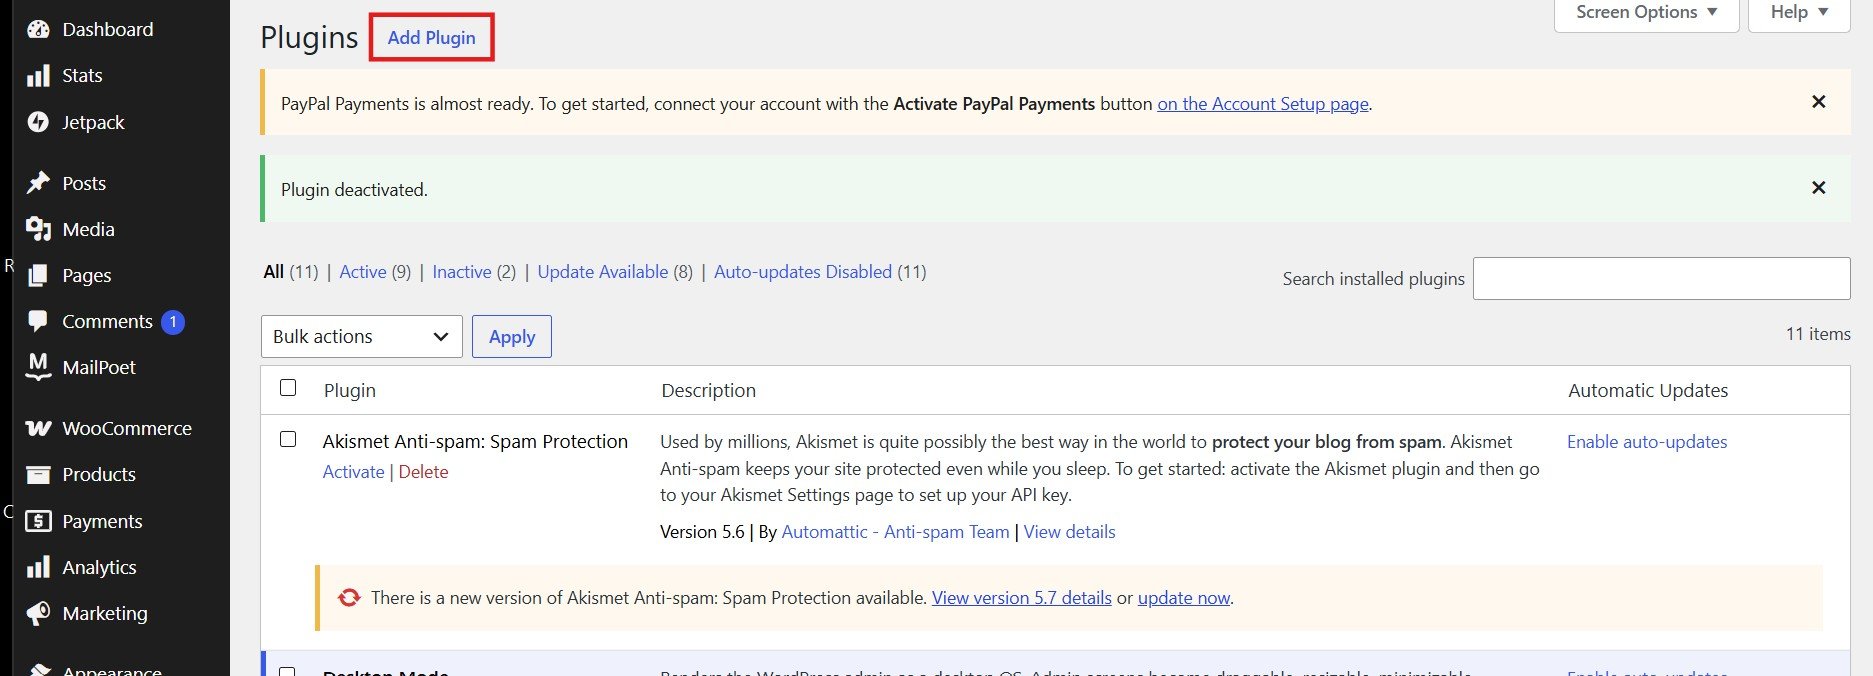
In your WordPress admin panel, navigate to **Plugins → Add Plugin**.
 In the search bar, type **Cloudify**. The plugin **Sync orders with Xero – Cloudify** will appear in the results.
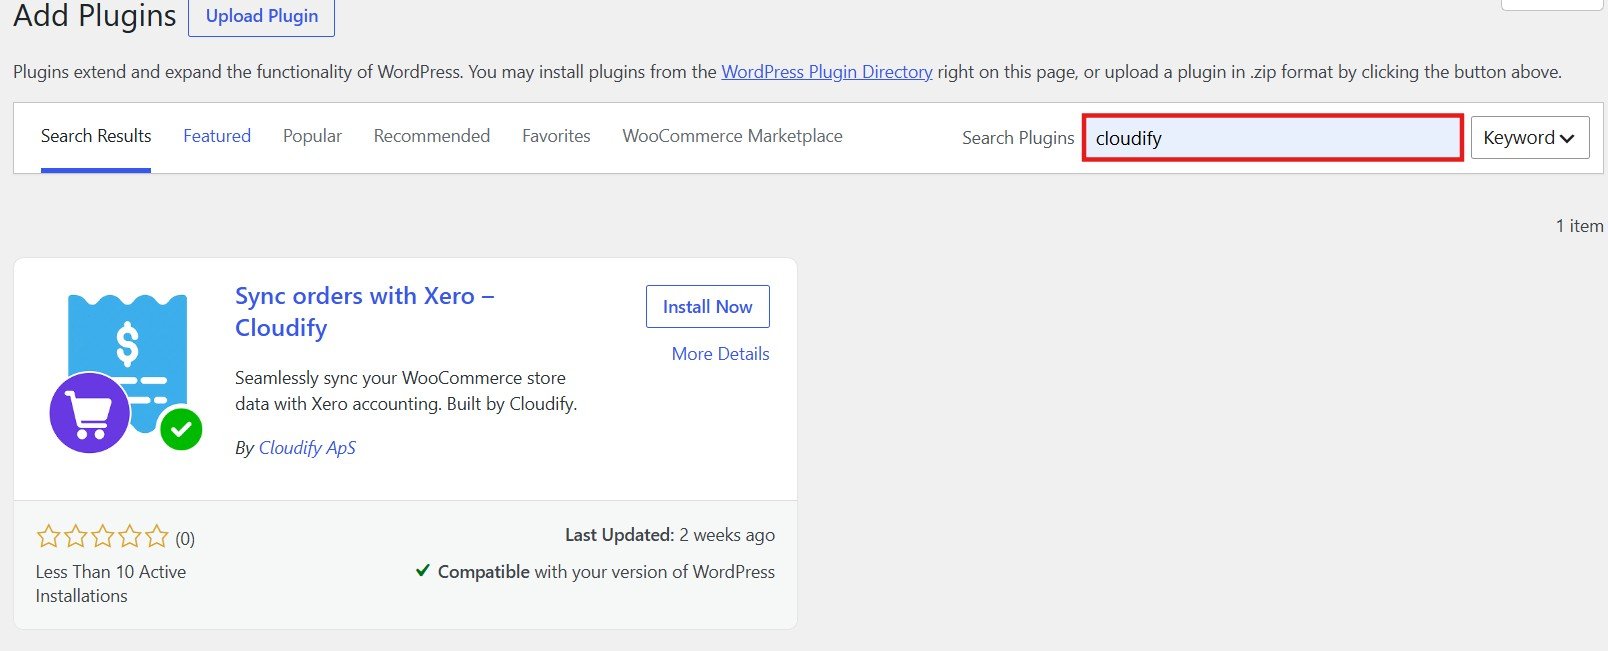
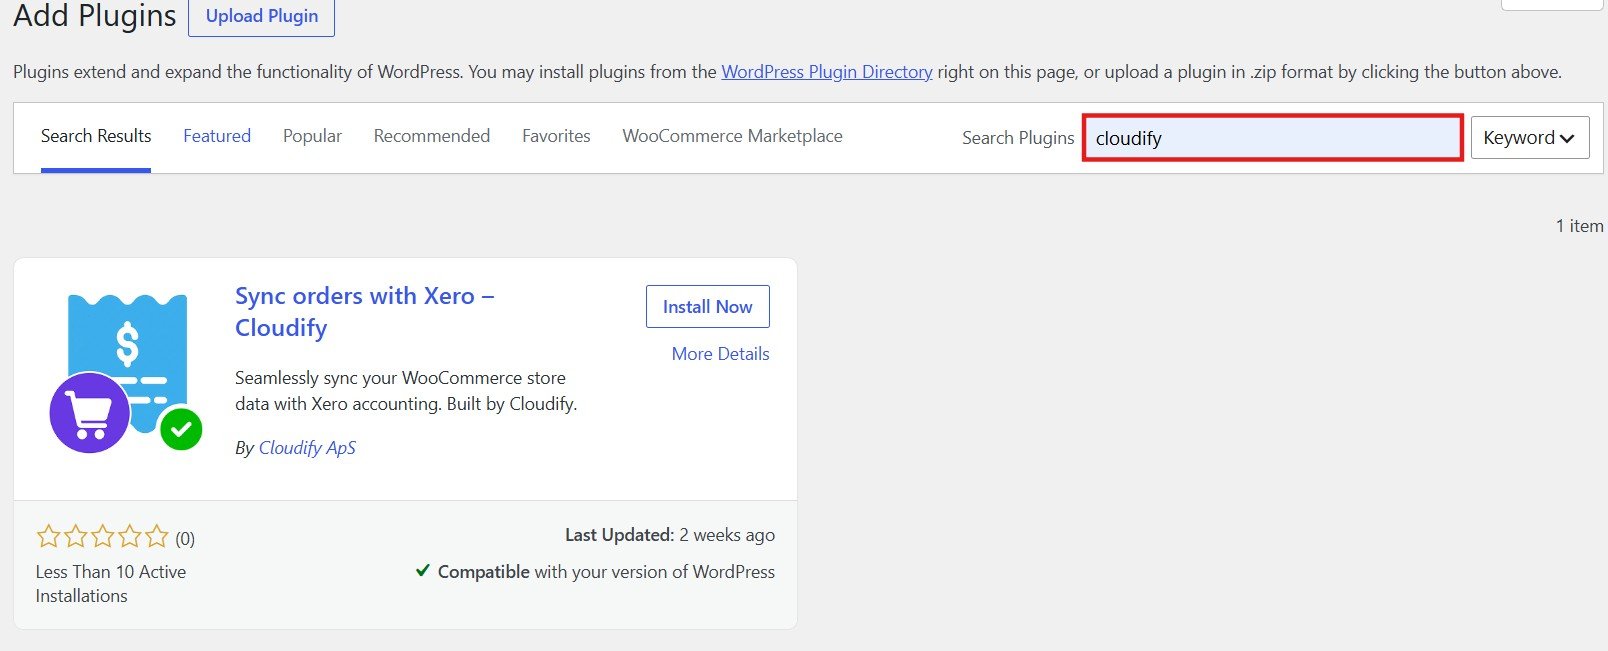 Click **Install Now**. WordPress will install the plugin in a few seconds.
***
## Step 2: Activate the Plugin
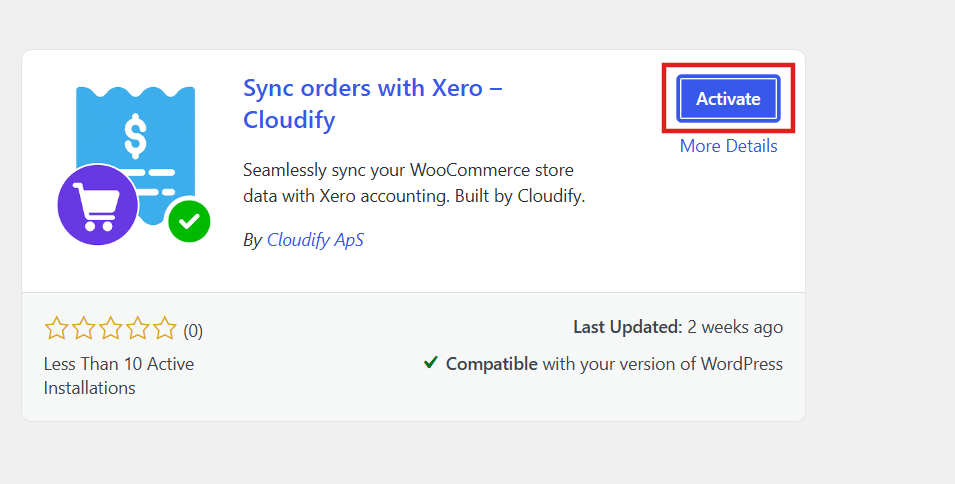
Once installed, click **Activate Plugin**.
Click **Install Now**. WordPress will install the plugin in a few seconds.
***
## Step 2: Activate the Plugin
Once installed, click **Activate Plugin**.
 ***
## Step 2: Set Up Your Account
After activation, a setup notice will appear at the top of the Plugins page.
***
## Step 2: Set Up Your Account
After activation, a setup notice will appear at the top of the Plugins page.
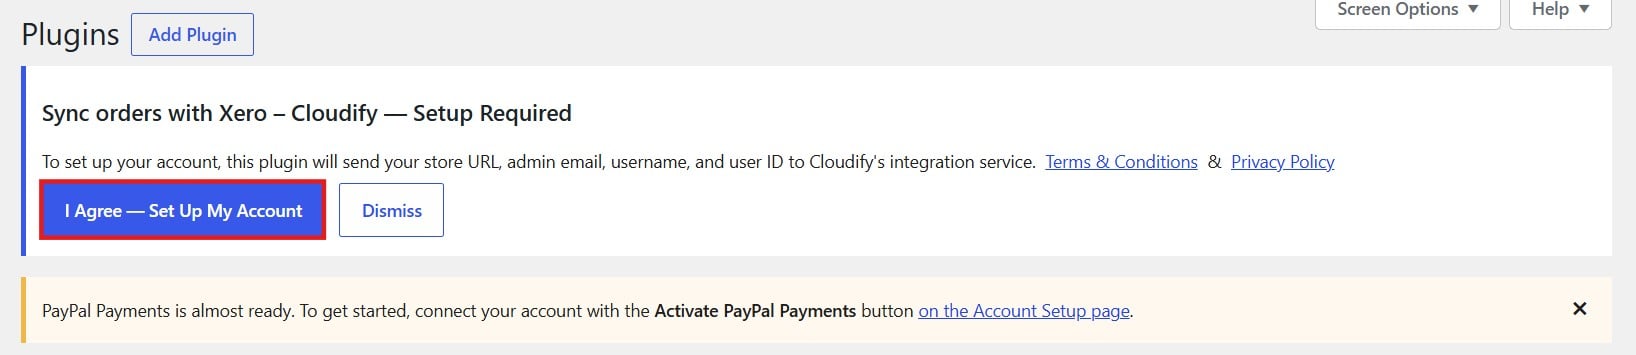 Click **I Agree — Set Up My Account**. This sends your store URL, admin email, username, and user ID to Cloudify's integration service to create your account.
Review the Terms & Conditions and Privacy Policy before proceeding.
***
## Step 3: Connect WooCommerce
You will be taken to the Cloudify app to connect your WooCommerce store.
Click **I Agree — Set Up My Account**. This sends your store URL, admin email, username, and user ID to Cloudify's integration service to create your account.
Review the Terms & Conditions and Privacy Policy before proceeding.
***
## Step 3: Connect WooCommerce
You will be taken to the Cloudify app to connect your WooCommerce store.
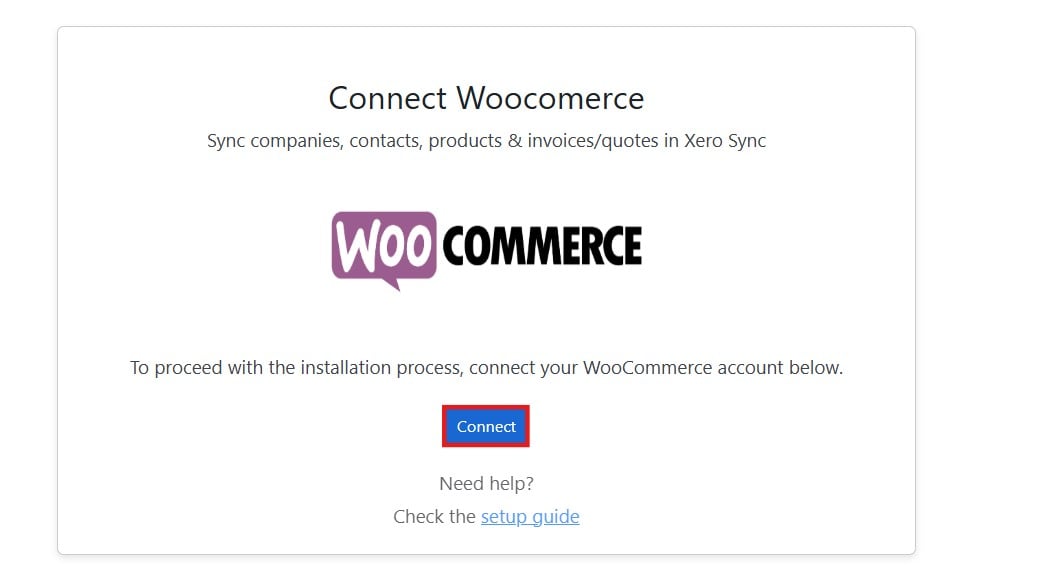 Click **Connect** to begin the WooCommerce authorisation process.
***
## Step 4: Approve WooCommerce Access
A WooCommerce authorisation screen will appear requesting Read/Write access to your store. This allows the integration to:
* Create webhooks
* View and manage customers
* View and manage orders and sales reports
* View and manage products
* View and manage coupons
Click **Connect** to begin the WooCommerce authorisation process.
***
## Step 4: Approve WooCommerce Access
A WooCommerce authorisation screen will appear requesting Read/Write access to your store. This allows the integration to:
* Create webhooks
* View and manage customers
* View and manage orders and sales reports
* View and manage products
* View and manage coupons
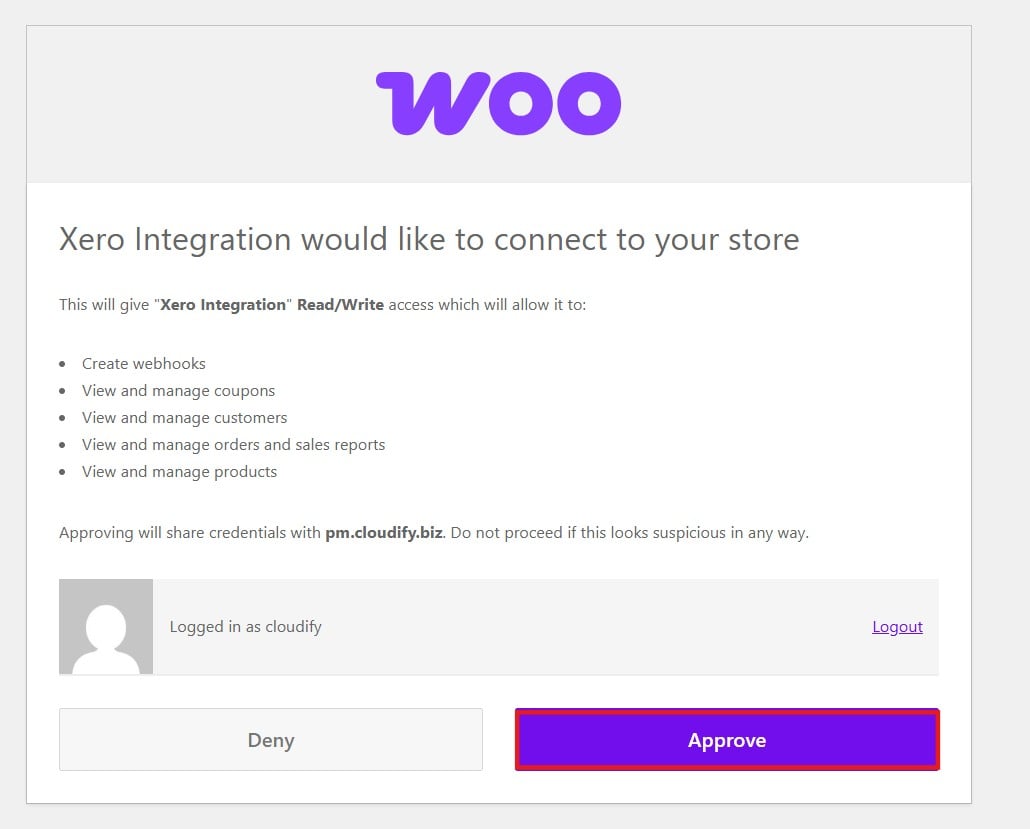 Click **Approve** to grant access.
***
## Step 5: Welcome Screen
You will be directed to the Xero Integration welcome screen.
Click **Approve** to grant access.
***
## Step 5: Welcome Screen
You will be directed to the Xero Integration welcome screen.
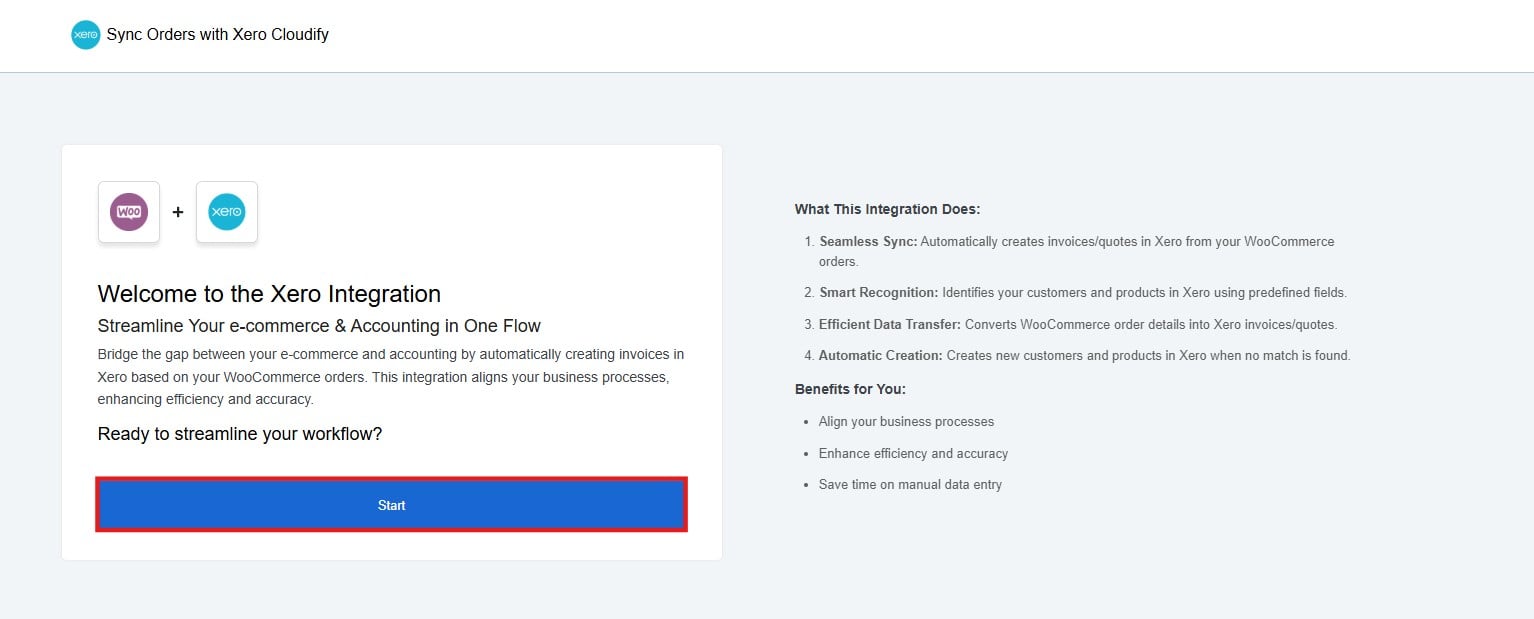 Click **Start** to proceed.
***
## Step 6: Connect Xero
Connect your Xero account and select your preferred organisation.
Click **Start** to proceed.
***
## Step 6: Connect Xero
Connect your Xero account and select your preferred organisation.
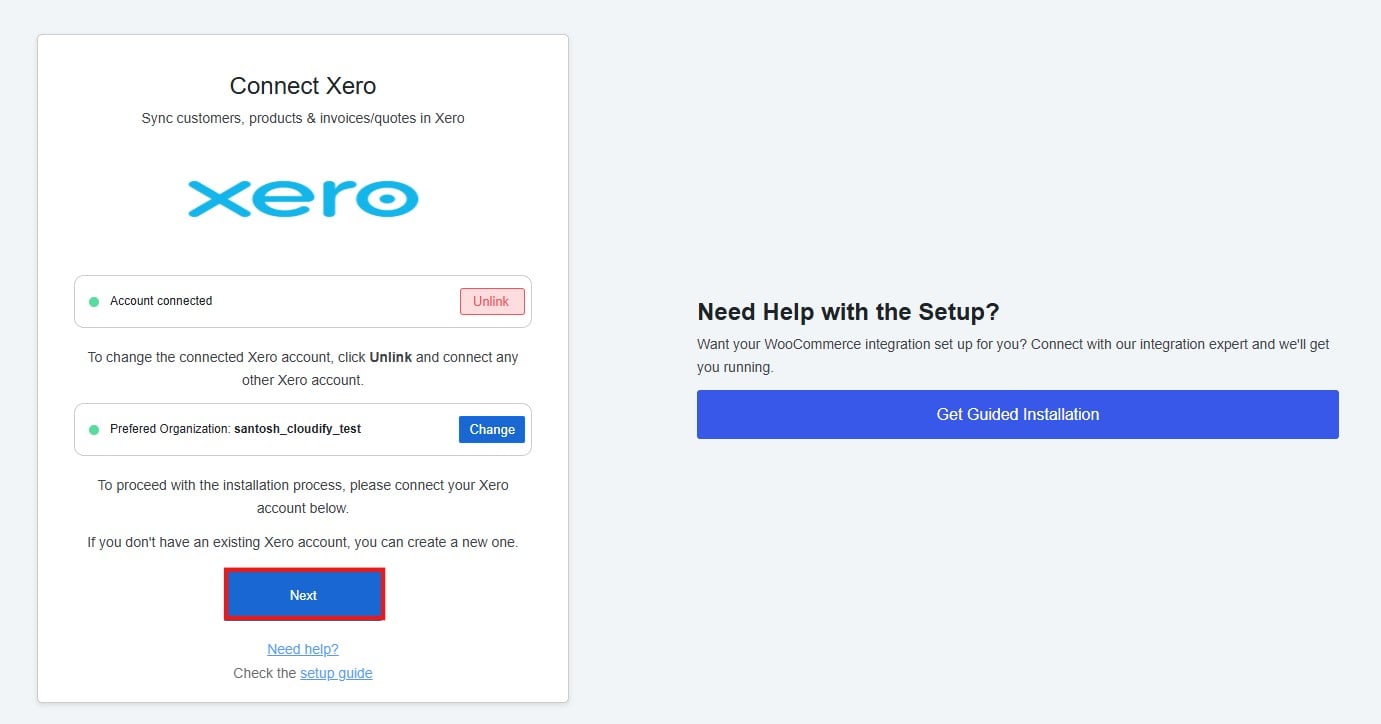 If you need to change the connected organisation later, click **Change** next to the Preferred Organisation field.
If you don't have a Xero account, you can create one at [xero.com](https://www.xero.com).
Click **Next** to continue to the Subscription step.
If you need to change the connected organisation later, click **Change** next to the Preferred Organisation field.
If you don't have a Xero account, you can create one at [xero.com](https://www.xero.com).
Click **Next** to continue to the Subscription step.