How to Turn On Customer Sync Rules
1
Click App Launcher on the screen’s left side.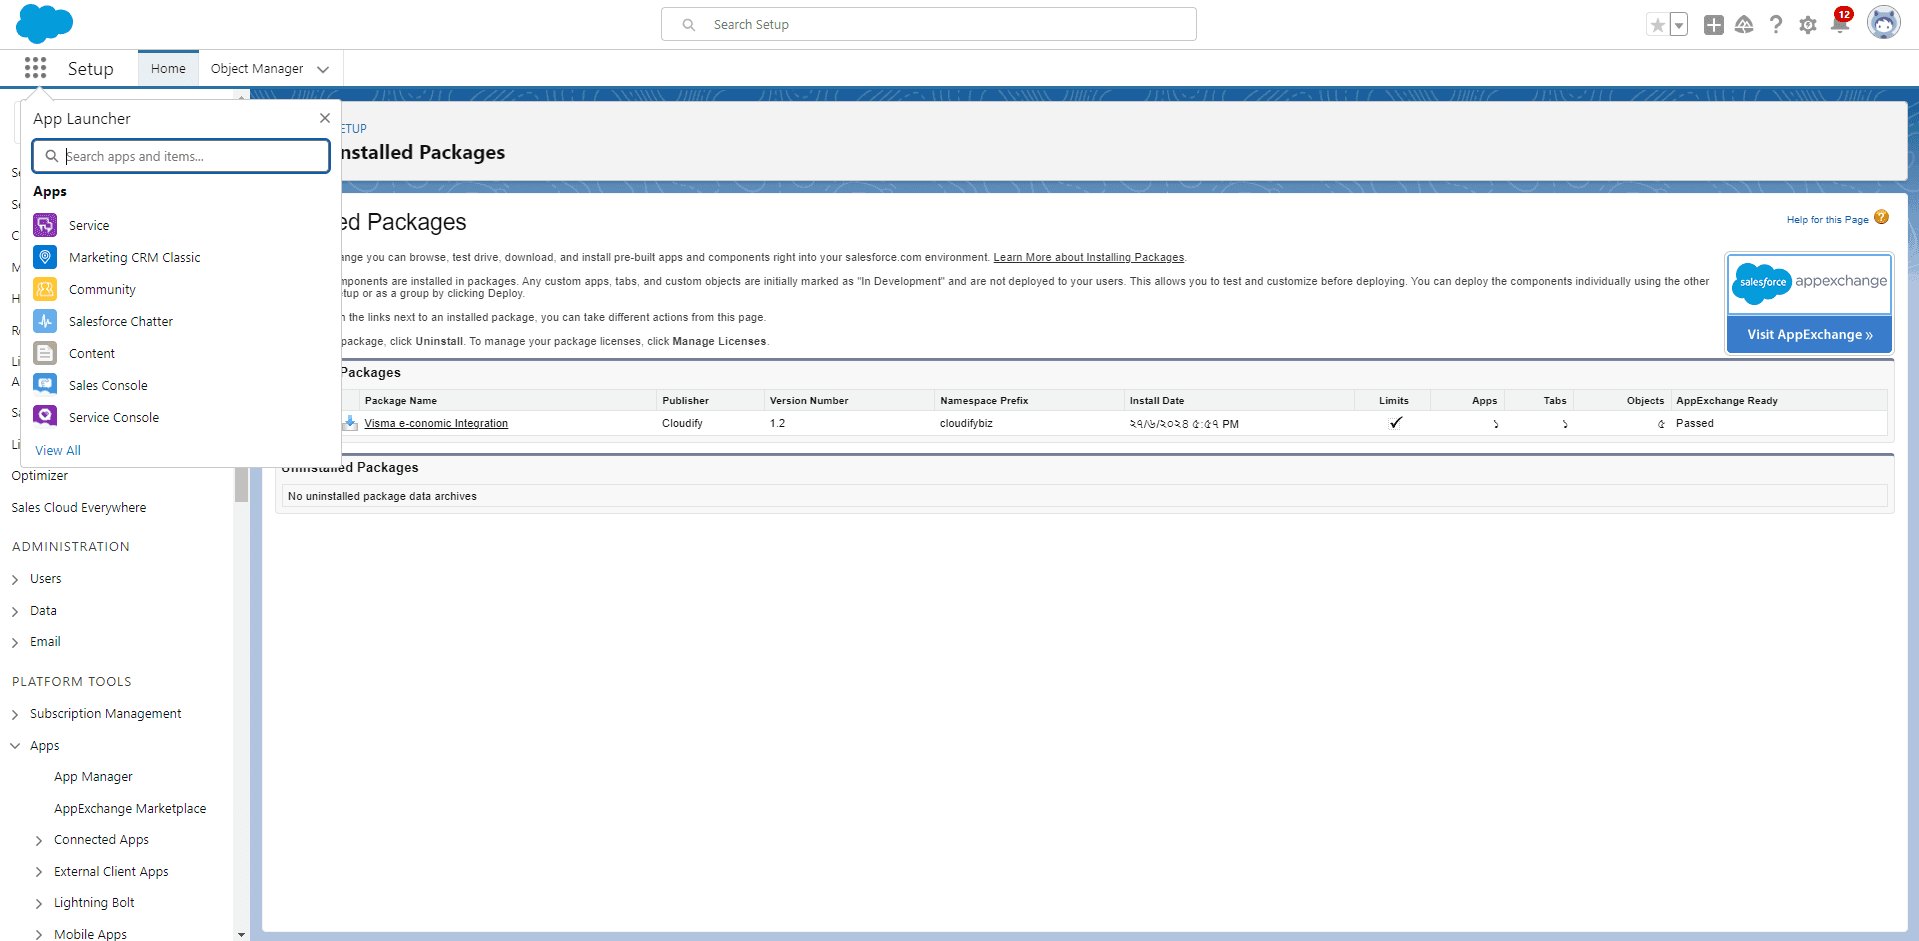
2
Search “Accounts” in the App Launcher.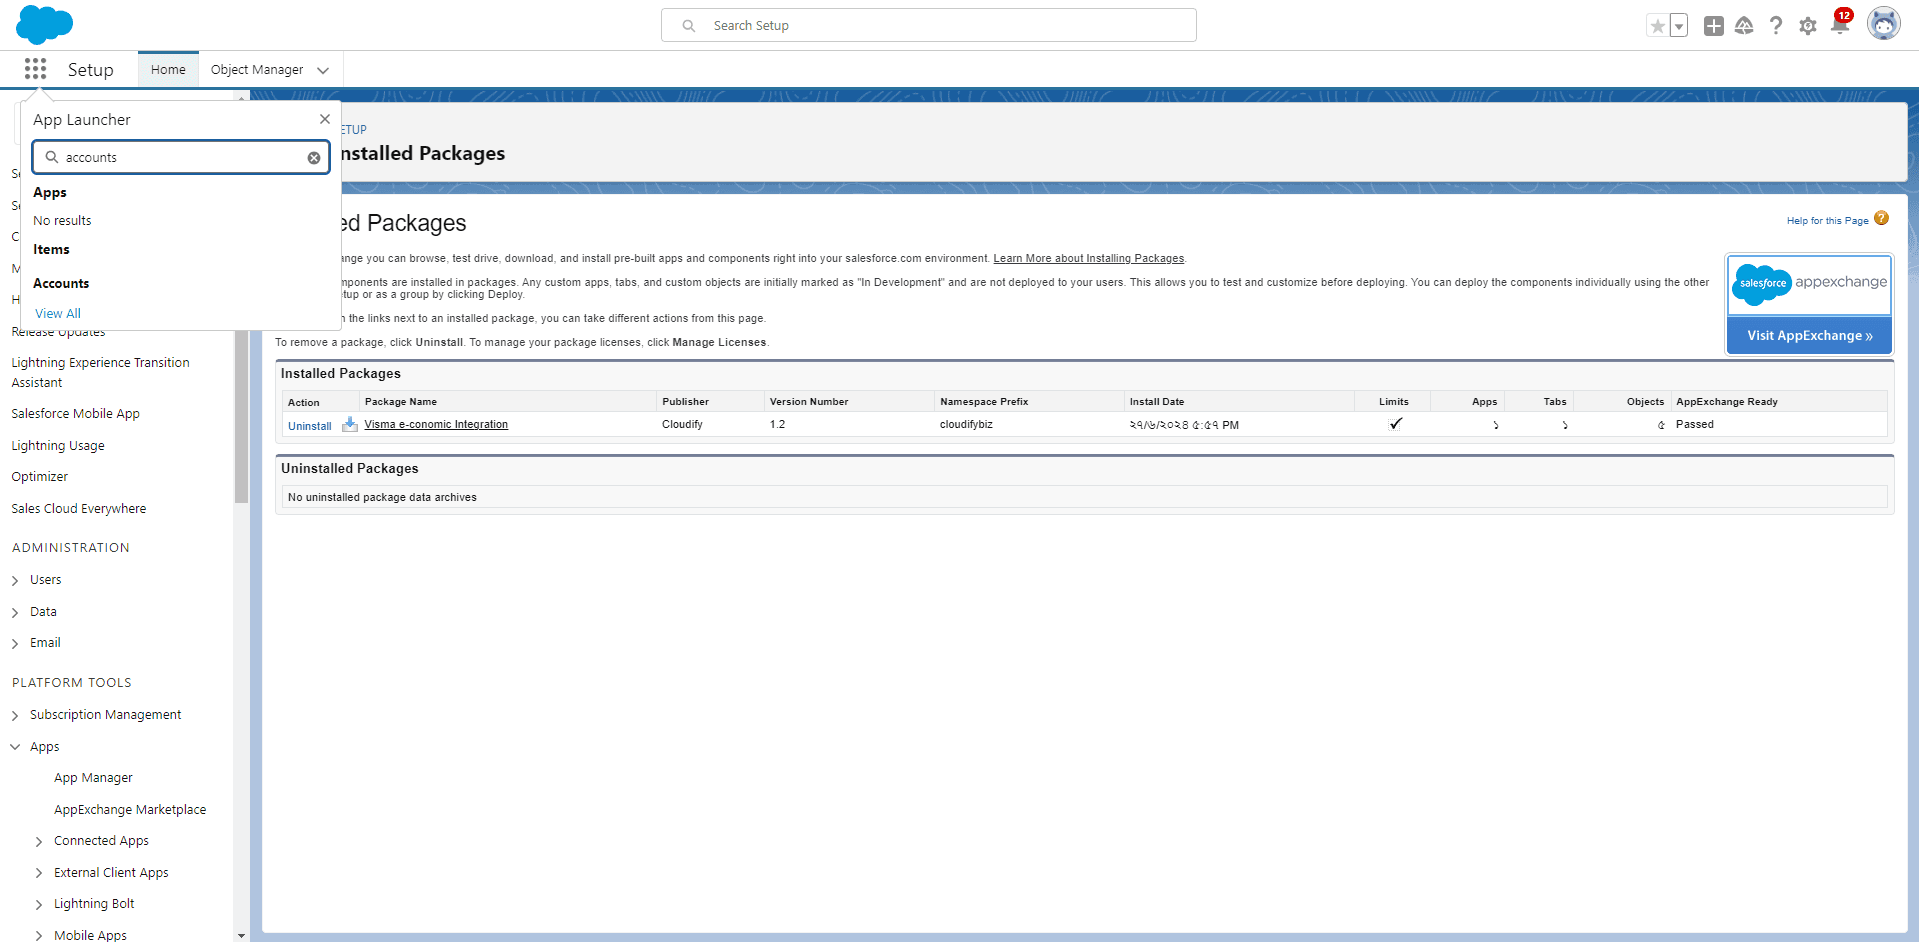
3
Click the account name as per your requirement.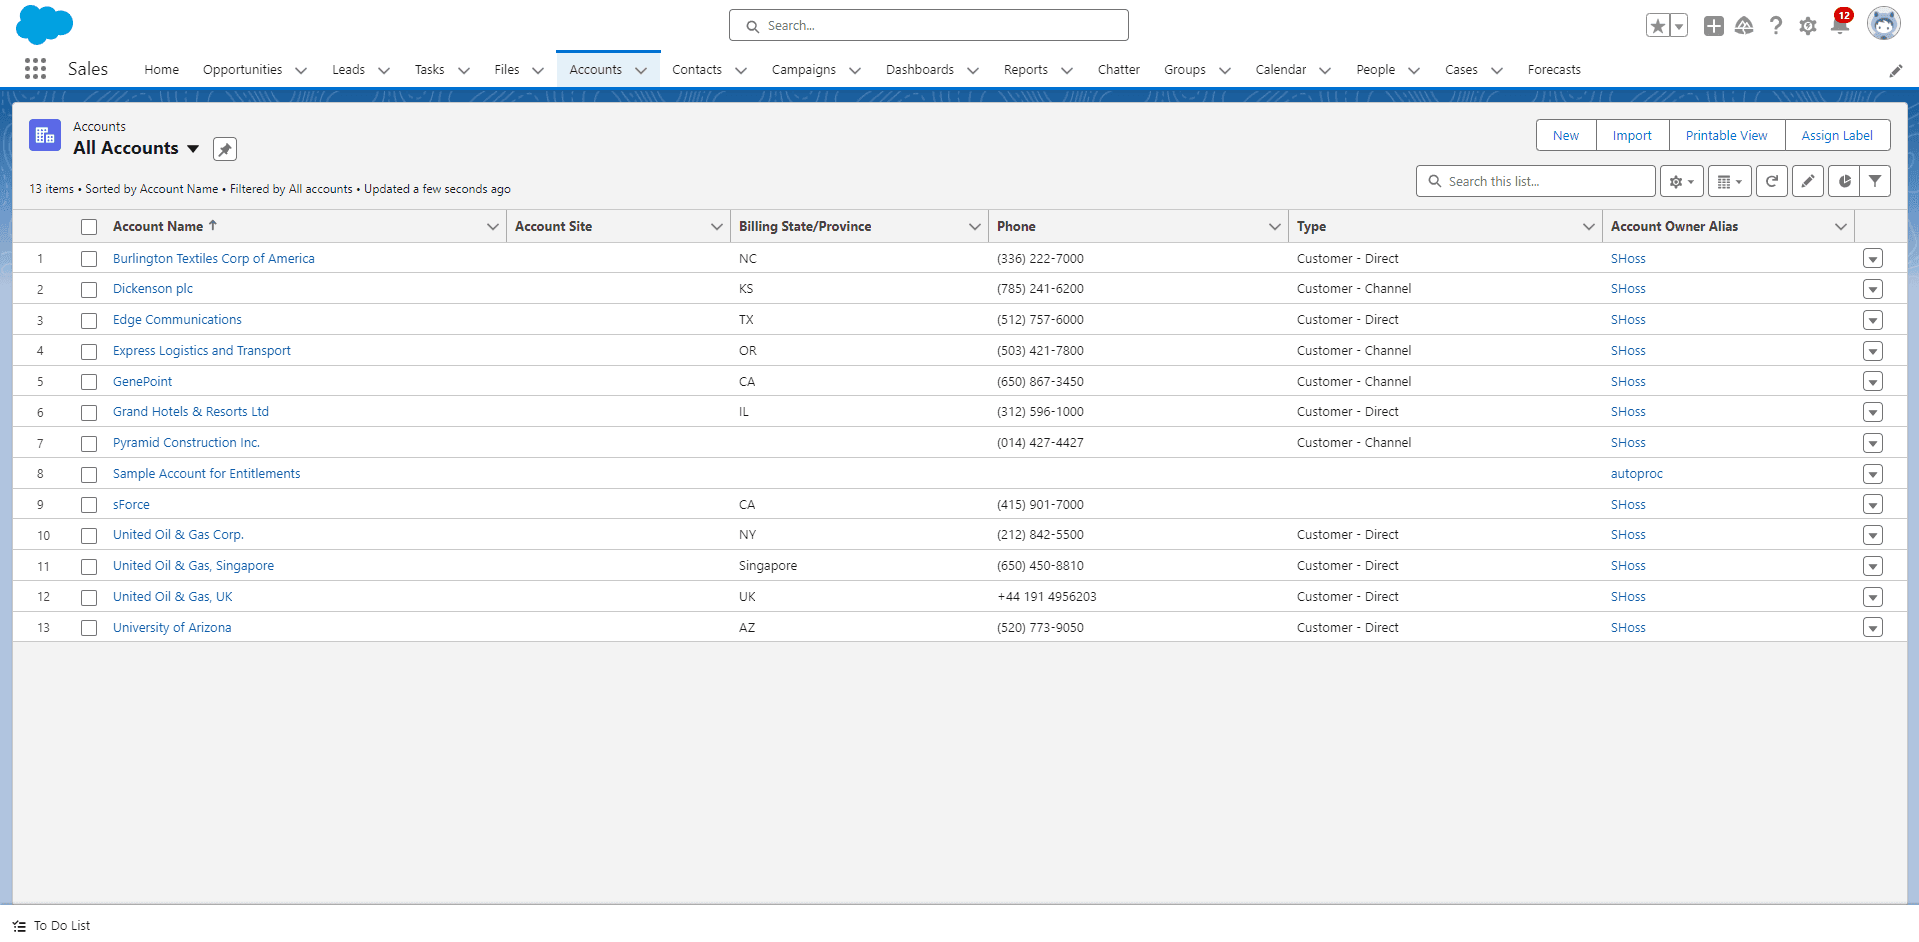
4
You will be redirected to the account name page.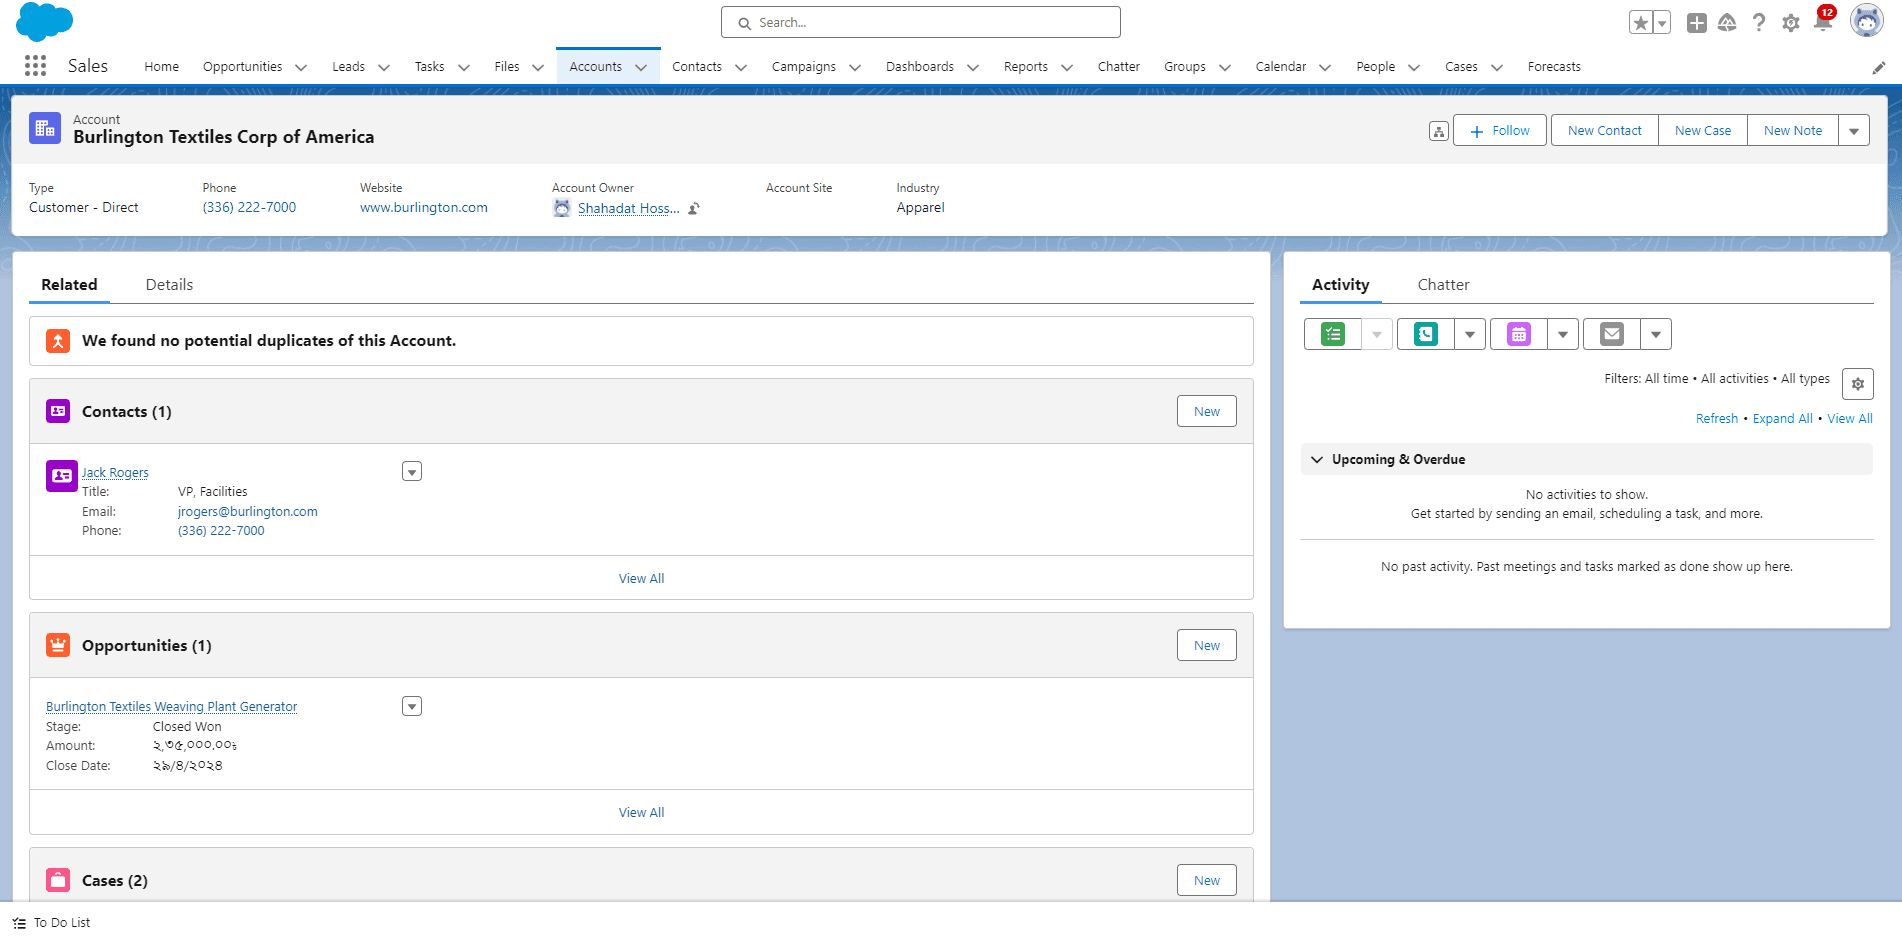
5
Click “Settings” and then click “Edit Page”. The page will open in editing format.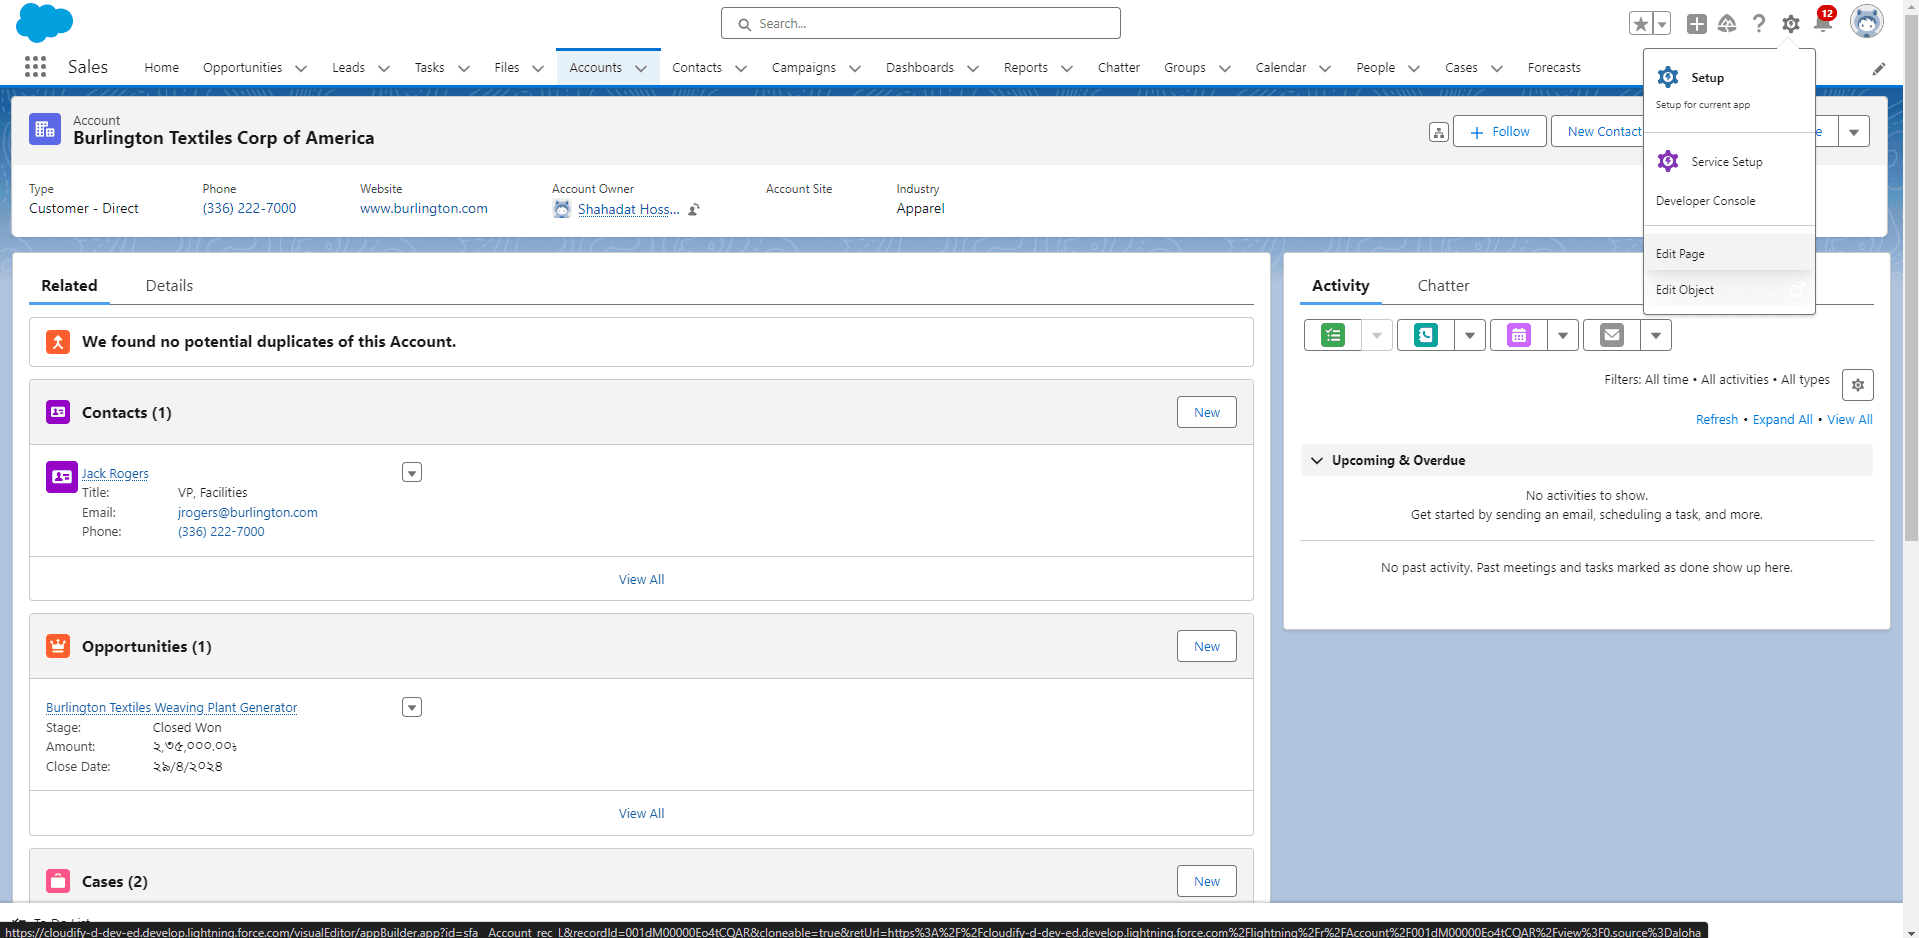
6
On the left side of the screen, under “Custom - Managed”, you will find Visma e-conomic.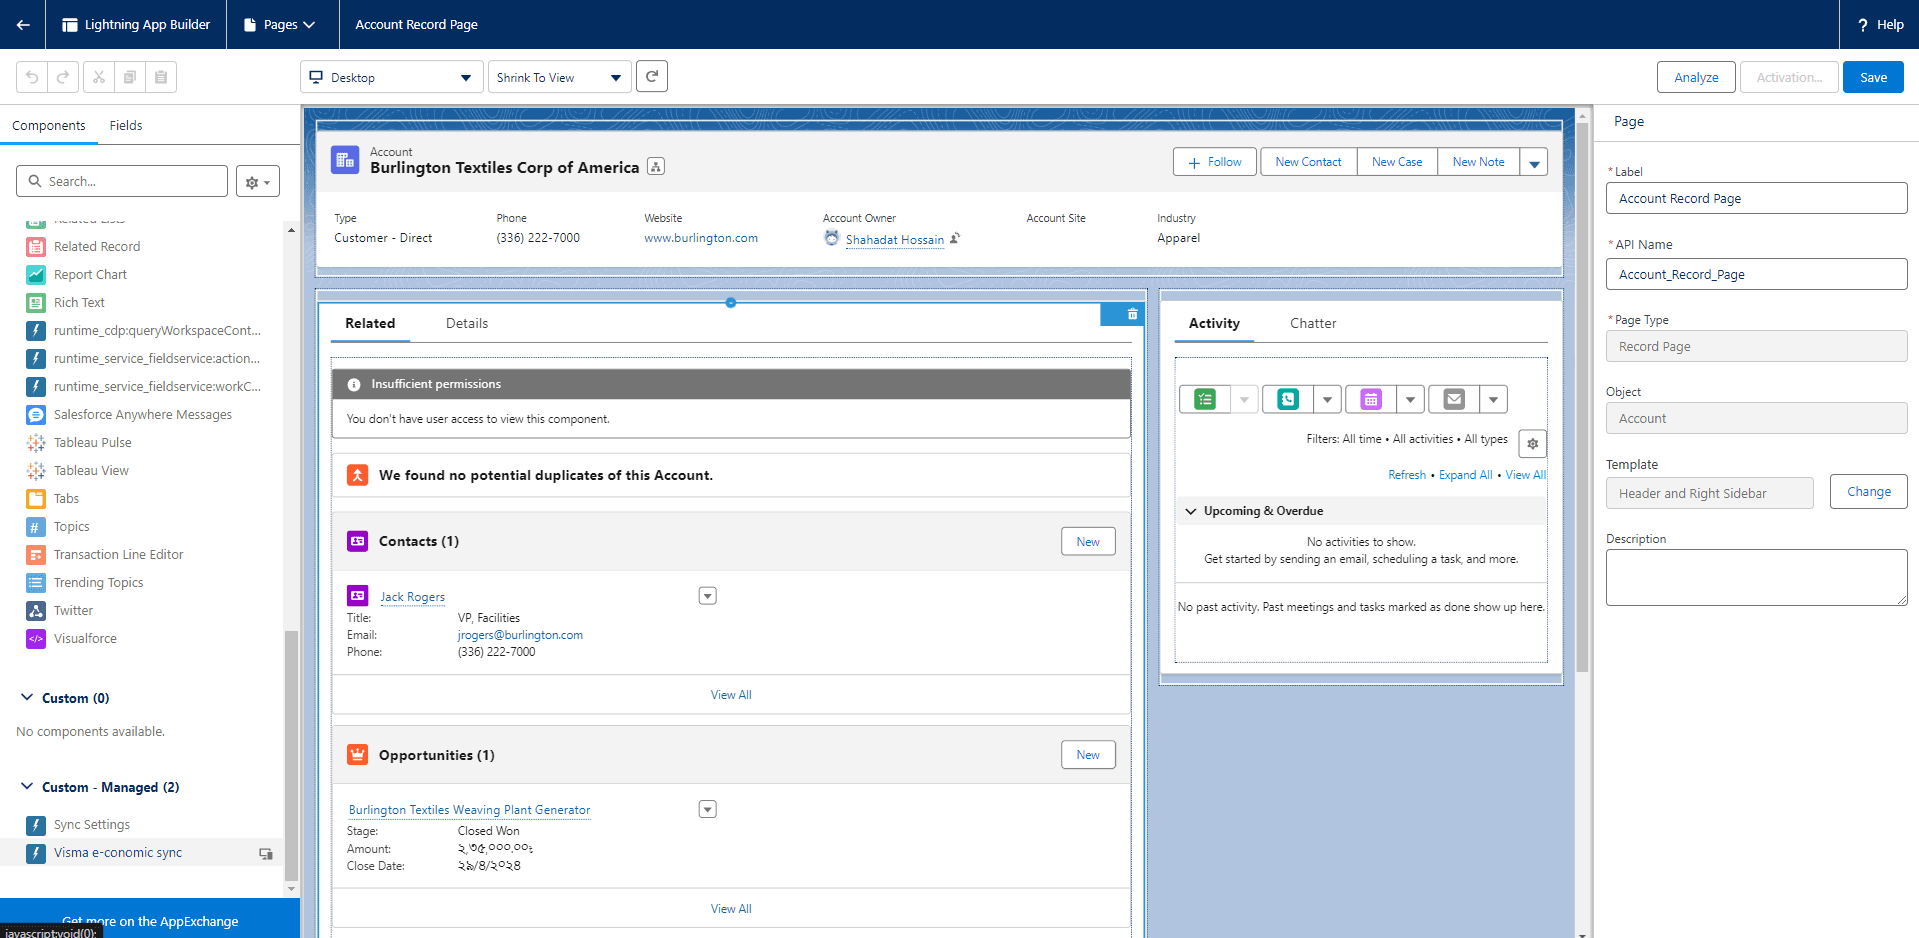
7
Click on it to proceed to the next step.
8
Drag Visma e-conomic and drop it on the right side of the “Activity” page.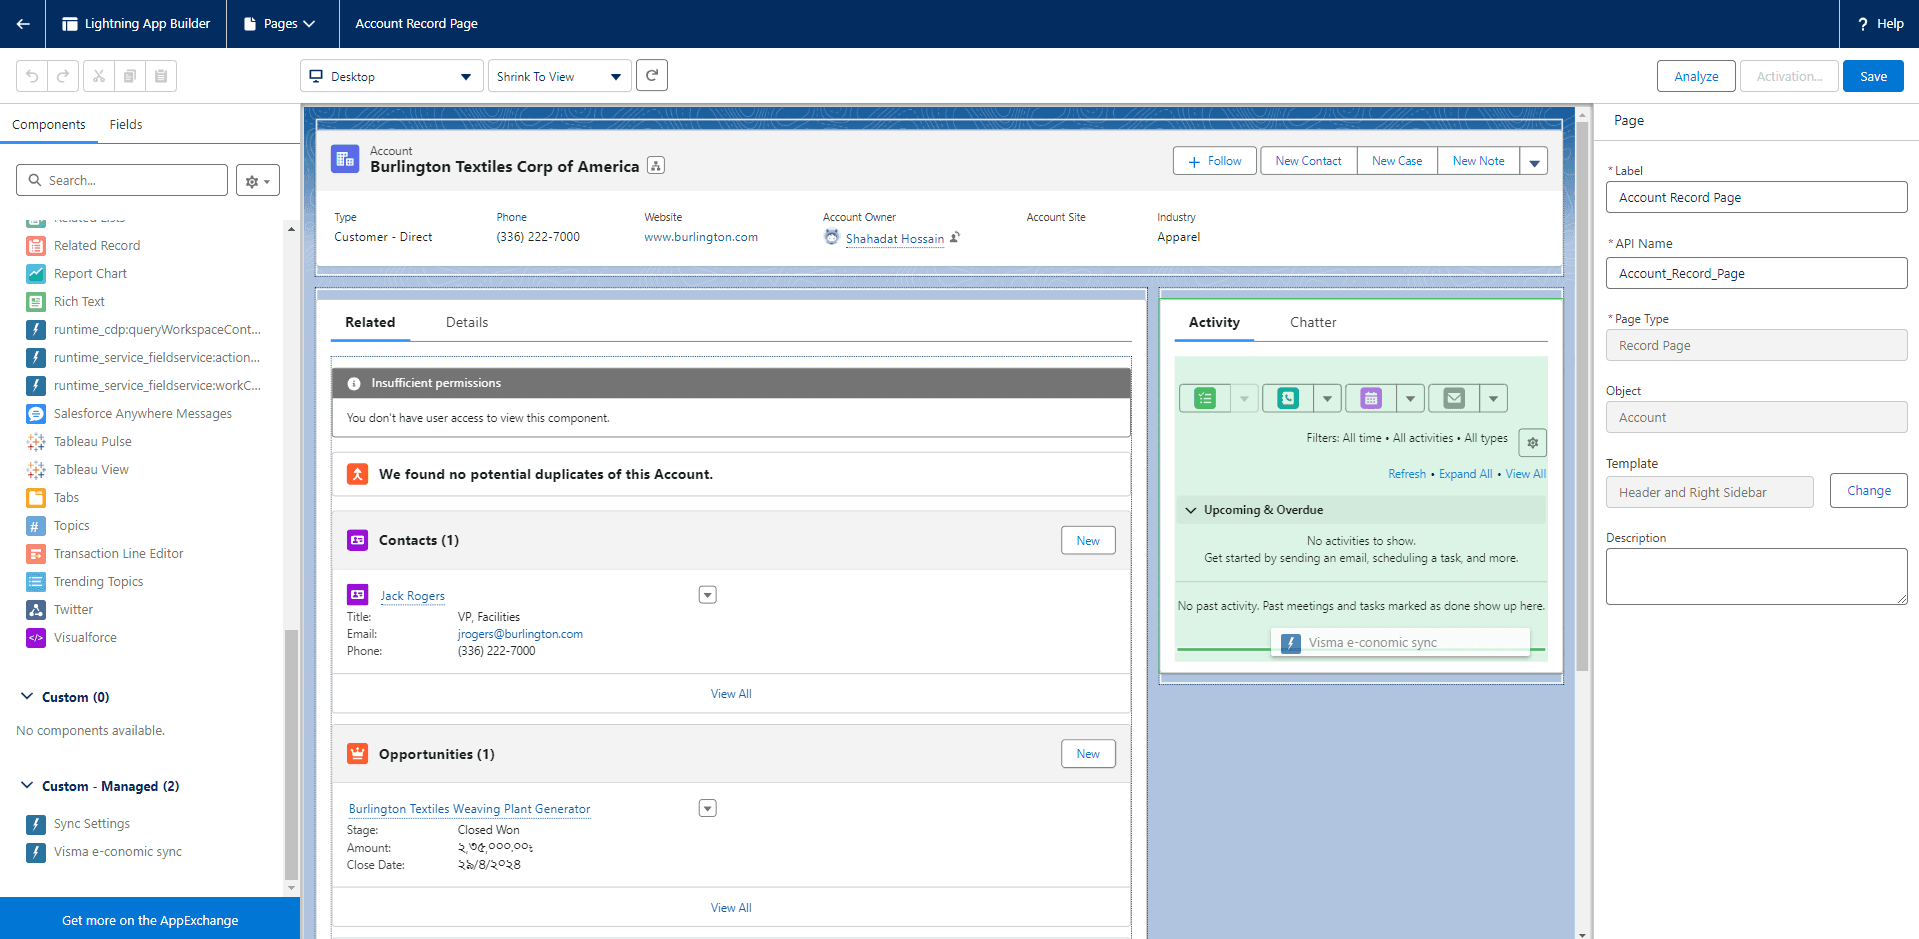
9
The “Customer Sync” dialogue box will appear automatically.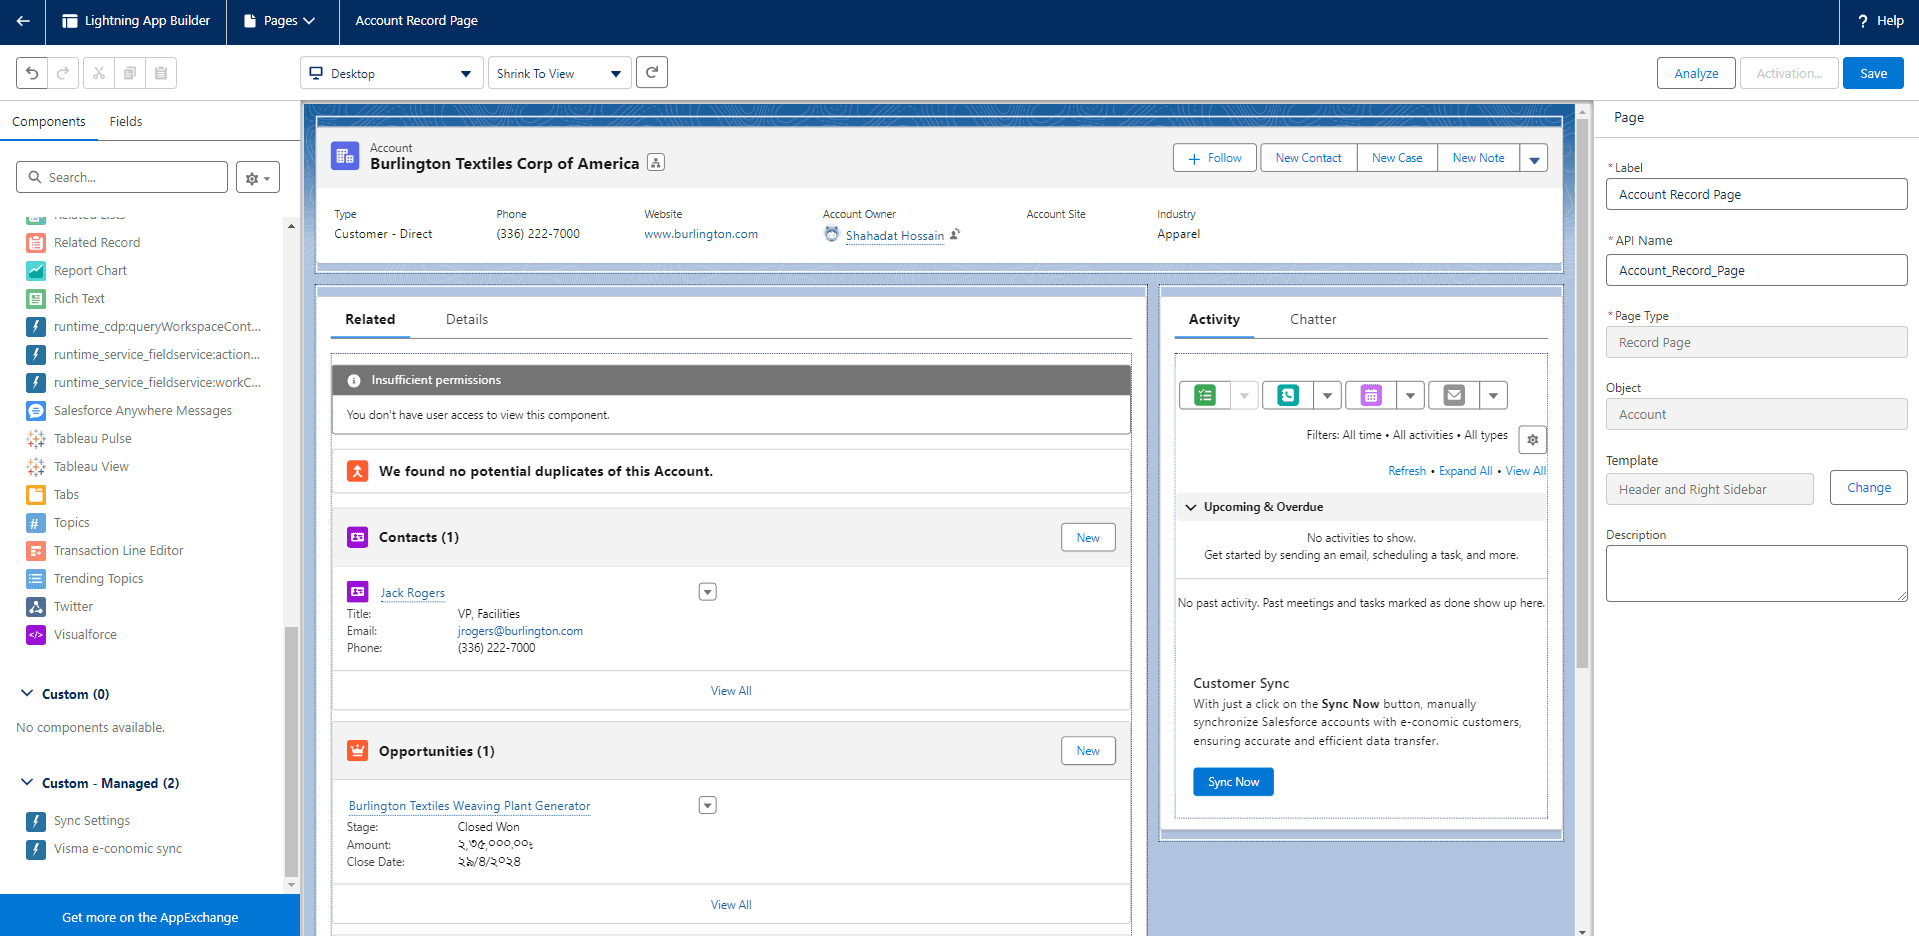
10
Click “Save”.
11
A new confirmation screen will appear. Click “Activate”.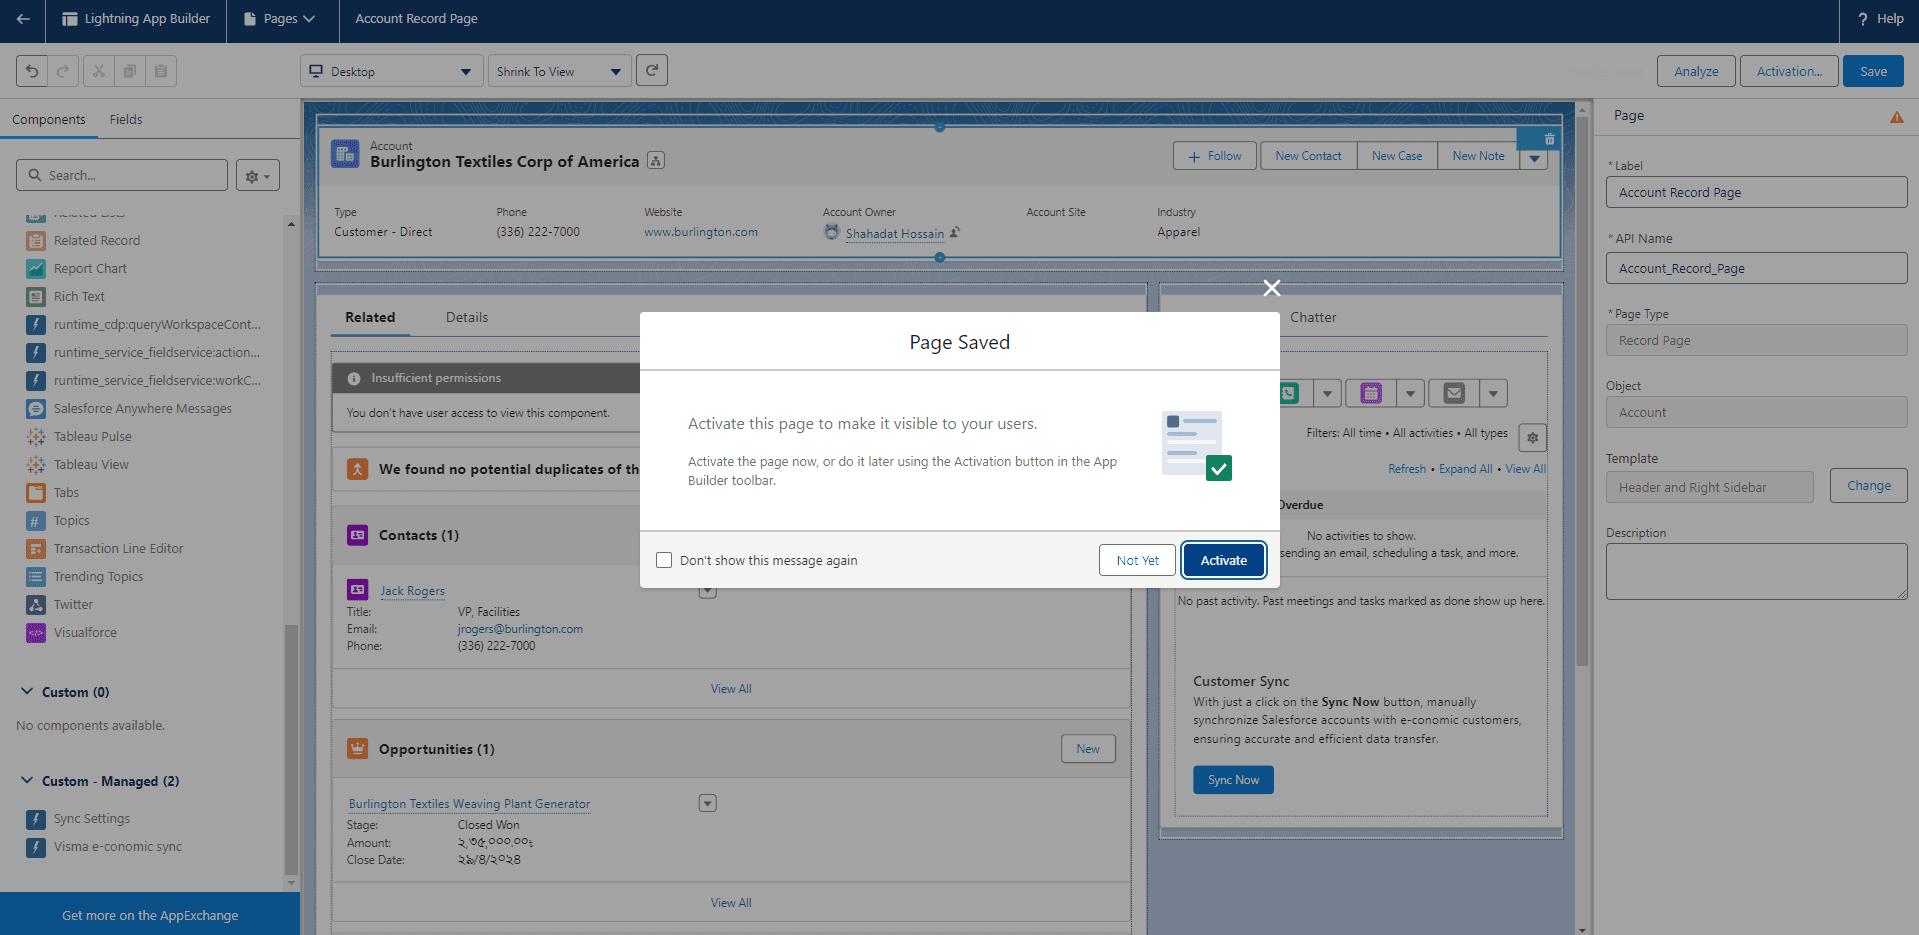
12
A new dialogue box will appear. Scroll down and click “Assign as Org Default”.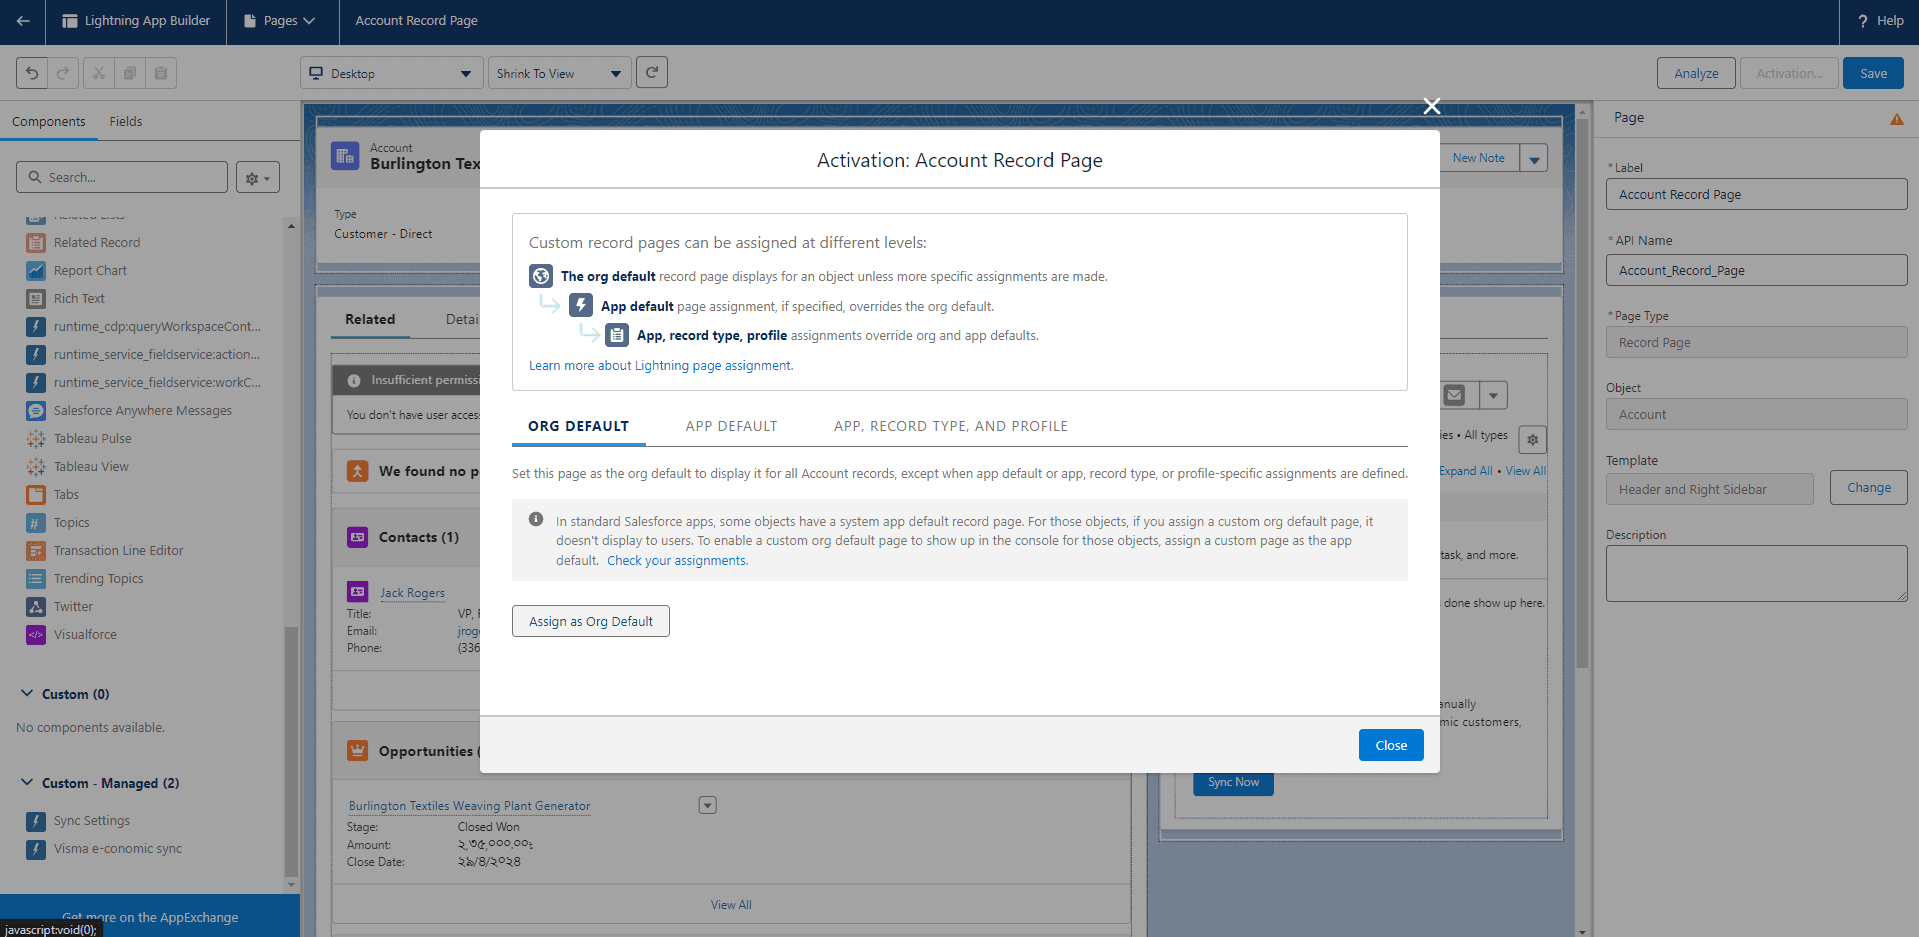
13
You will see three options for form factors. Select the one that fits your needs:
- Desktop — makes the default page available only on desktop computers.
- Phone — makes the default page available only on mobile phones.
- Desktop and phone — makes the default page accessible on both desktop and mobile.
14
Click “Desktop”, then click “Save”.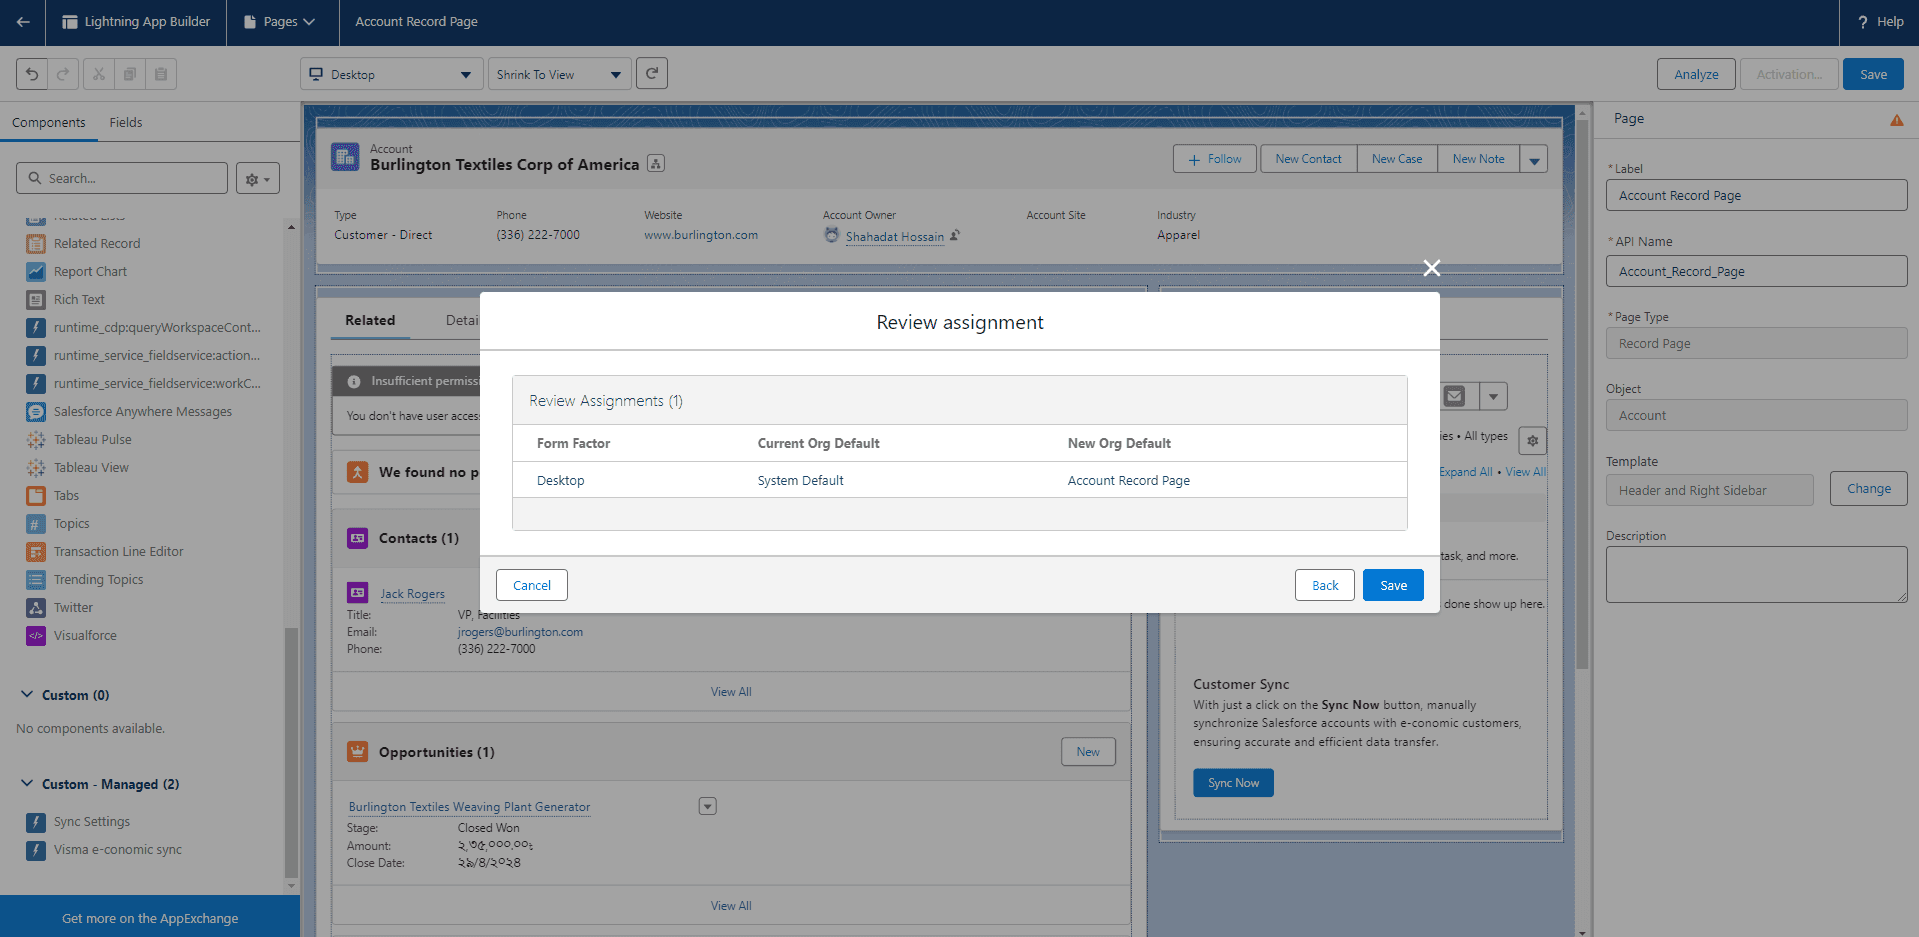
15
Click the back arrow on the left side of the screen.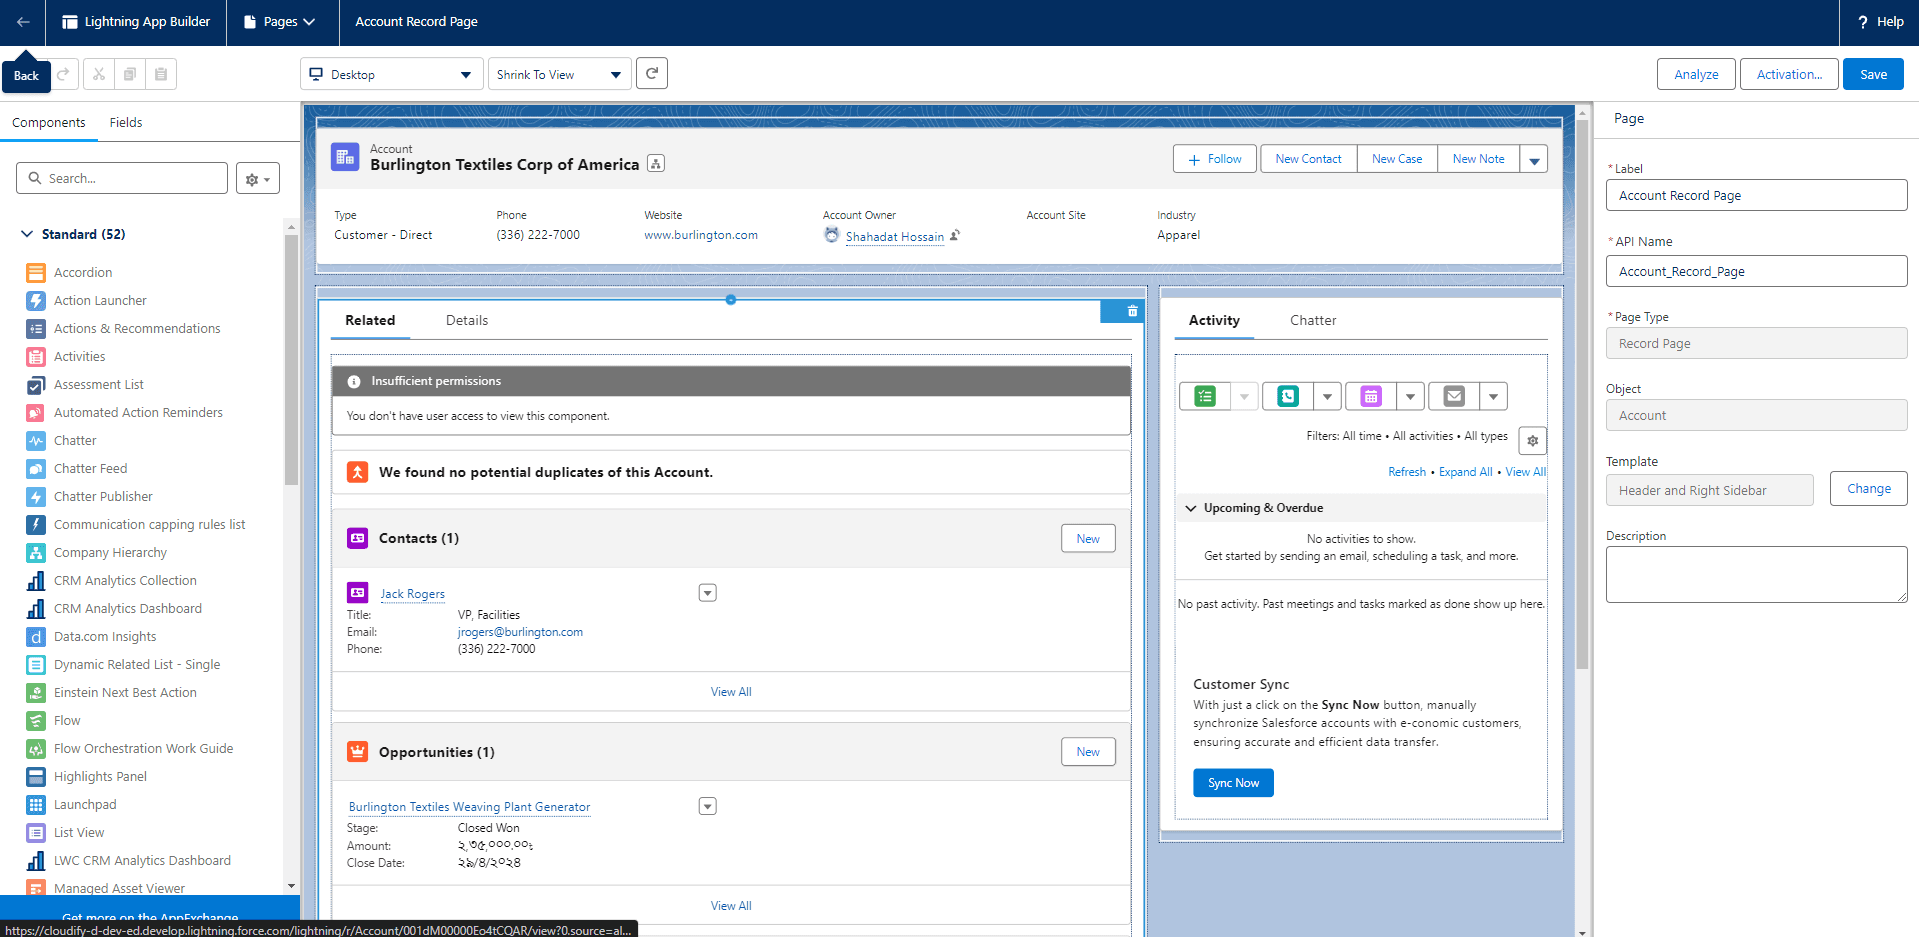
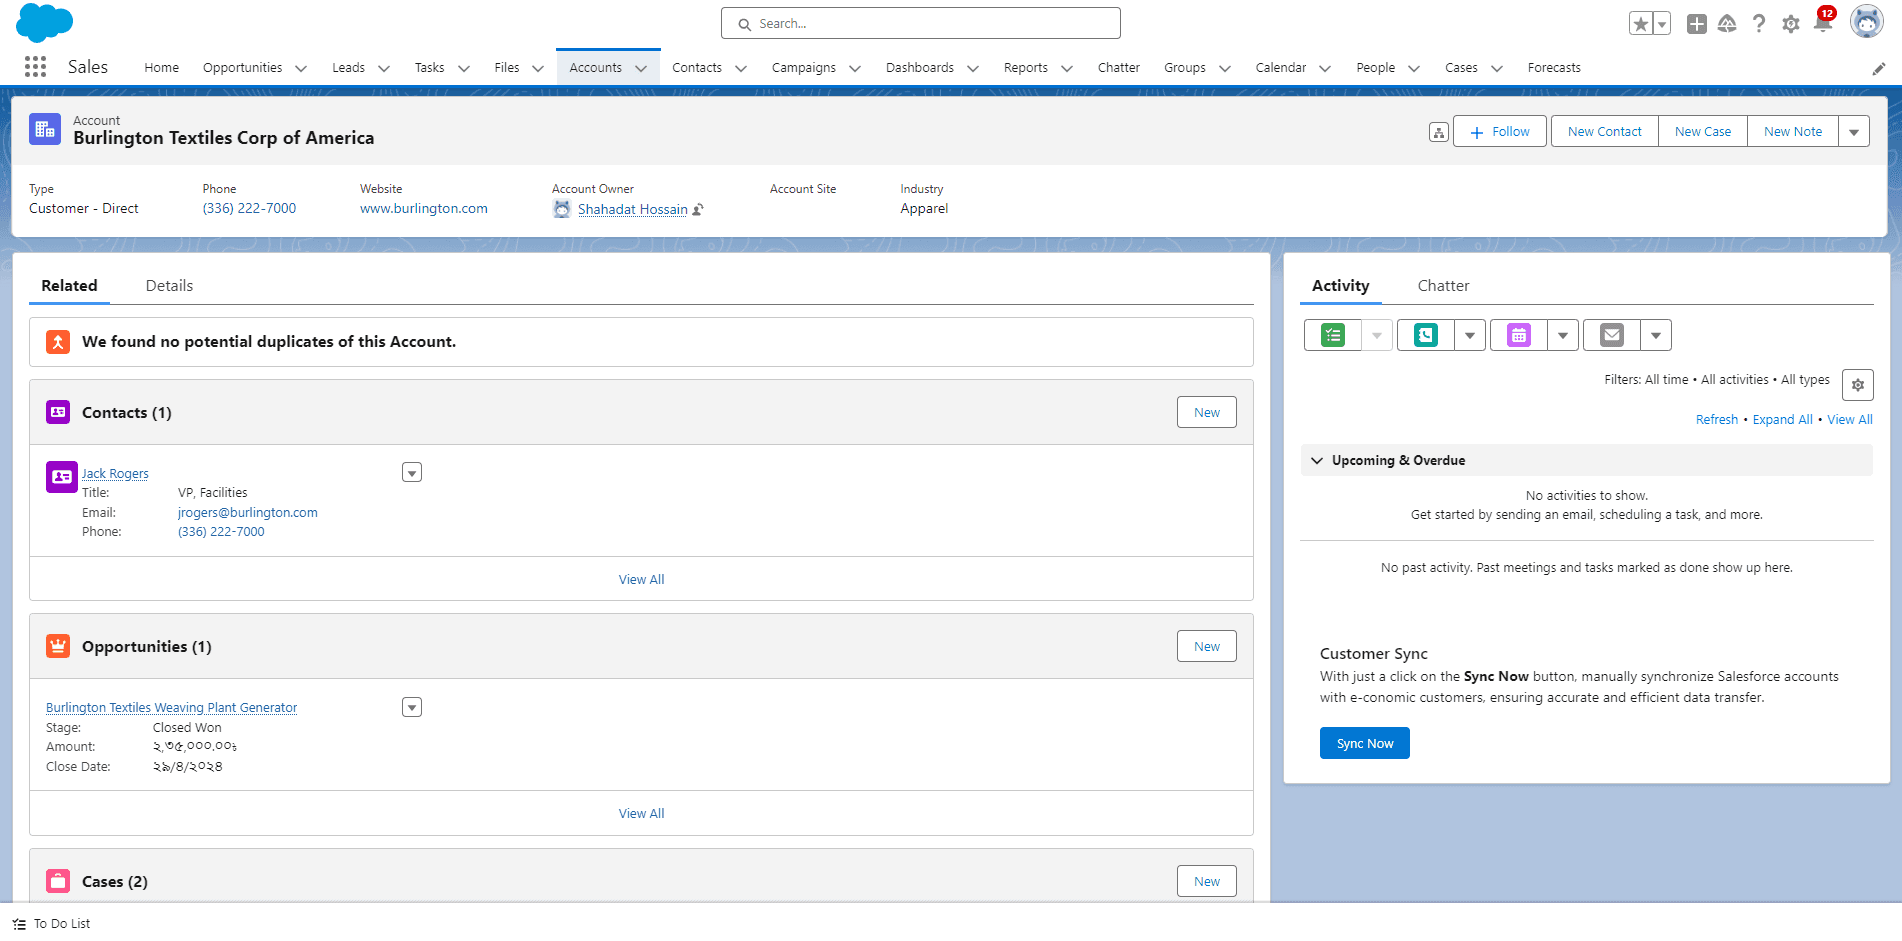
16
Go to Accounts. You will find the “Sync Now” button under “Customer Sync” on the left side of the screen.