

Installation
1
Install the App
Open Shopify-Tripletex by Cloudify from the Shopify App Store, select Install, and click “Let’s Get Started” to authorize the installation.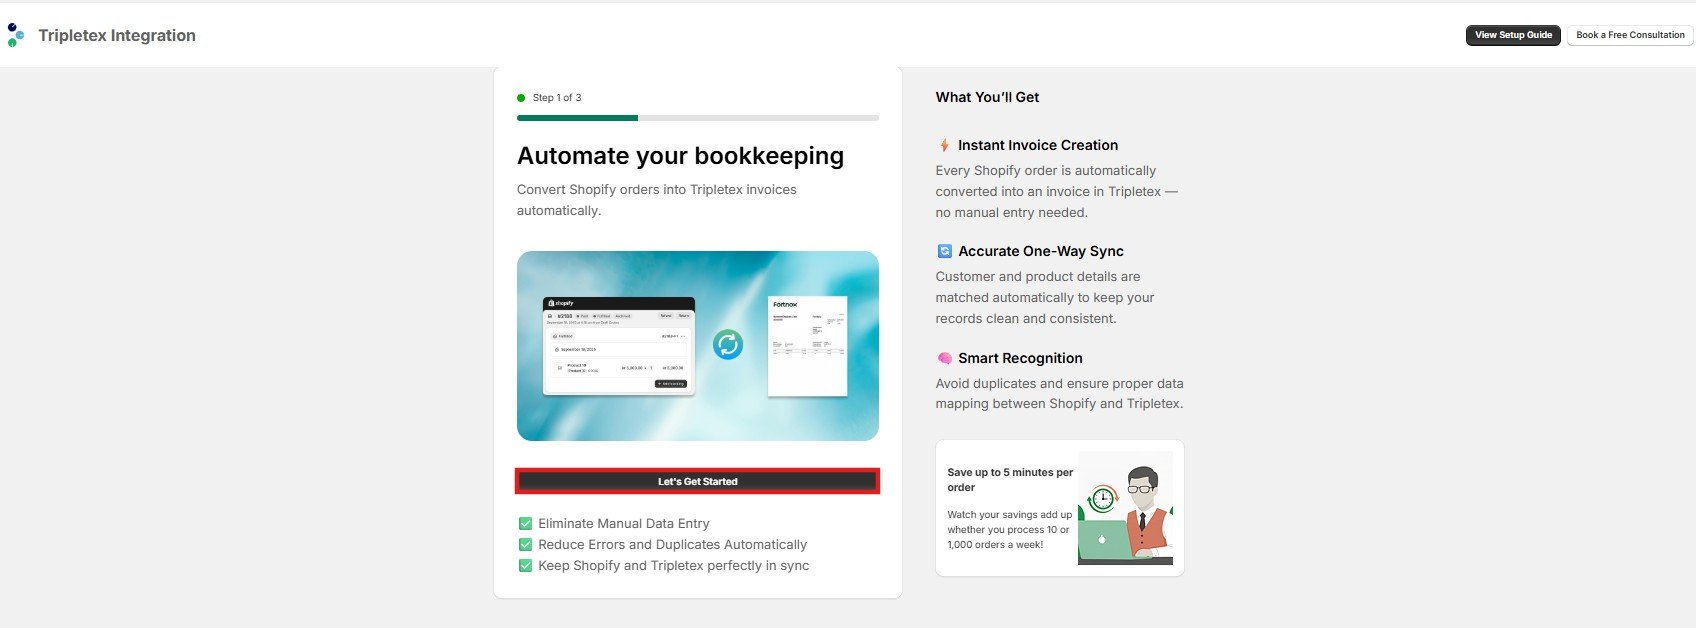
2
Connect to Tripletex
Click “Connect to Tripletex”. You’ll be prompted to enter your Tripletex API token.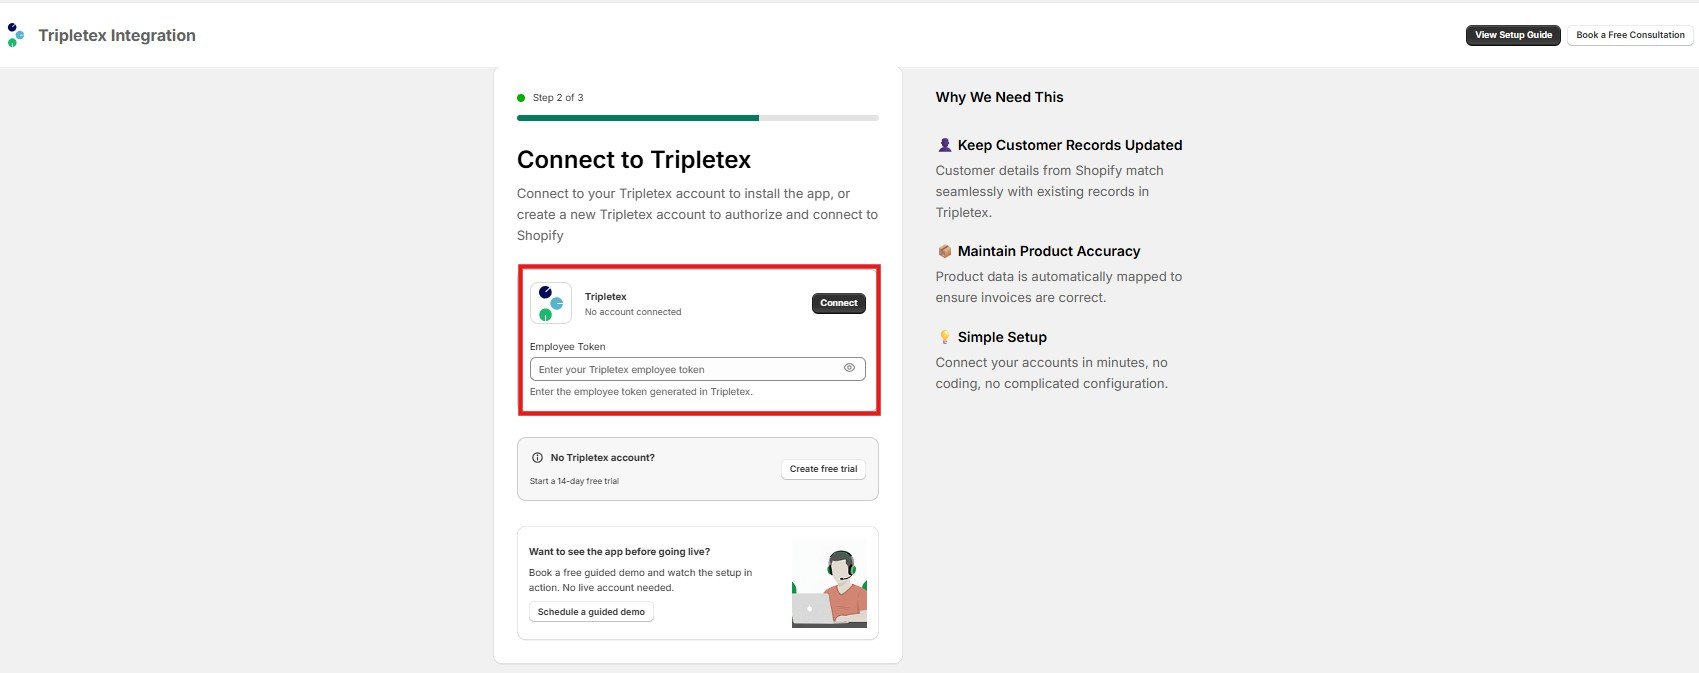
- Log in to Tripletex — If needed, switch to the correct company by clicking the company name in the header.
- Open the employee record — Go to Company → Employees in the left menu. Open the employee whose access rights will be used for this integration.
- Open API access — Inside the employee record, go to API access and click New token.
- Configure the token — Select Adapted setup and All entitlements. Enter
Cloudify_Shopifyas Application name., then enter a token name and click Create token. - Copy the token — Copy the generated token and click OK.
Make sure you are connecting with the token from the correct Tripletex company account. Administrative privileges are required to complete this step.
3
You're All Set
Once the token connects successfully, you’ll land on the final setup screen confirming everything is configured and ready.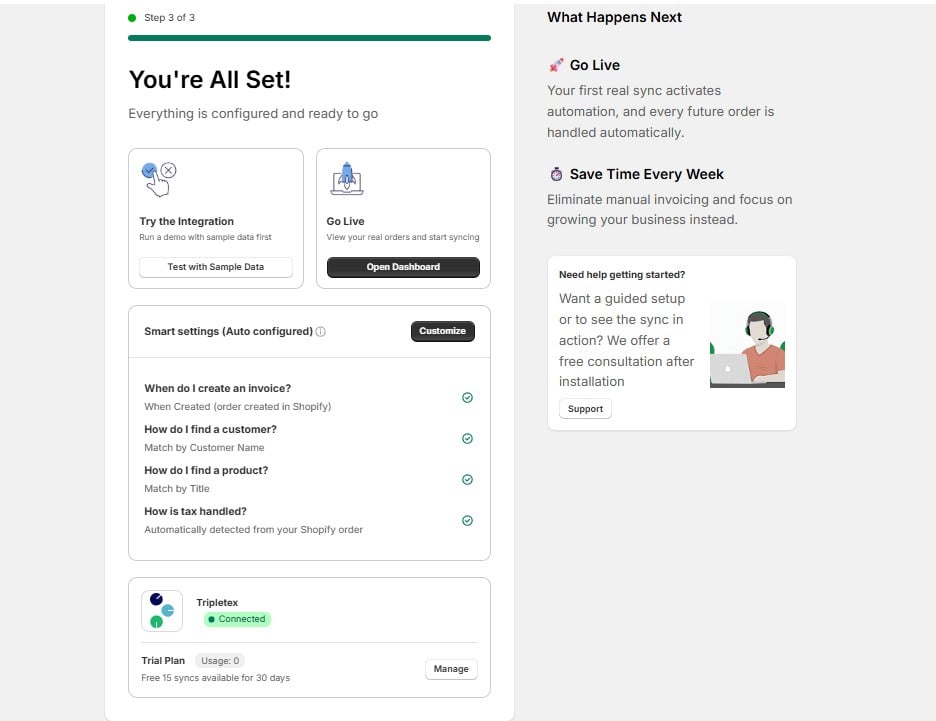
- Test with Sample Data — Run a demo sync with sample data to see how a Shopify order flows into Tripletex before going live.
- Open Dashboard — Go live with your real orders. Your first real sync activates automation, and every future order is handled automatically.
Smart settings (auto-configured)
The integration ships with sensible defaults so you can start syncing immediately. Change any of these by clicking Customize.Want a guided setup or to see a sync run live? A free consultation is available after installation — click Support on the setup screen to book one.