

Step 1: Install the Plugin
In your WordPress admin panel, navigate to Plugins → Add Plugin.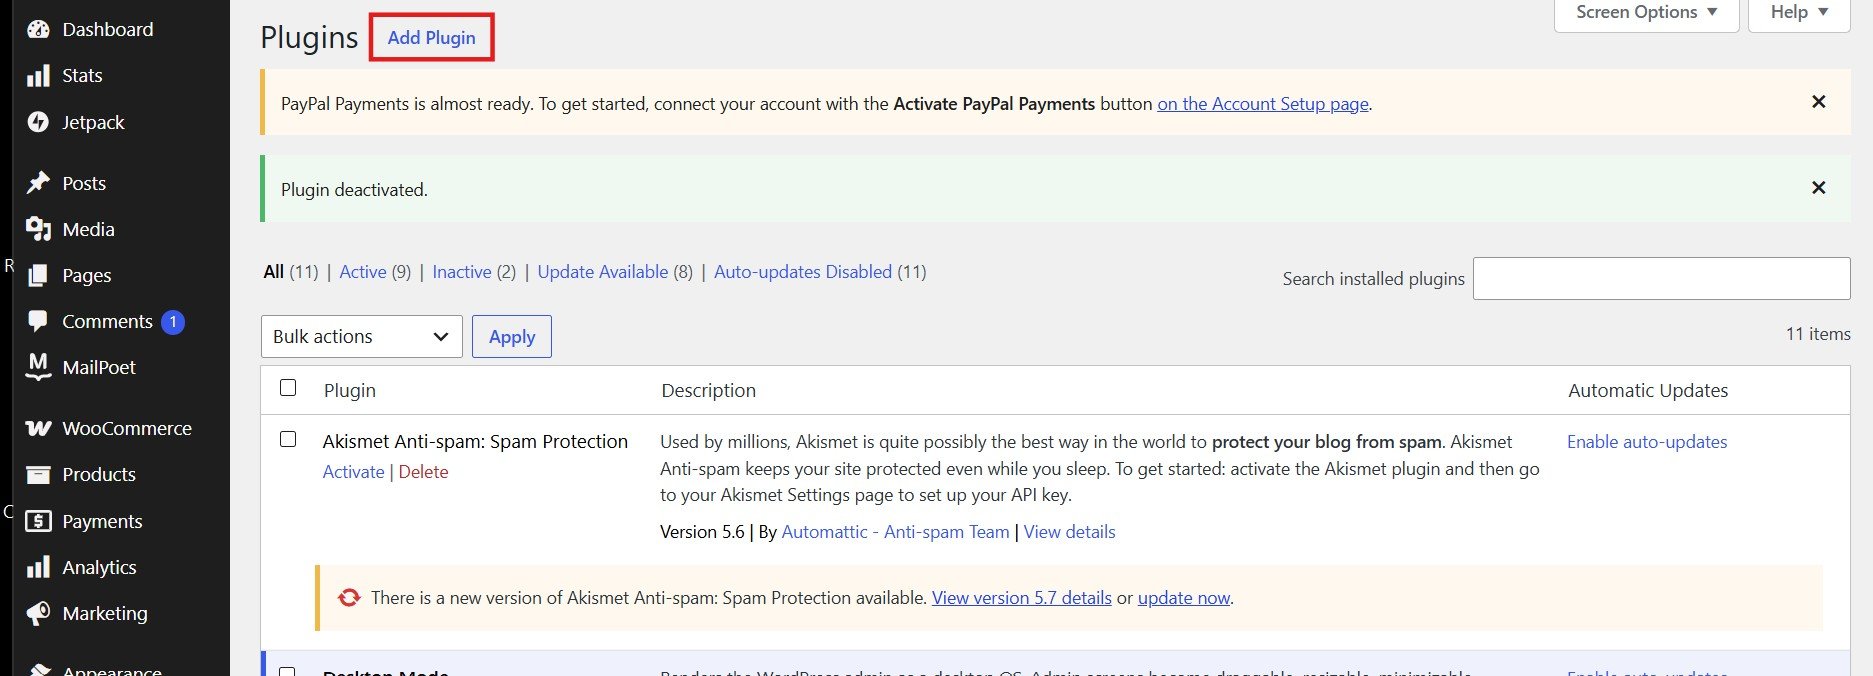


Step 2: Activate the Plugin
Once installed, click Activate Plugin.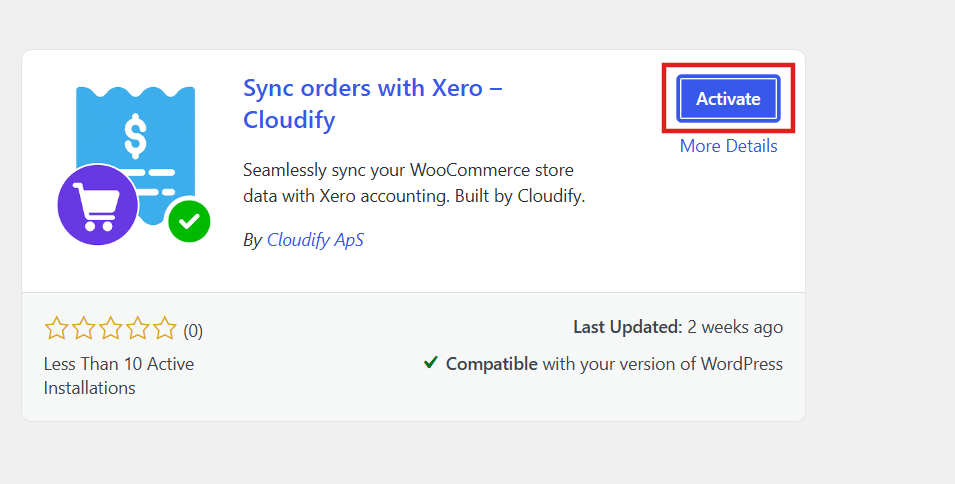
Step 2: Set Up Your Account
After activation, a setup notice will appear at the top of the Plugins page.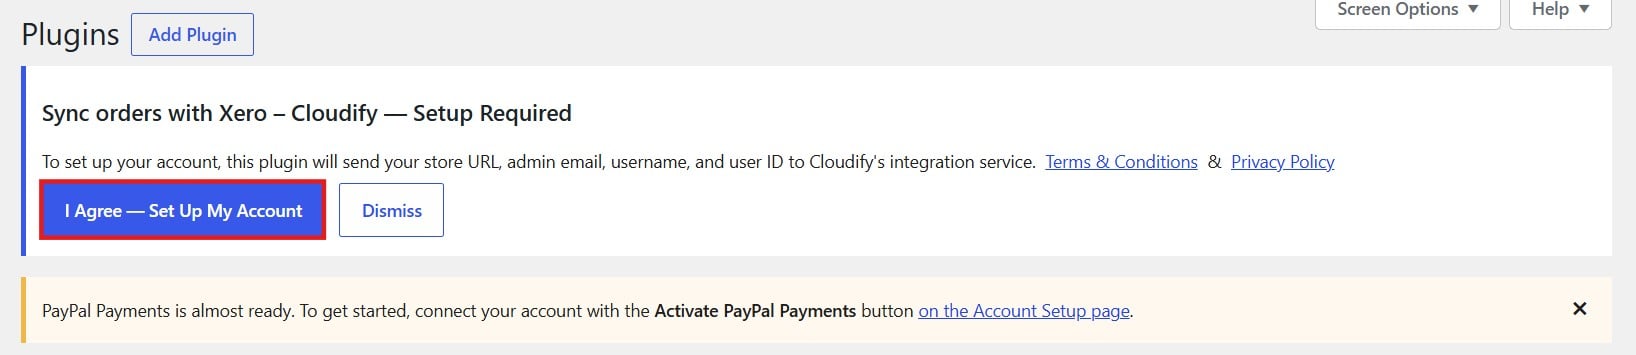
Review the Terms & Conditions and Privacy Policy before proceeding.
Step 3: Connect WooCommerce
You will be taken to the Cloudify app to connect your WooCommerce store.
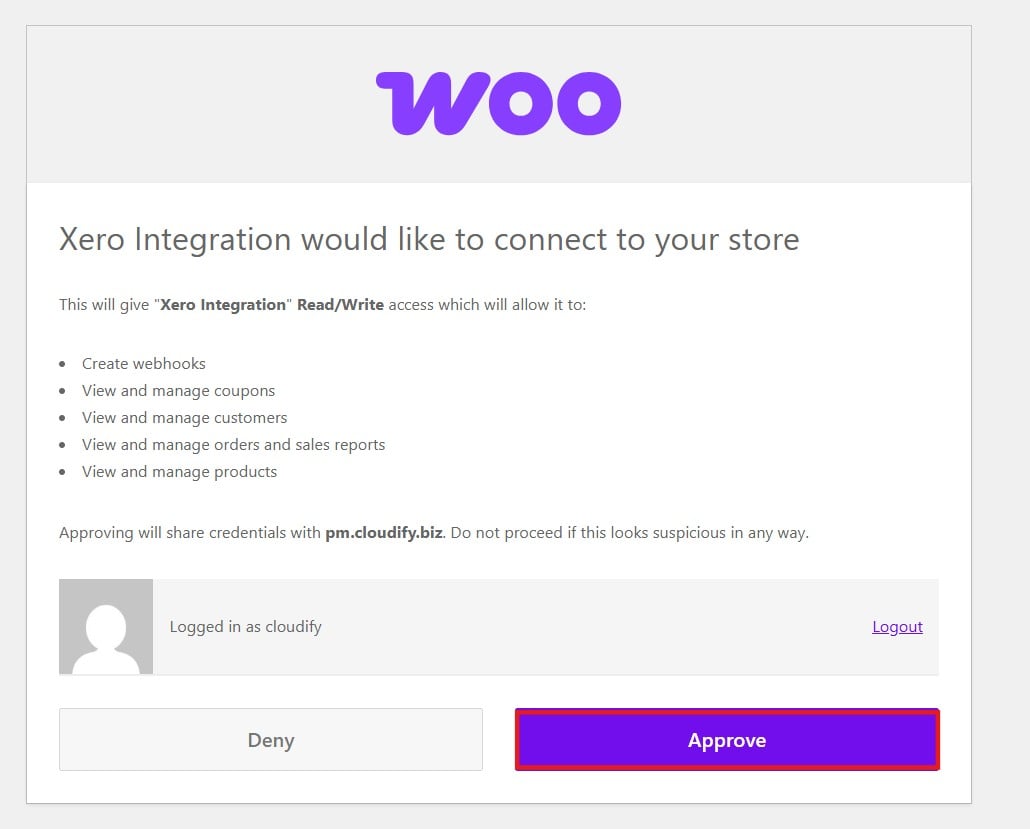
Step 4: Approve WooCommerce Access
A WooCommerce authorisation screen will appear requesting Read/Write access to your store. This allows the integration to:- Create webhooks
- View and manage customers
- View and manage orders and sales reports
- View and manage products
- View and manage coupons
Step 5: Welcome Screen
You will be directed to the Xero Integration welcome screen.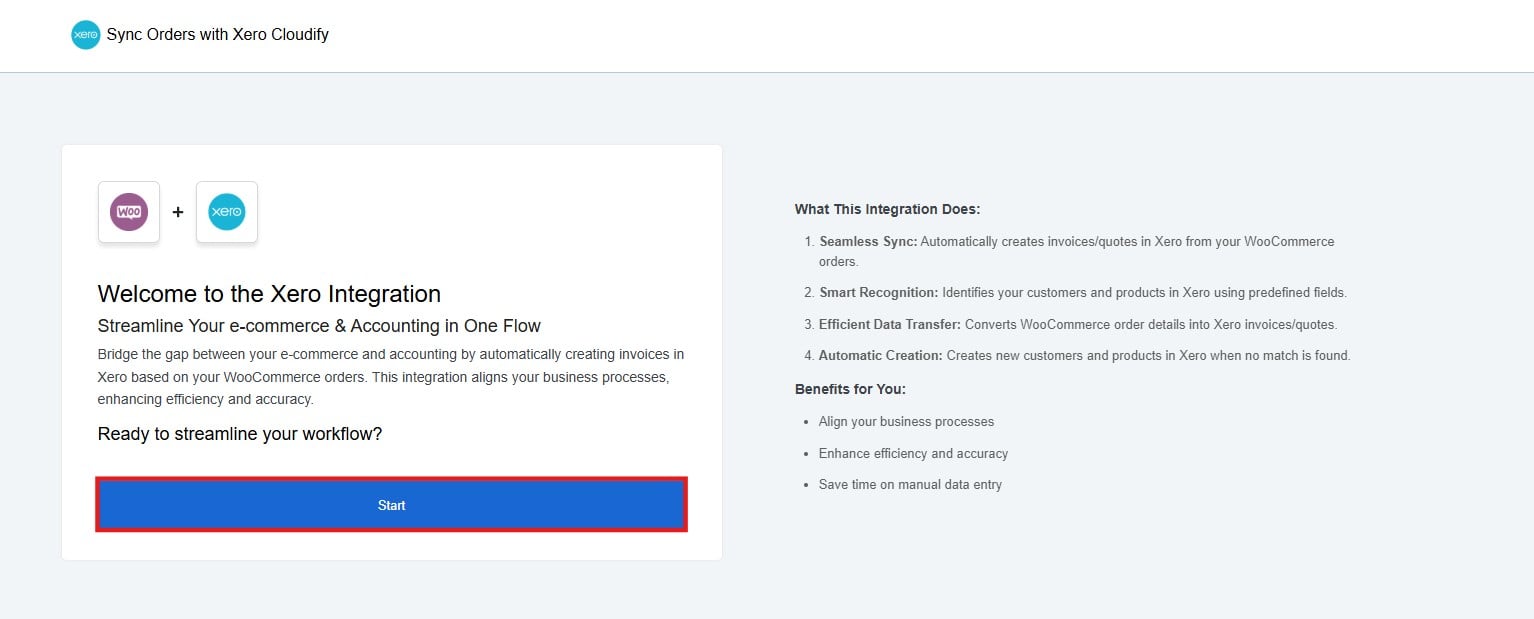
Step 6: Connect Xero
Connect your Xero account and select your preferred organisation.