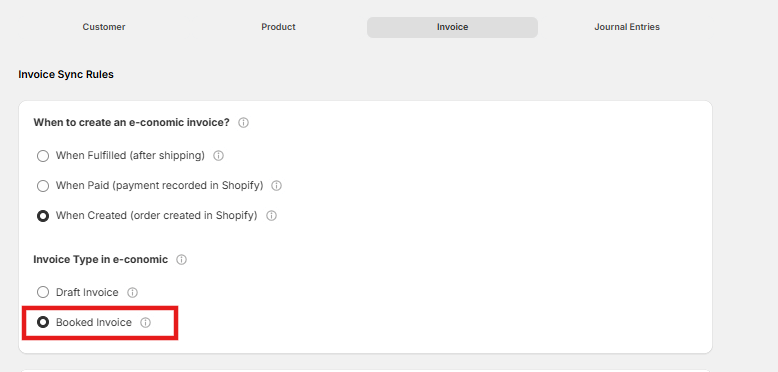
Important Warning: Booked Invoices RequiredJournal entries are ONLY applicable if you selected the “Booked invoice” option in the previous setup step. While our integration provides options to create either “Draft” or “Booked” invoices, the automated journal entry feature will not work with draft invoices.
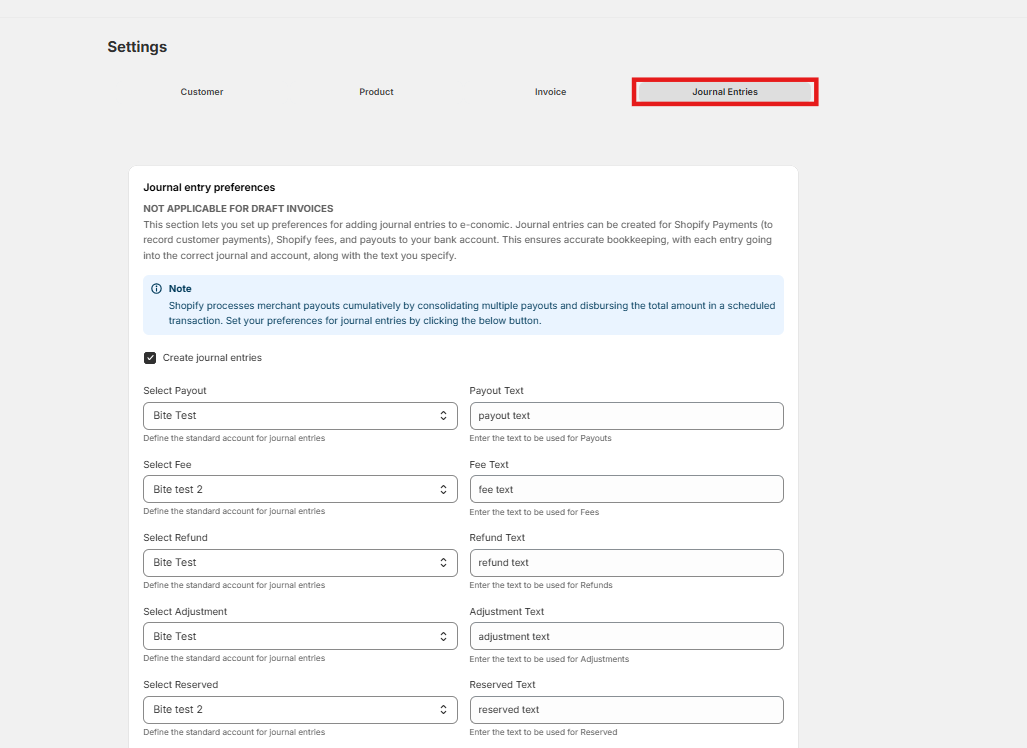
- Select Payout & Payout Text: Select the actual bank account where the money should be deposited when Shopify releases the payout. Enter the text description to be used for payouts.
- Select Fee & Fee Text: Select the account in e-conomic that should capture the fees or commission paid to Shopify. Enter the text description to be used for fees.
- Select Refund & Refund Text: Select the account used to track refunded amounts. Enter the text description to be used for refunds.
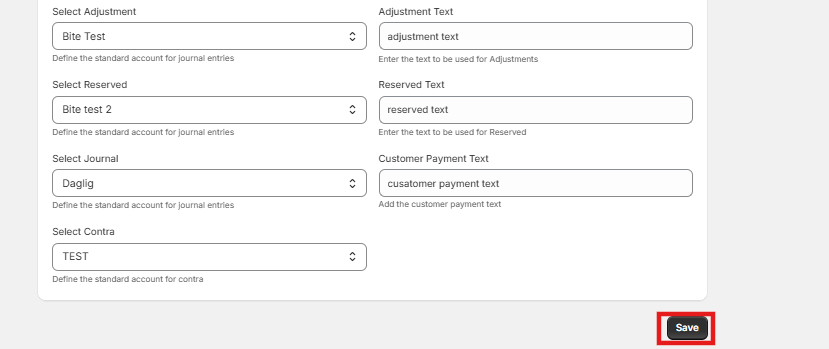
- Select Adjustment & Adjustment Text: Select the standard account for adjustments. Enter the text description to be used for adjustments.
- Select Reserved & Reserved Text: Select the standard account for reserved funds. Enter the text description to be used for reserved funds.
- Select Journal & Customer Payment Text: Select the specific e-conomic journal (e.g., Daglig) where these entries should be recorded. Add the text description to be used for the customer payment.
- Select Contra: Select your clearing or holding account. This is the temporary account used to park the funds until Shopify releases the consolidated payout.